1980s engine and frame, 1990s suspension and brakes. Everyone knows the 350 Power Valve was the best two-stroke roadbike engine ever built
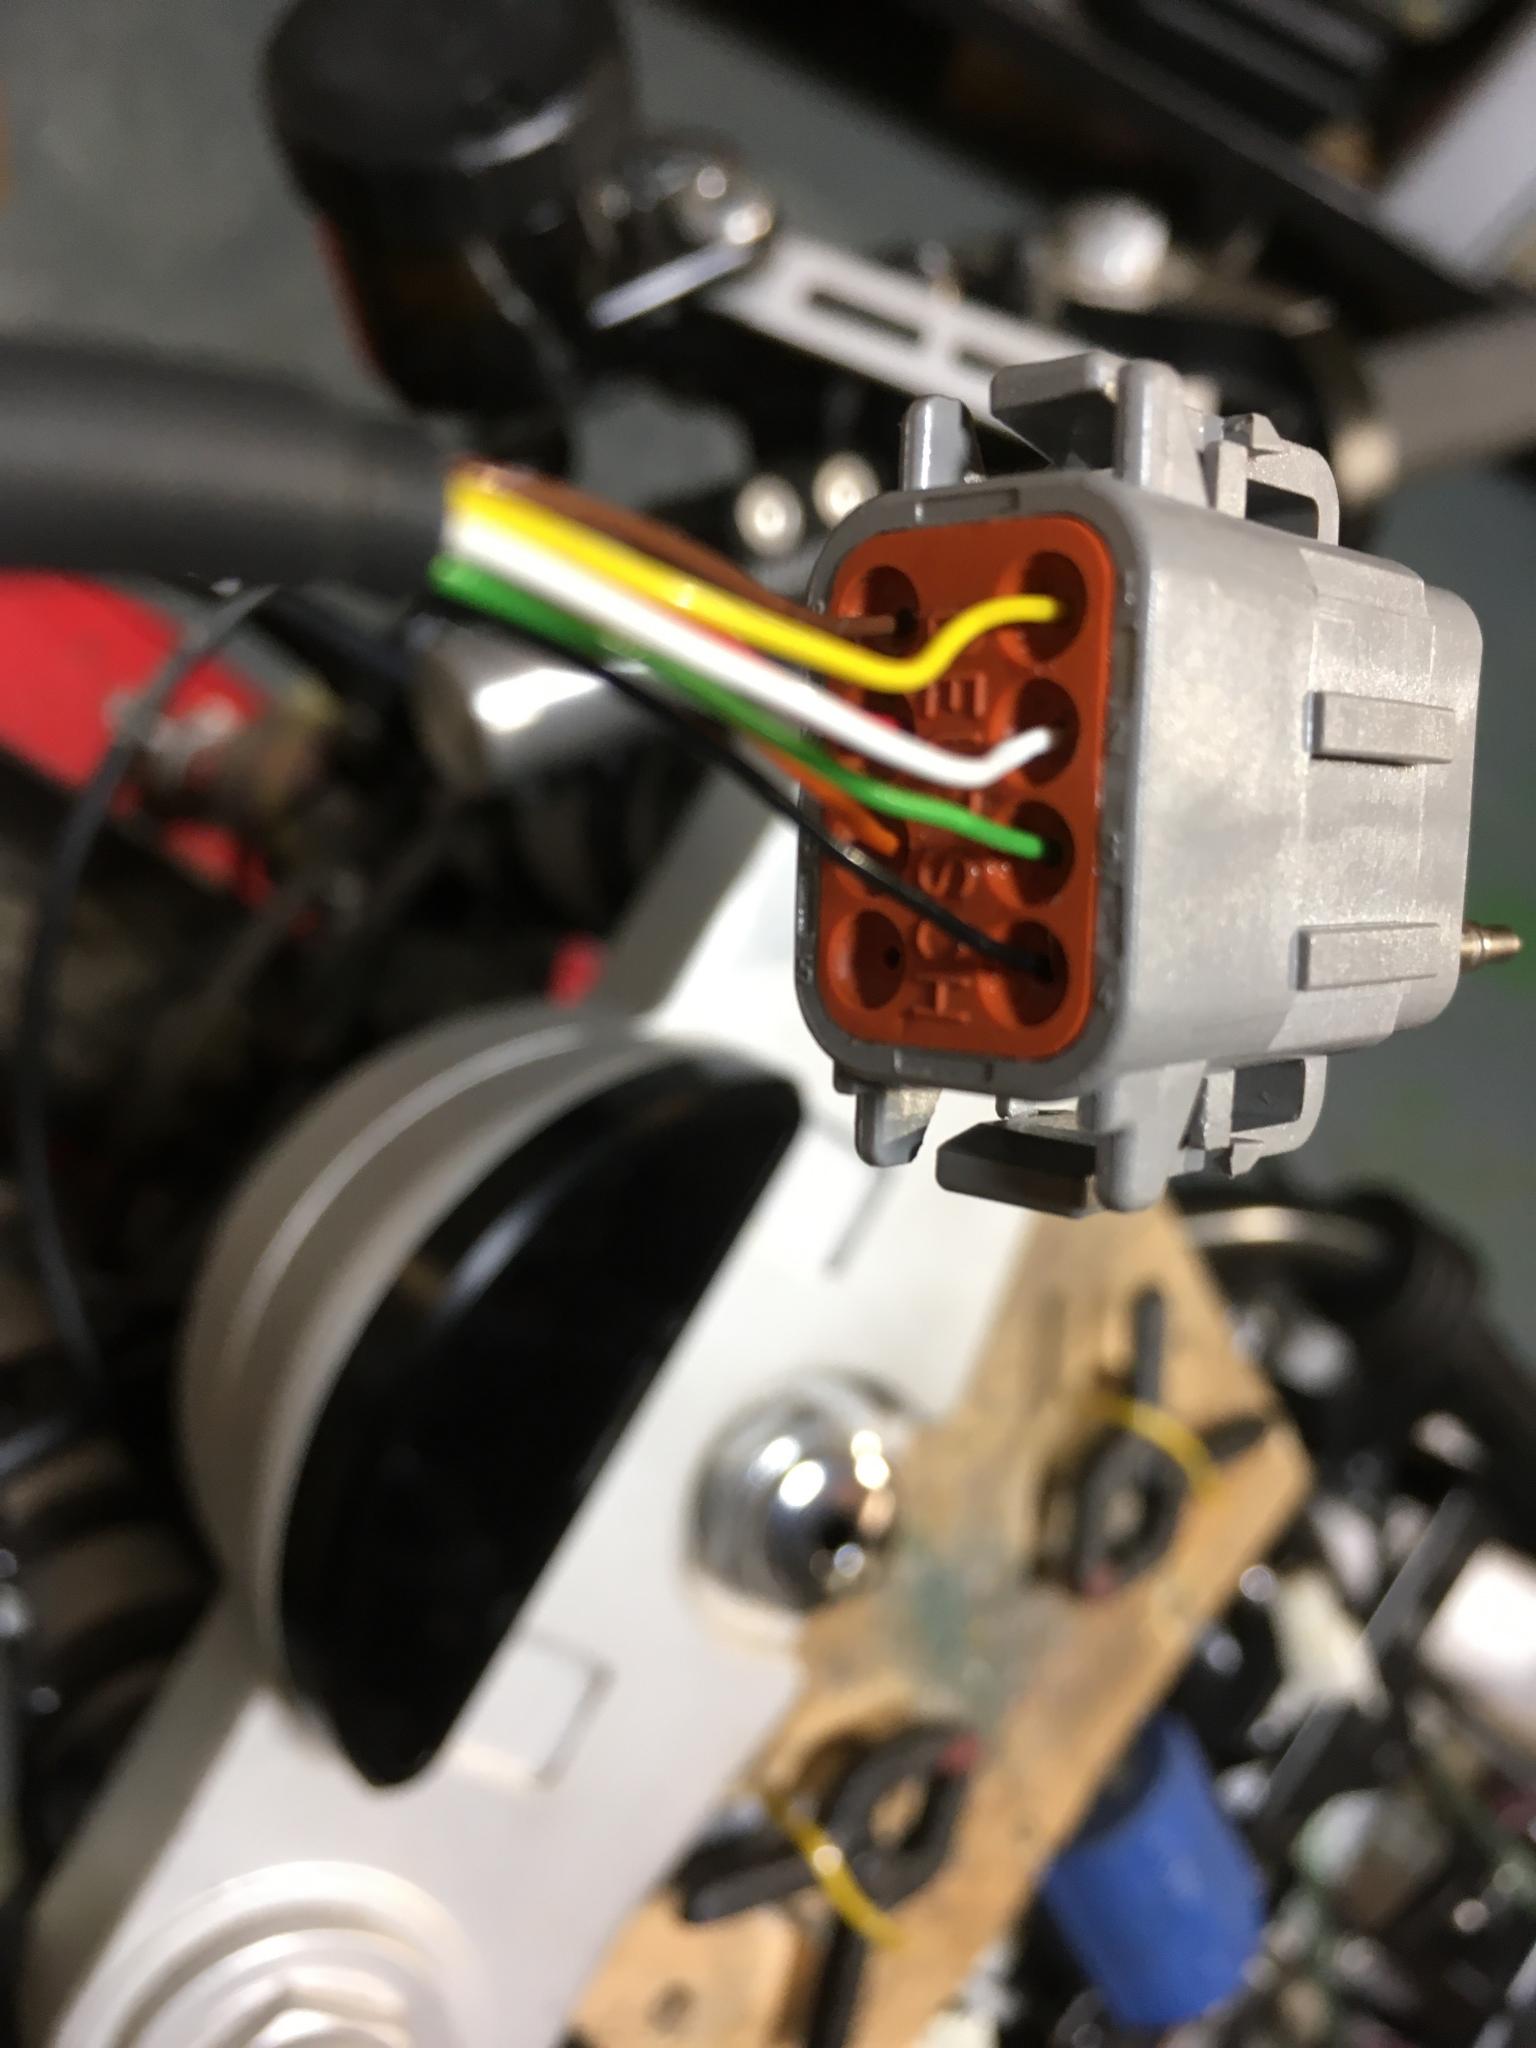
Motogadget dashes are very stylish but come with infuriatingly skinny cables. I fitted them into a Deutsch DTM plug, packing out the pin holes with extra wire strands before crimping. Sounds like a palaver? It is.
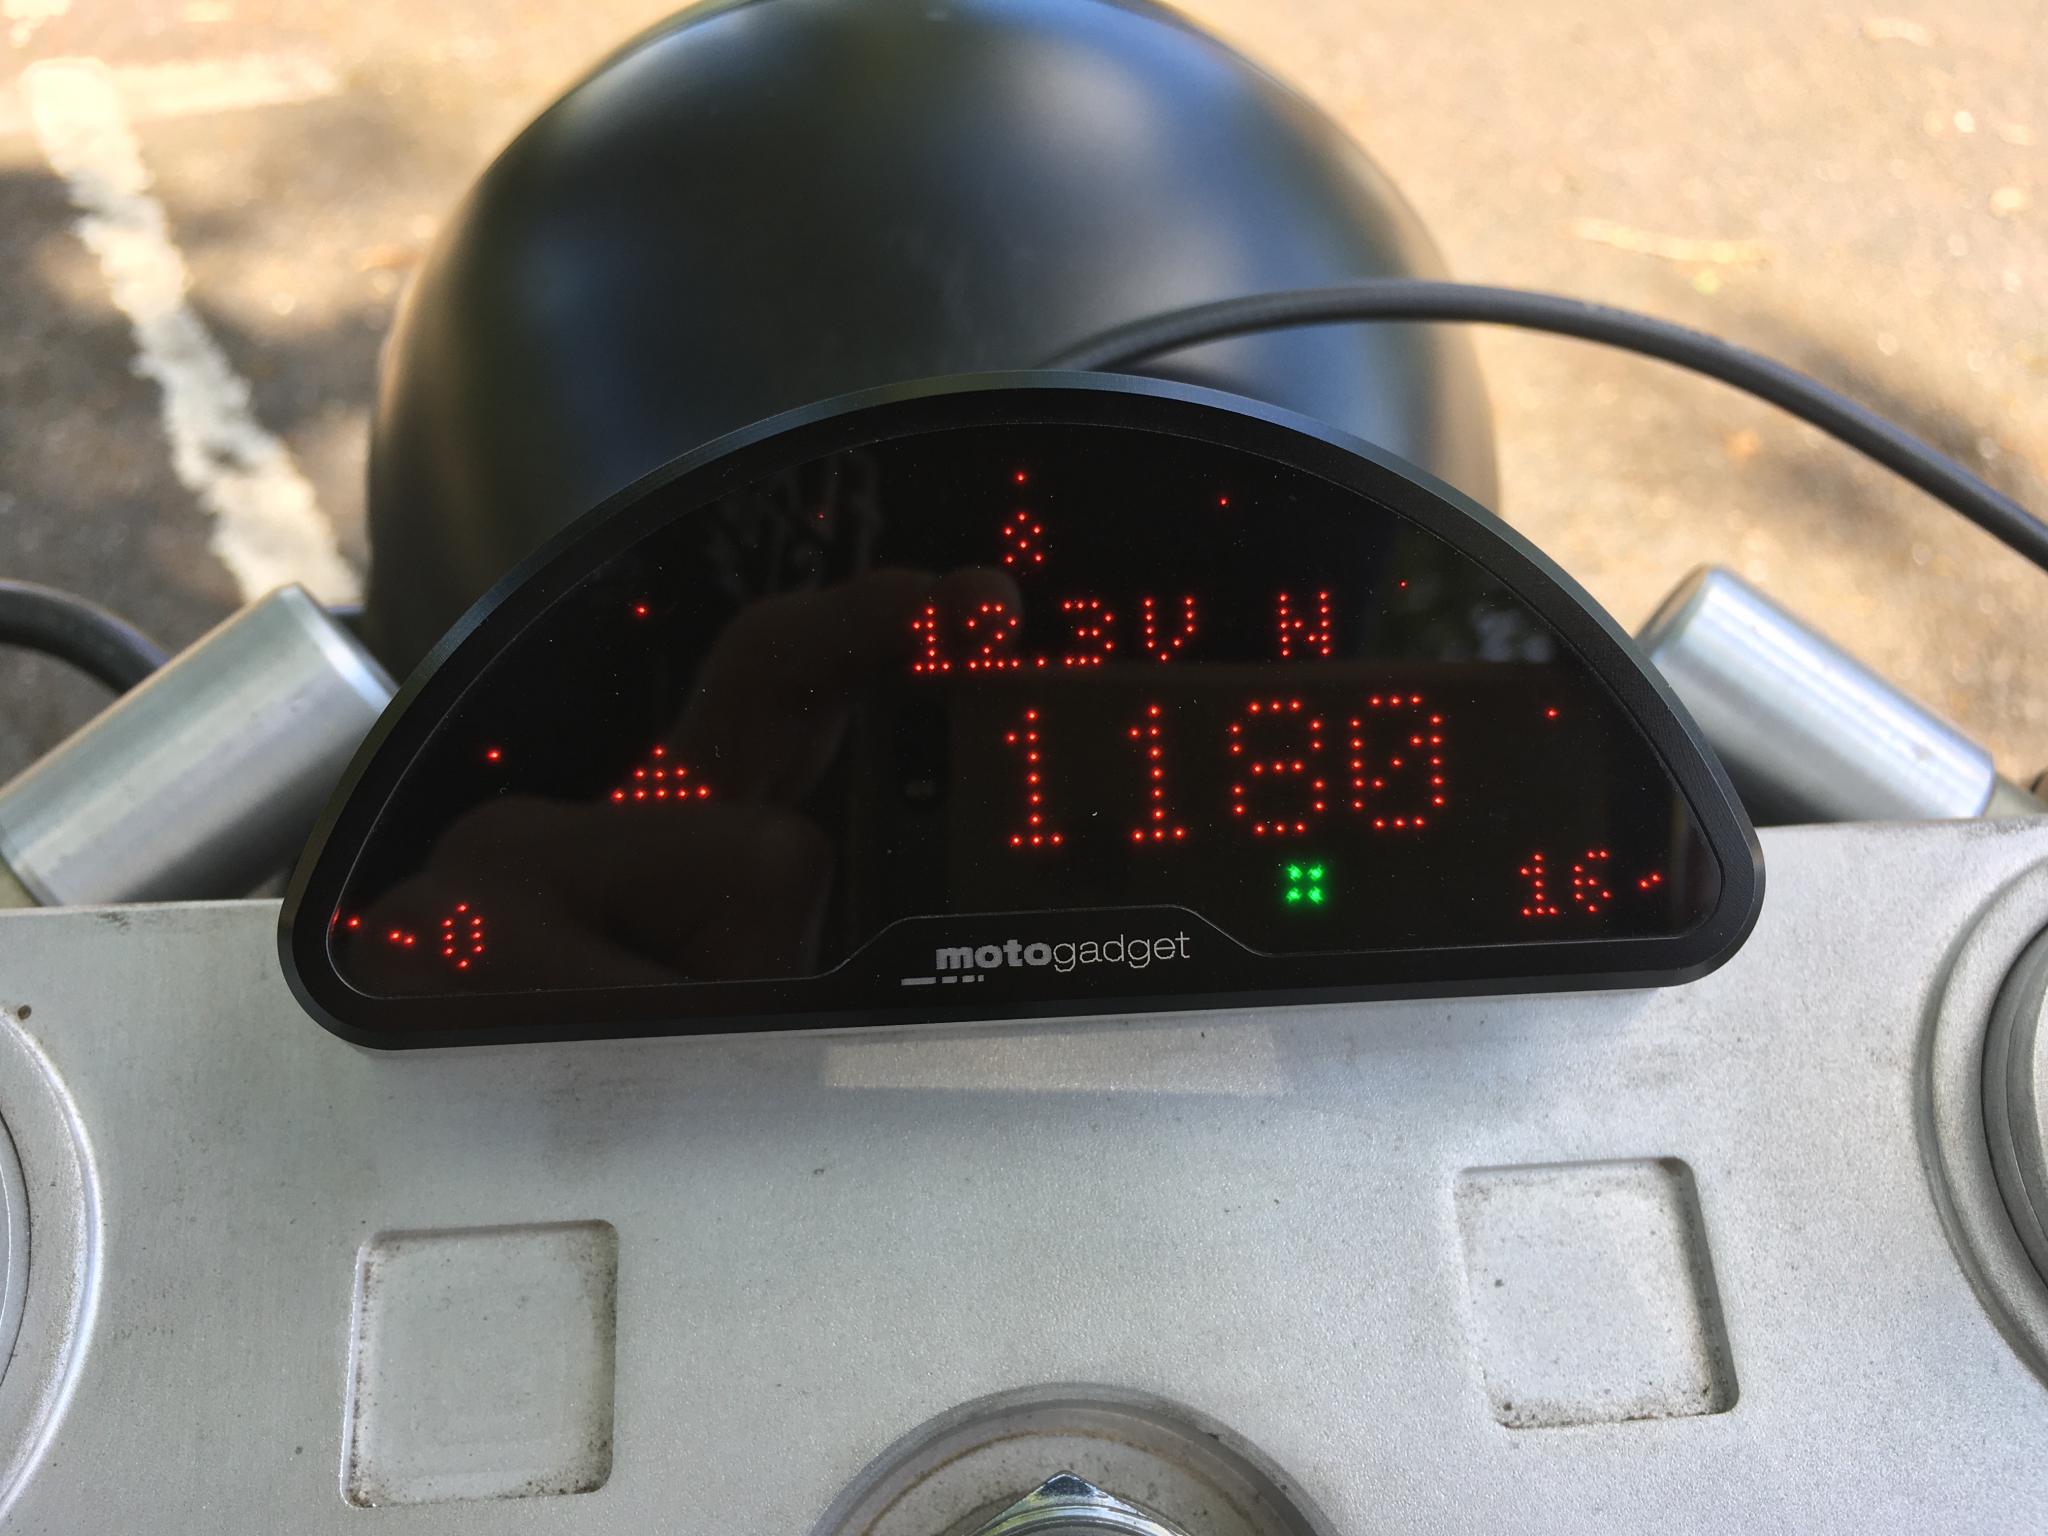
The horrifyingly expensive Motoscope Pro has a retro dot matrix readout, with various modes. It does look cool
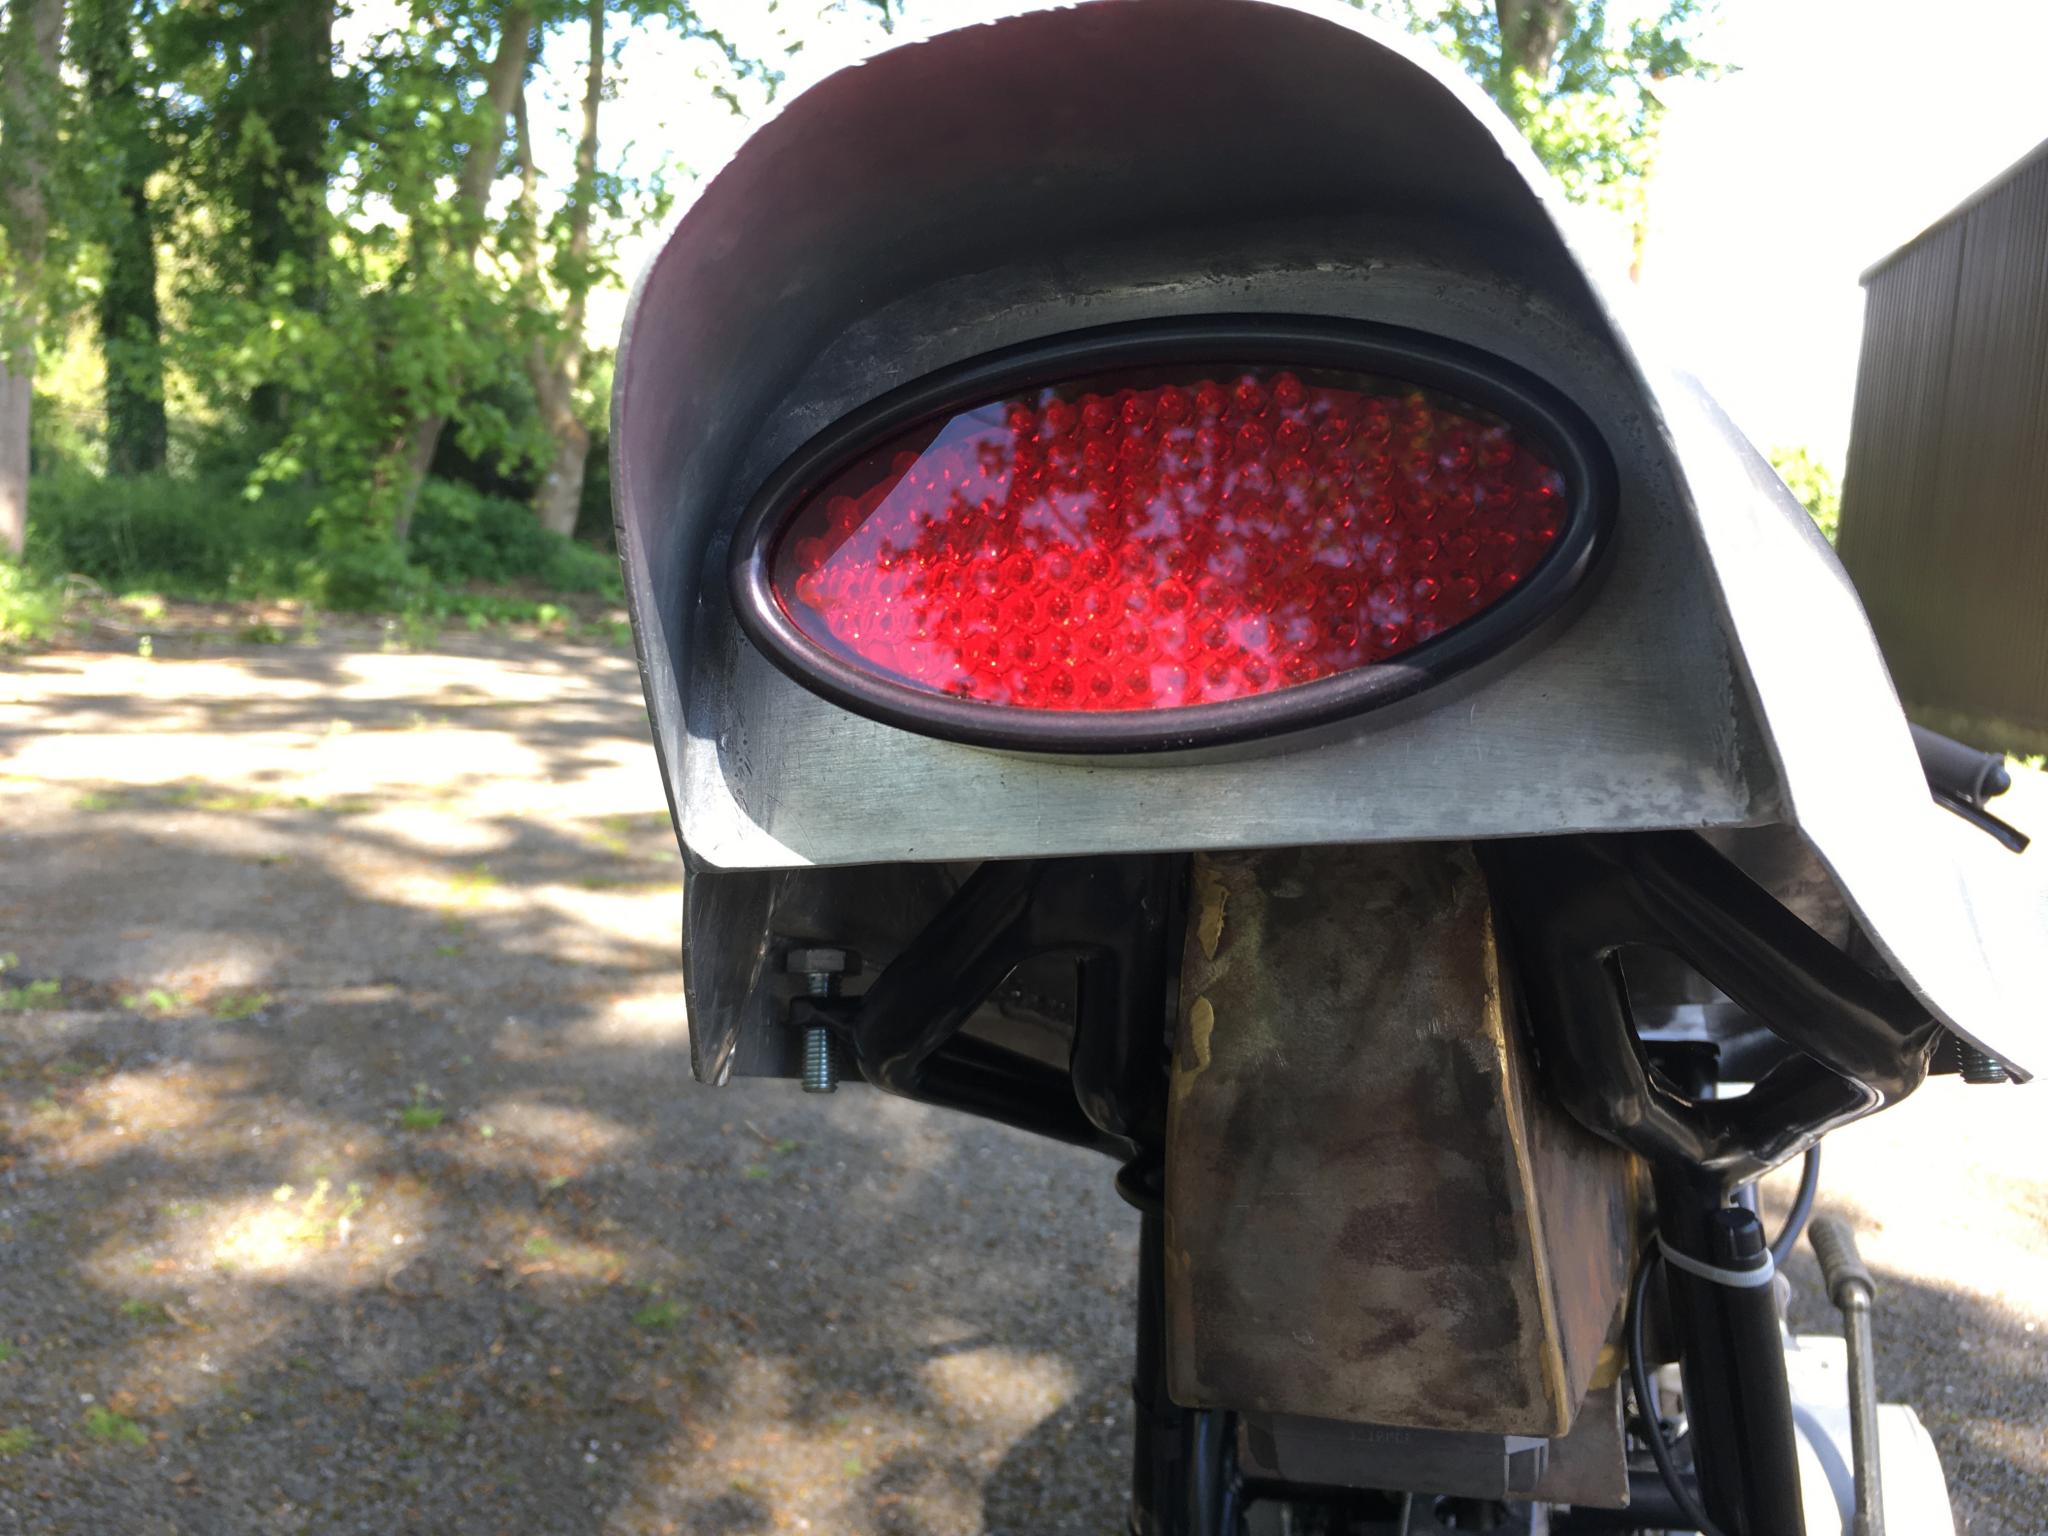
LED tail light has built-in indicators which you can’t see until they flash
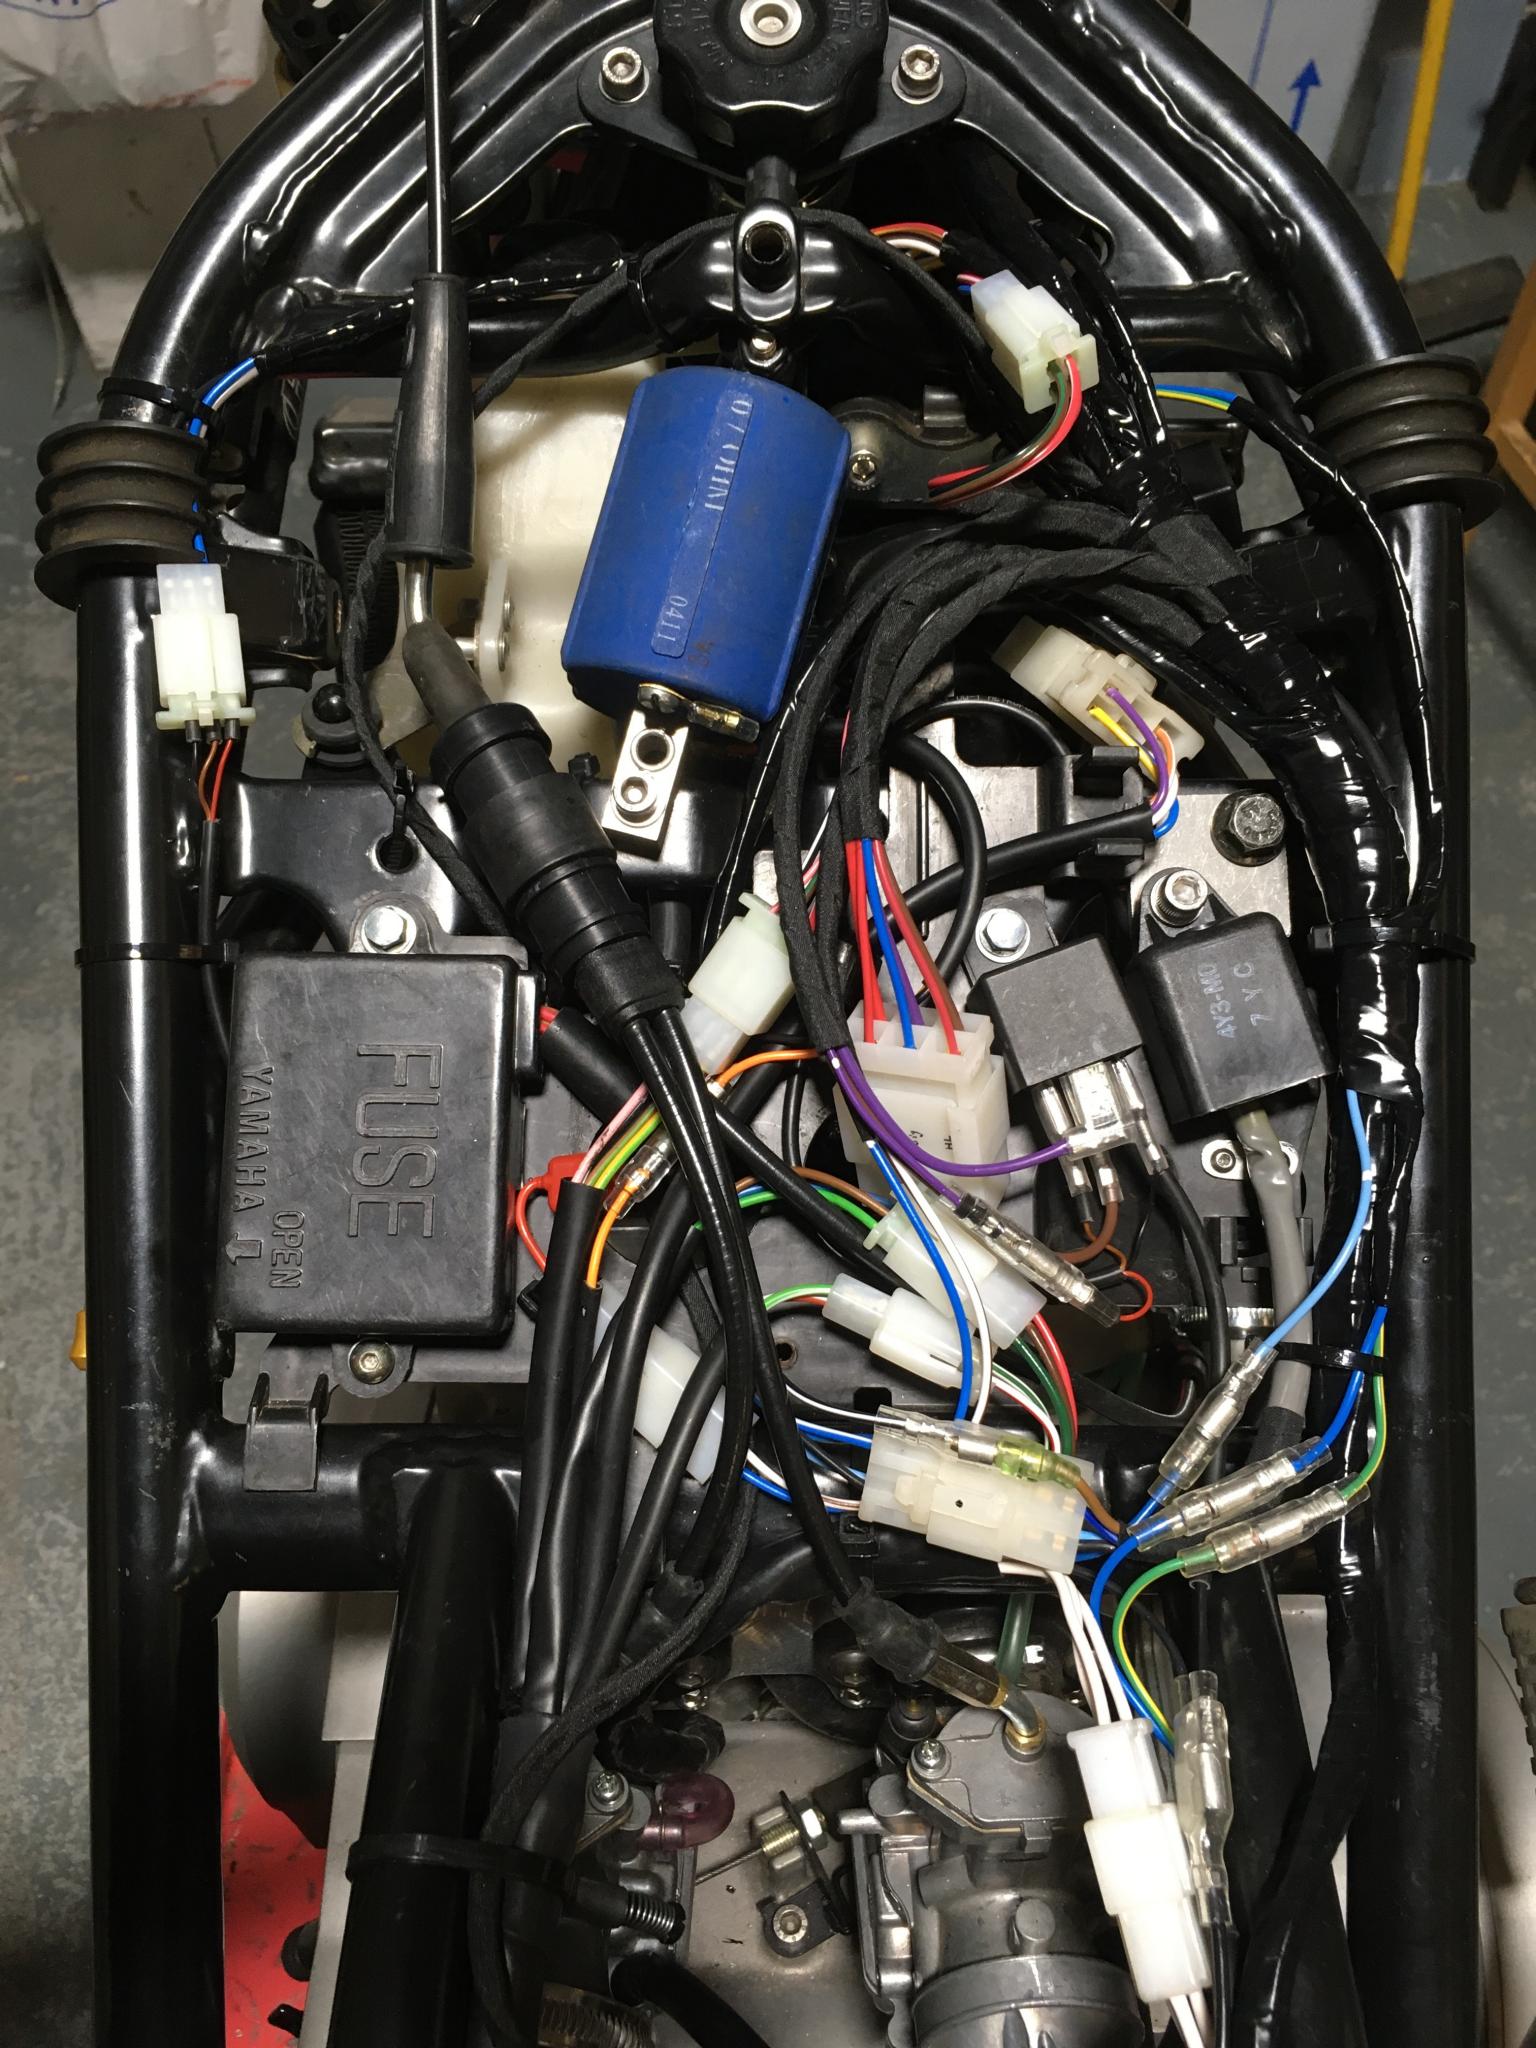
The area under the tank is congested, but it all fits
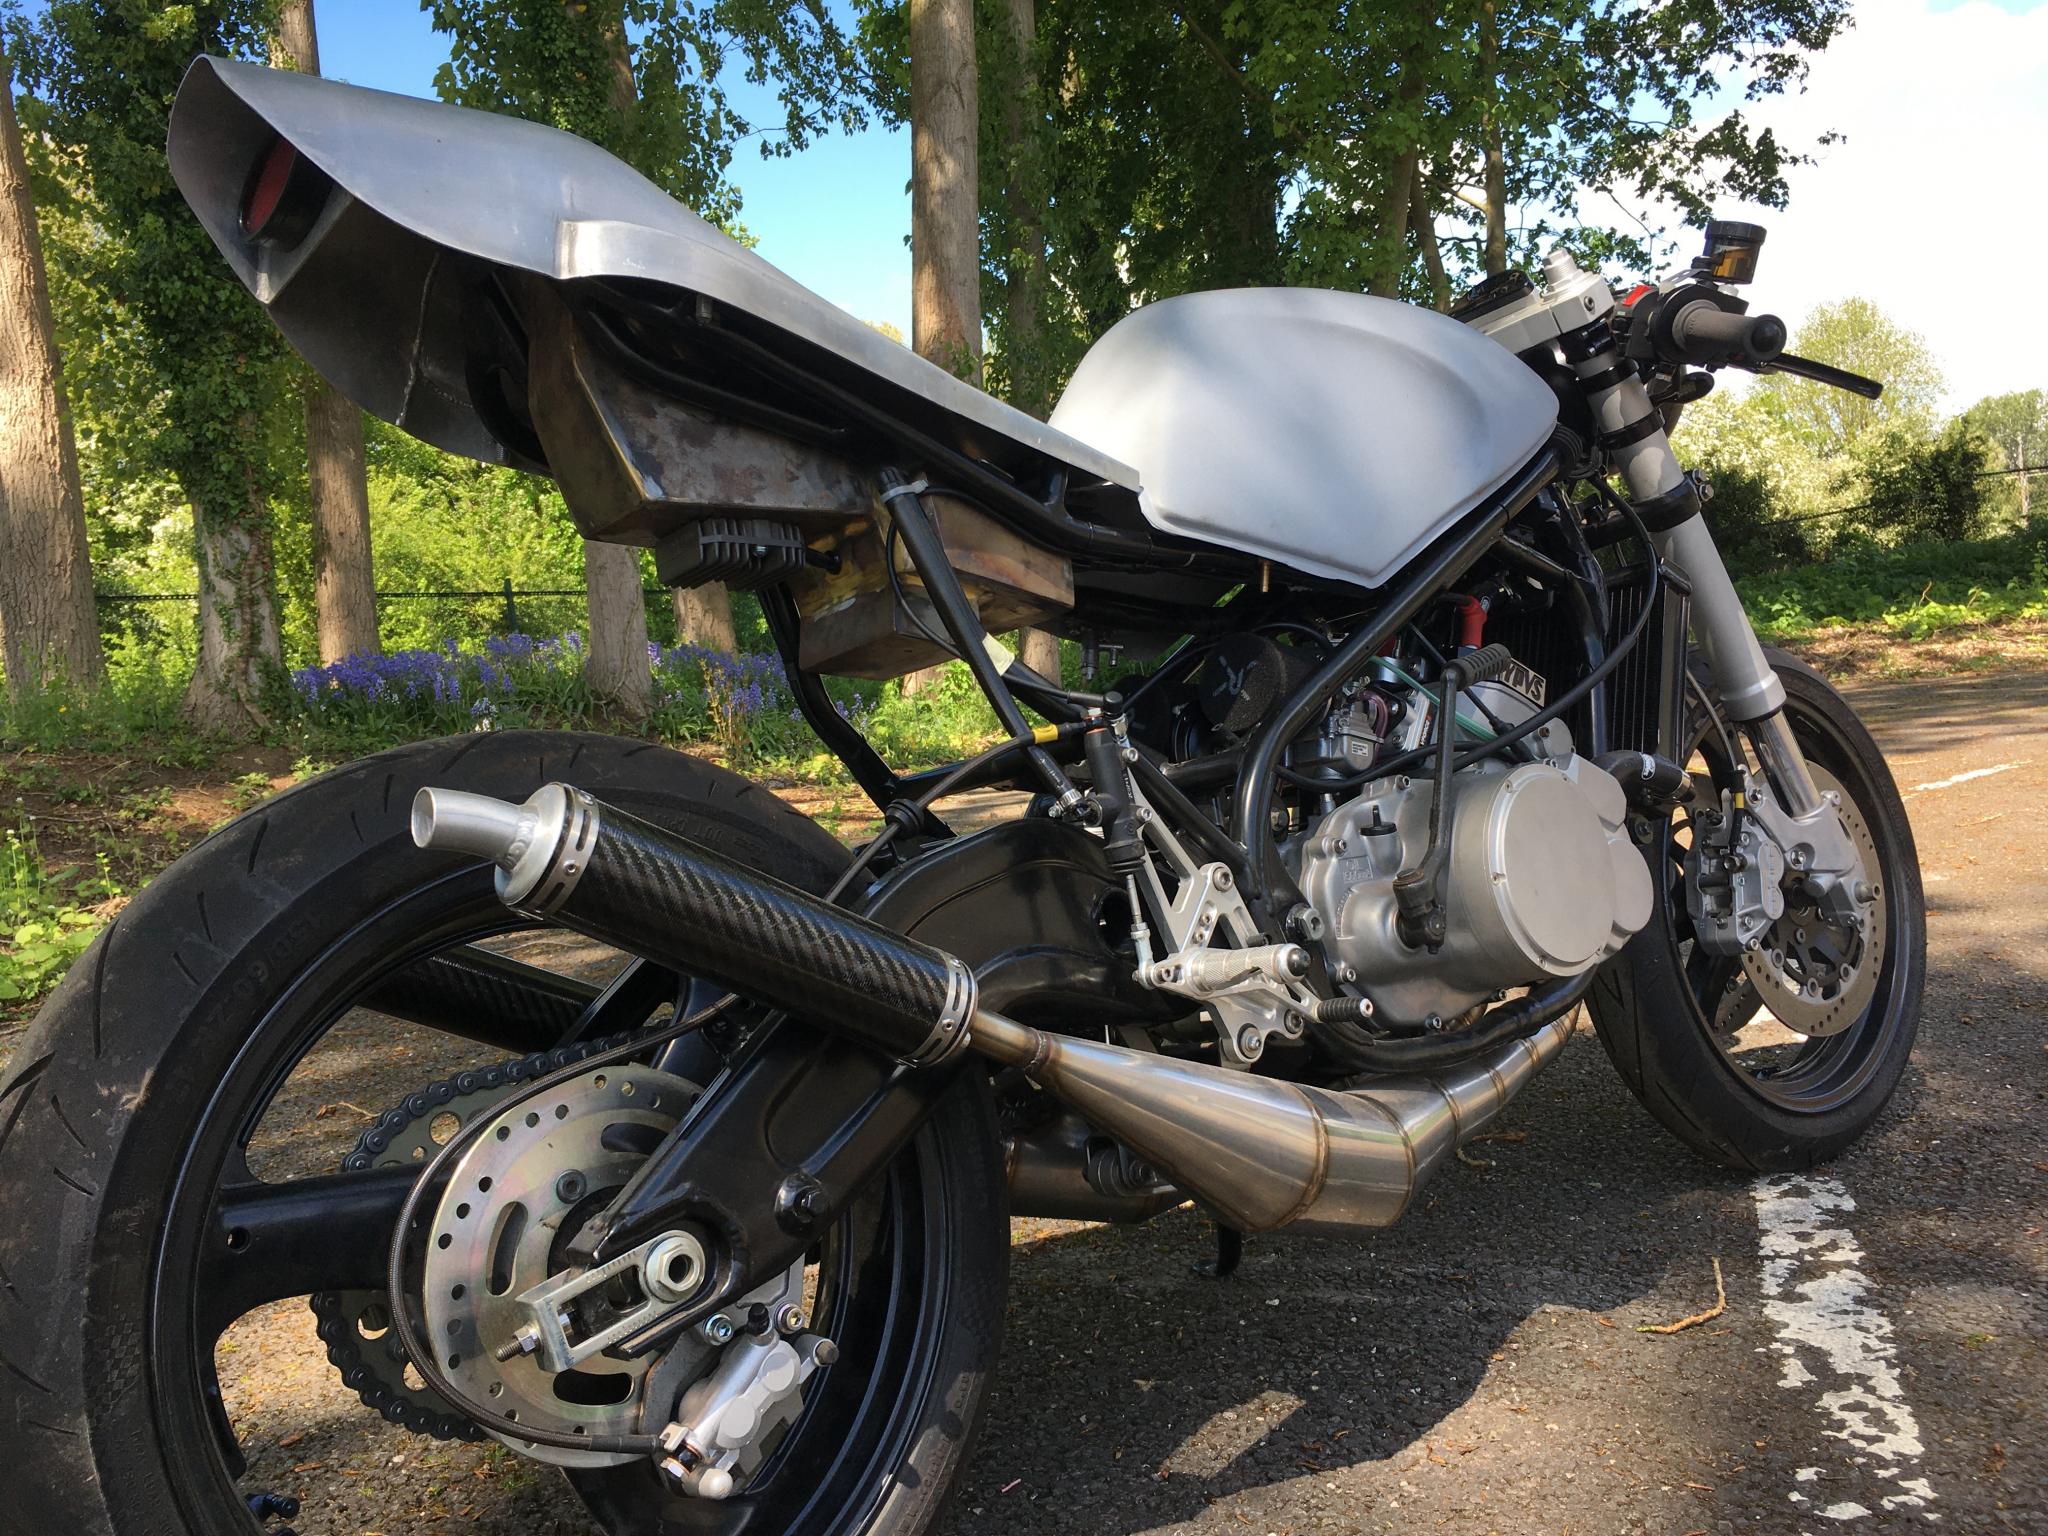
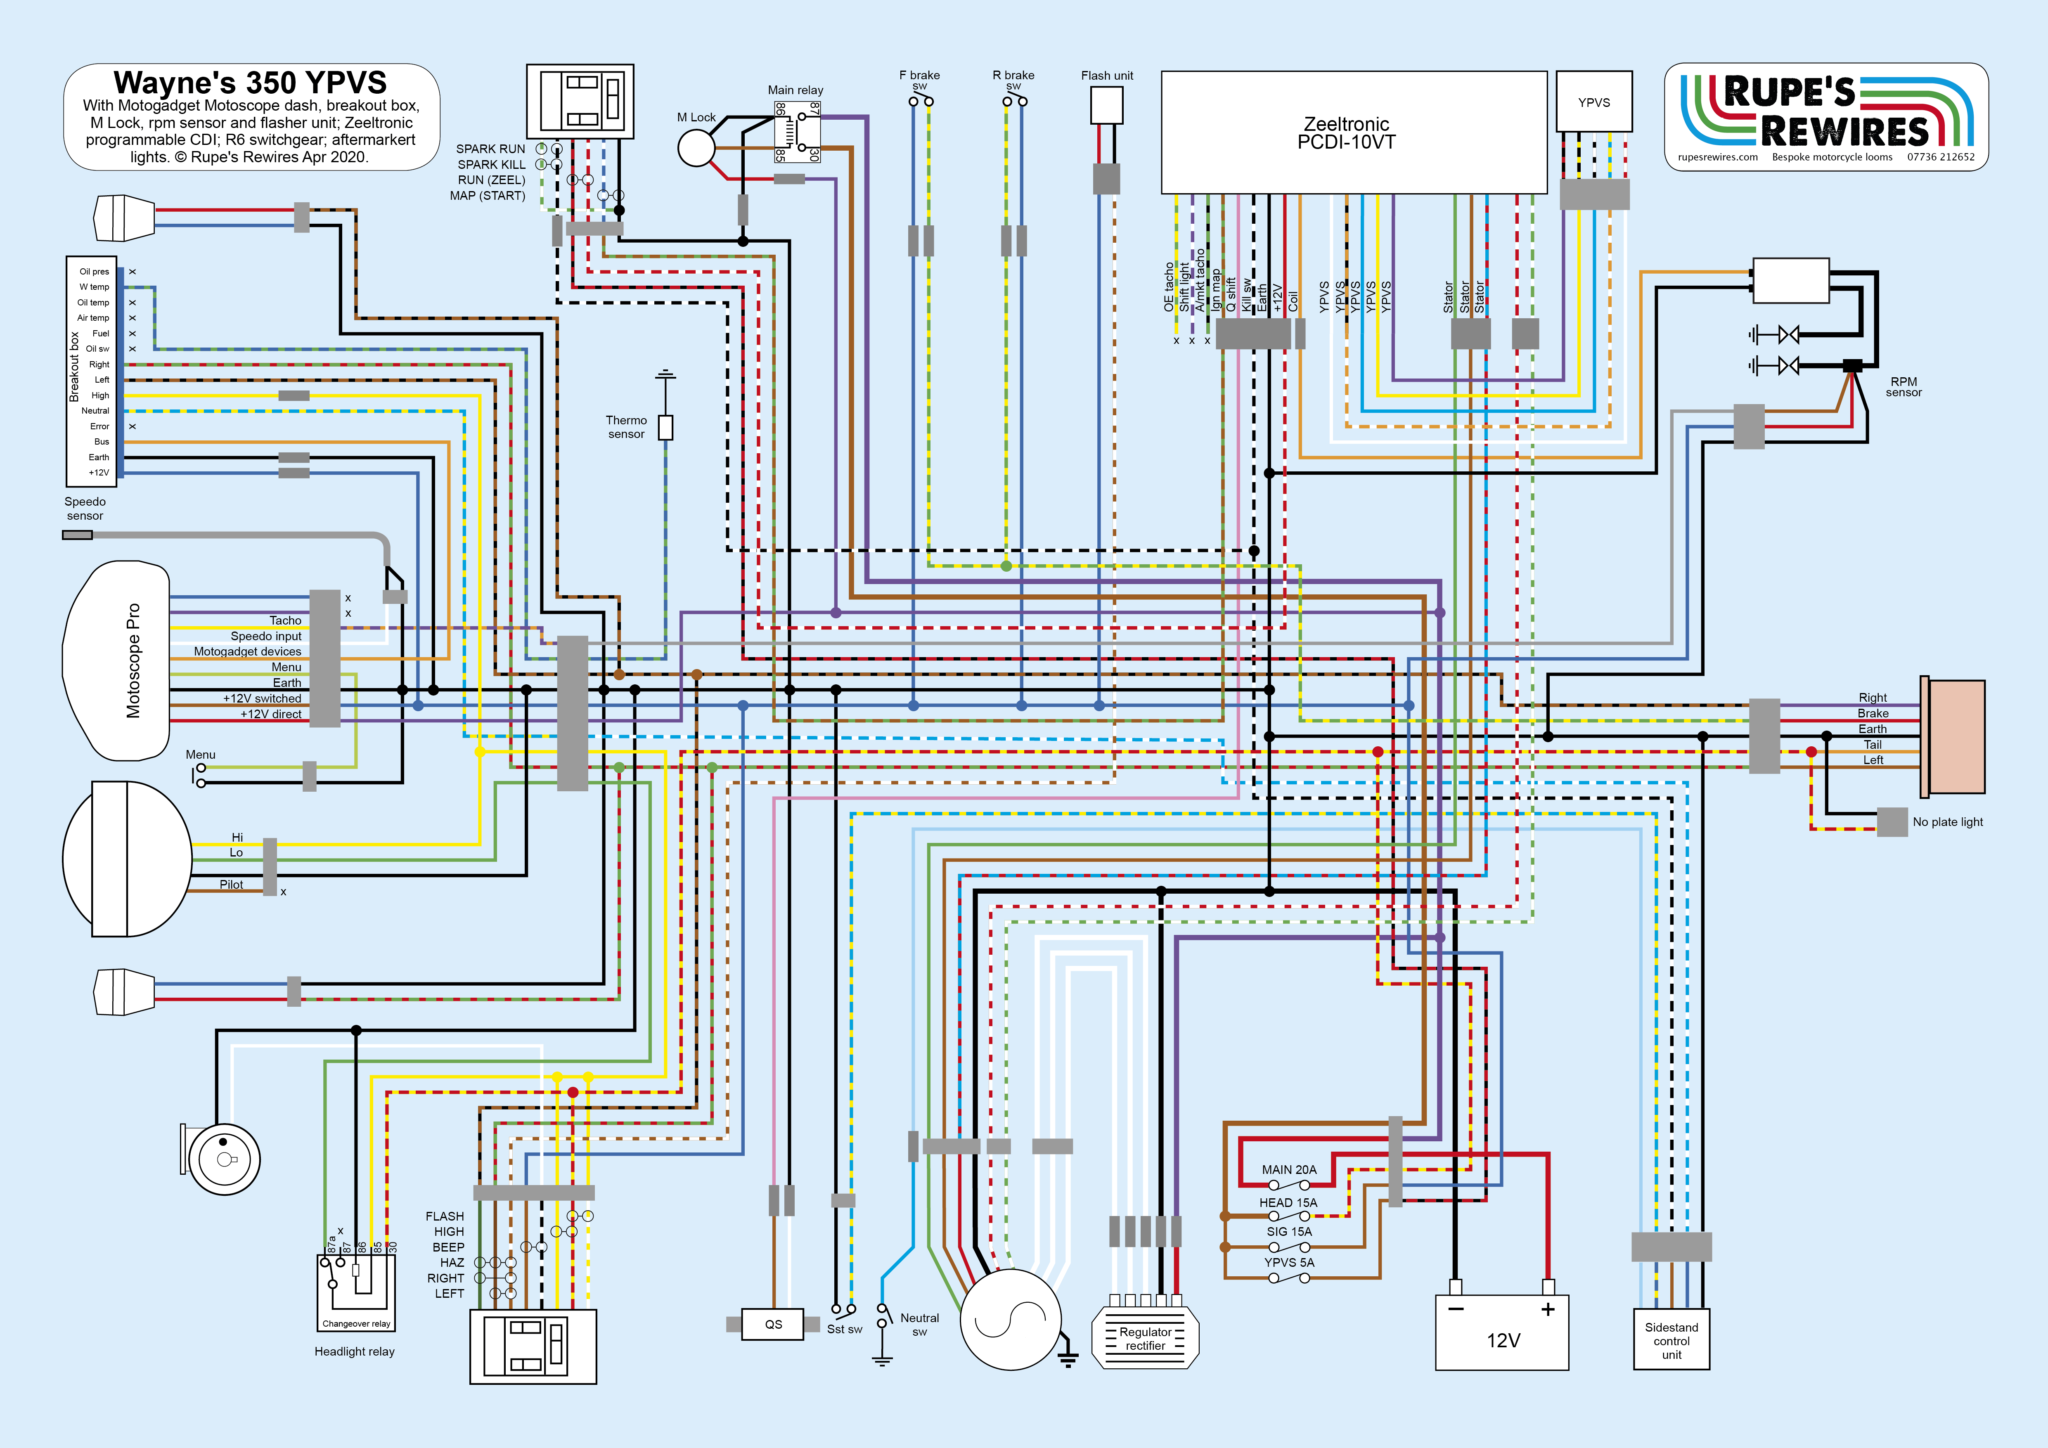
Wayne’s Yamaha RD350 YPVS
Wayne’s been building this very trick Power Valve for a long time. It’s a modified, tuned 350 motor with RGV250 forks and swing arm and a custom seat and tank. It’s so interesting I’ve put lots of pics up, so you have to scroll down for the full effect.
You might think a YPVS is a simple bike, but electrically this one is pretty complicated. The Motogadget Motoscope dash needs a separate ‘breakout box’ to get it to run the warning lights. There’s a speedo sensor, a changeover relay for the headlight, a quick shifter, a water temp sensor, a sidestand control unit, an external rpm sensor, a main relay switched by a Motogadget M Lock, a YPVS motor, a Zeeltronic ignition… plus all the usual lights and wotnot.
Joining so many separate components in a confined space can easily get very messy. Wayne’s brief didn’t mention mess though: “Make it neat and make it work.” This meant a lot of planning and sketching to figure out the best use of the available space. I started by mounting everything in appropriate places. The original Yamaha fuse box is thinner than anything you can buy so I kept that, and by fitting and removing the tank multiple times I found the relays, connector plugs and their associated wire bundles could fill up the rest of the under-tank area. That left the bulky ignition box to fit under the seat, just in front of the lithium battery and already fitted regulator rectifier.
When space is this tight you have to think several moves ahead. With the ignition wires running along the left frame rail, it made sense to use the right frame rail for everything else at the back of the bike, then join everything under the tank using long, curved cable runs. This gave lots of scope to prevent the cable bundles from running across each other, thereby avoiding too much vertical bulk.
That still left the headlight, which needed a sub-loom of its own to handle the light, breakout box, dash, menu button, speedo sensor and indicators. To keep maximum flexibility (and therefore neatness) I left quite a lot of exposed cable in this bit.
I built the loom during the lockdown, working much more slowly than usual, so it took a few weeks. But the moment when everything fired up for the first time was as sweet as ever. The bike’s off to a tuning shop for some final setting up, then it’ll be time for paint. Wayne’s so pleased he’s making his unique wiring diagram into a poster for his garage.
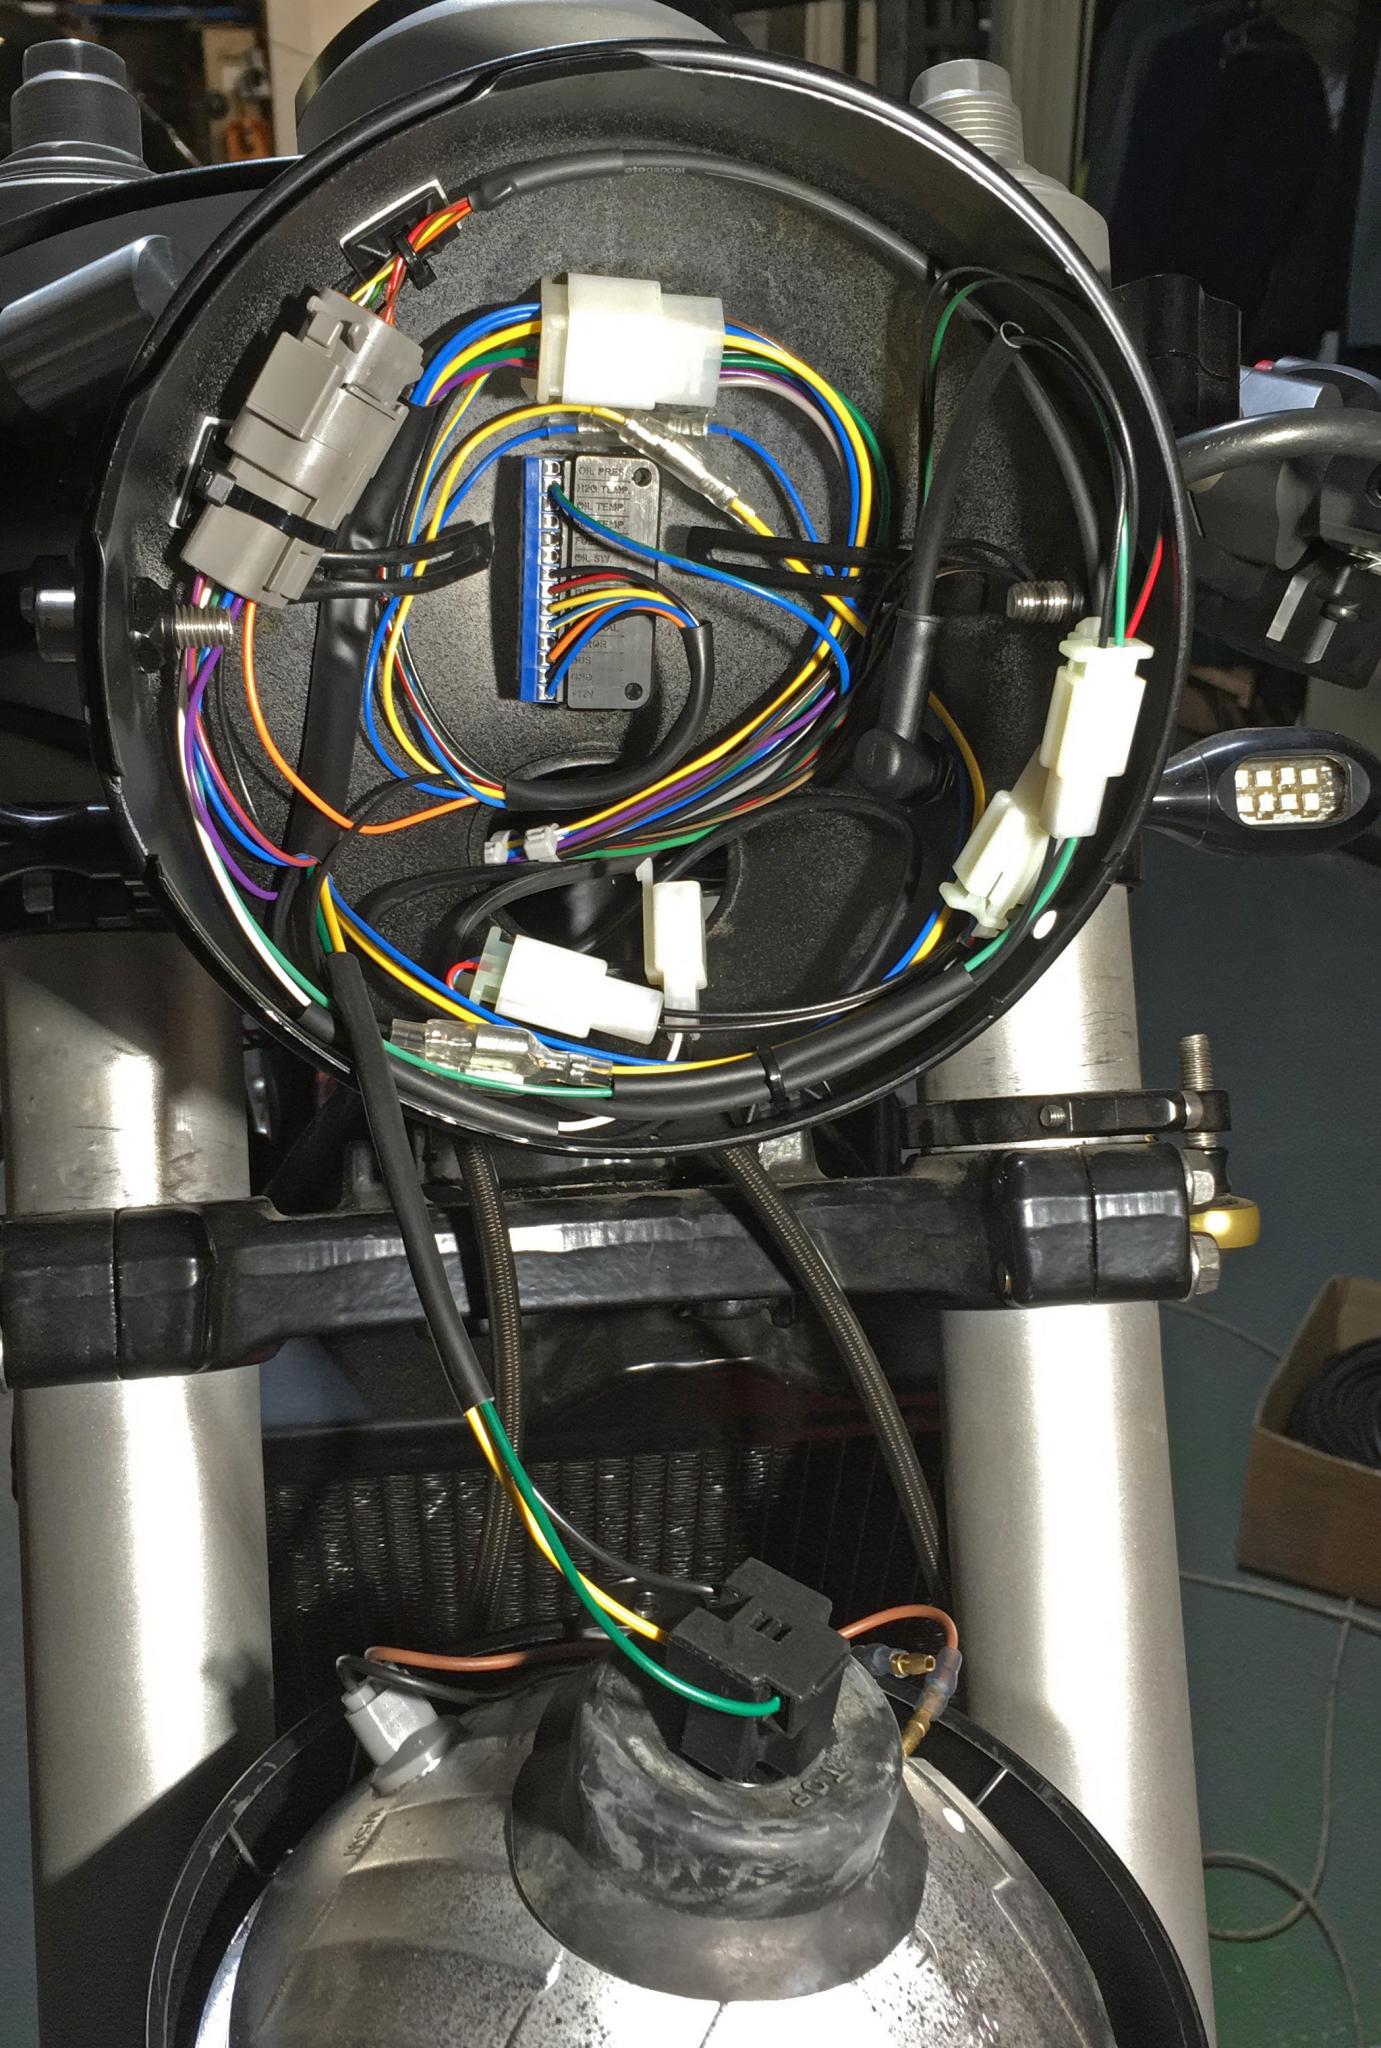
Here’s the headlight sub-loom. The Motogadget ‘breakout box’ is the black thing in the middle
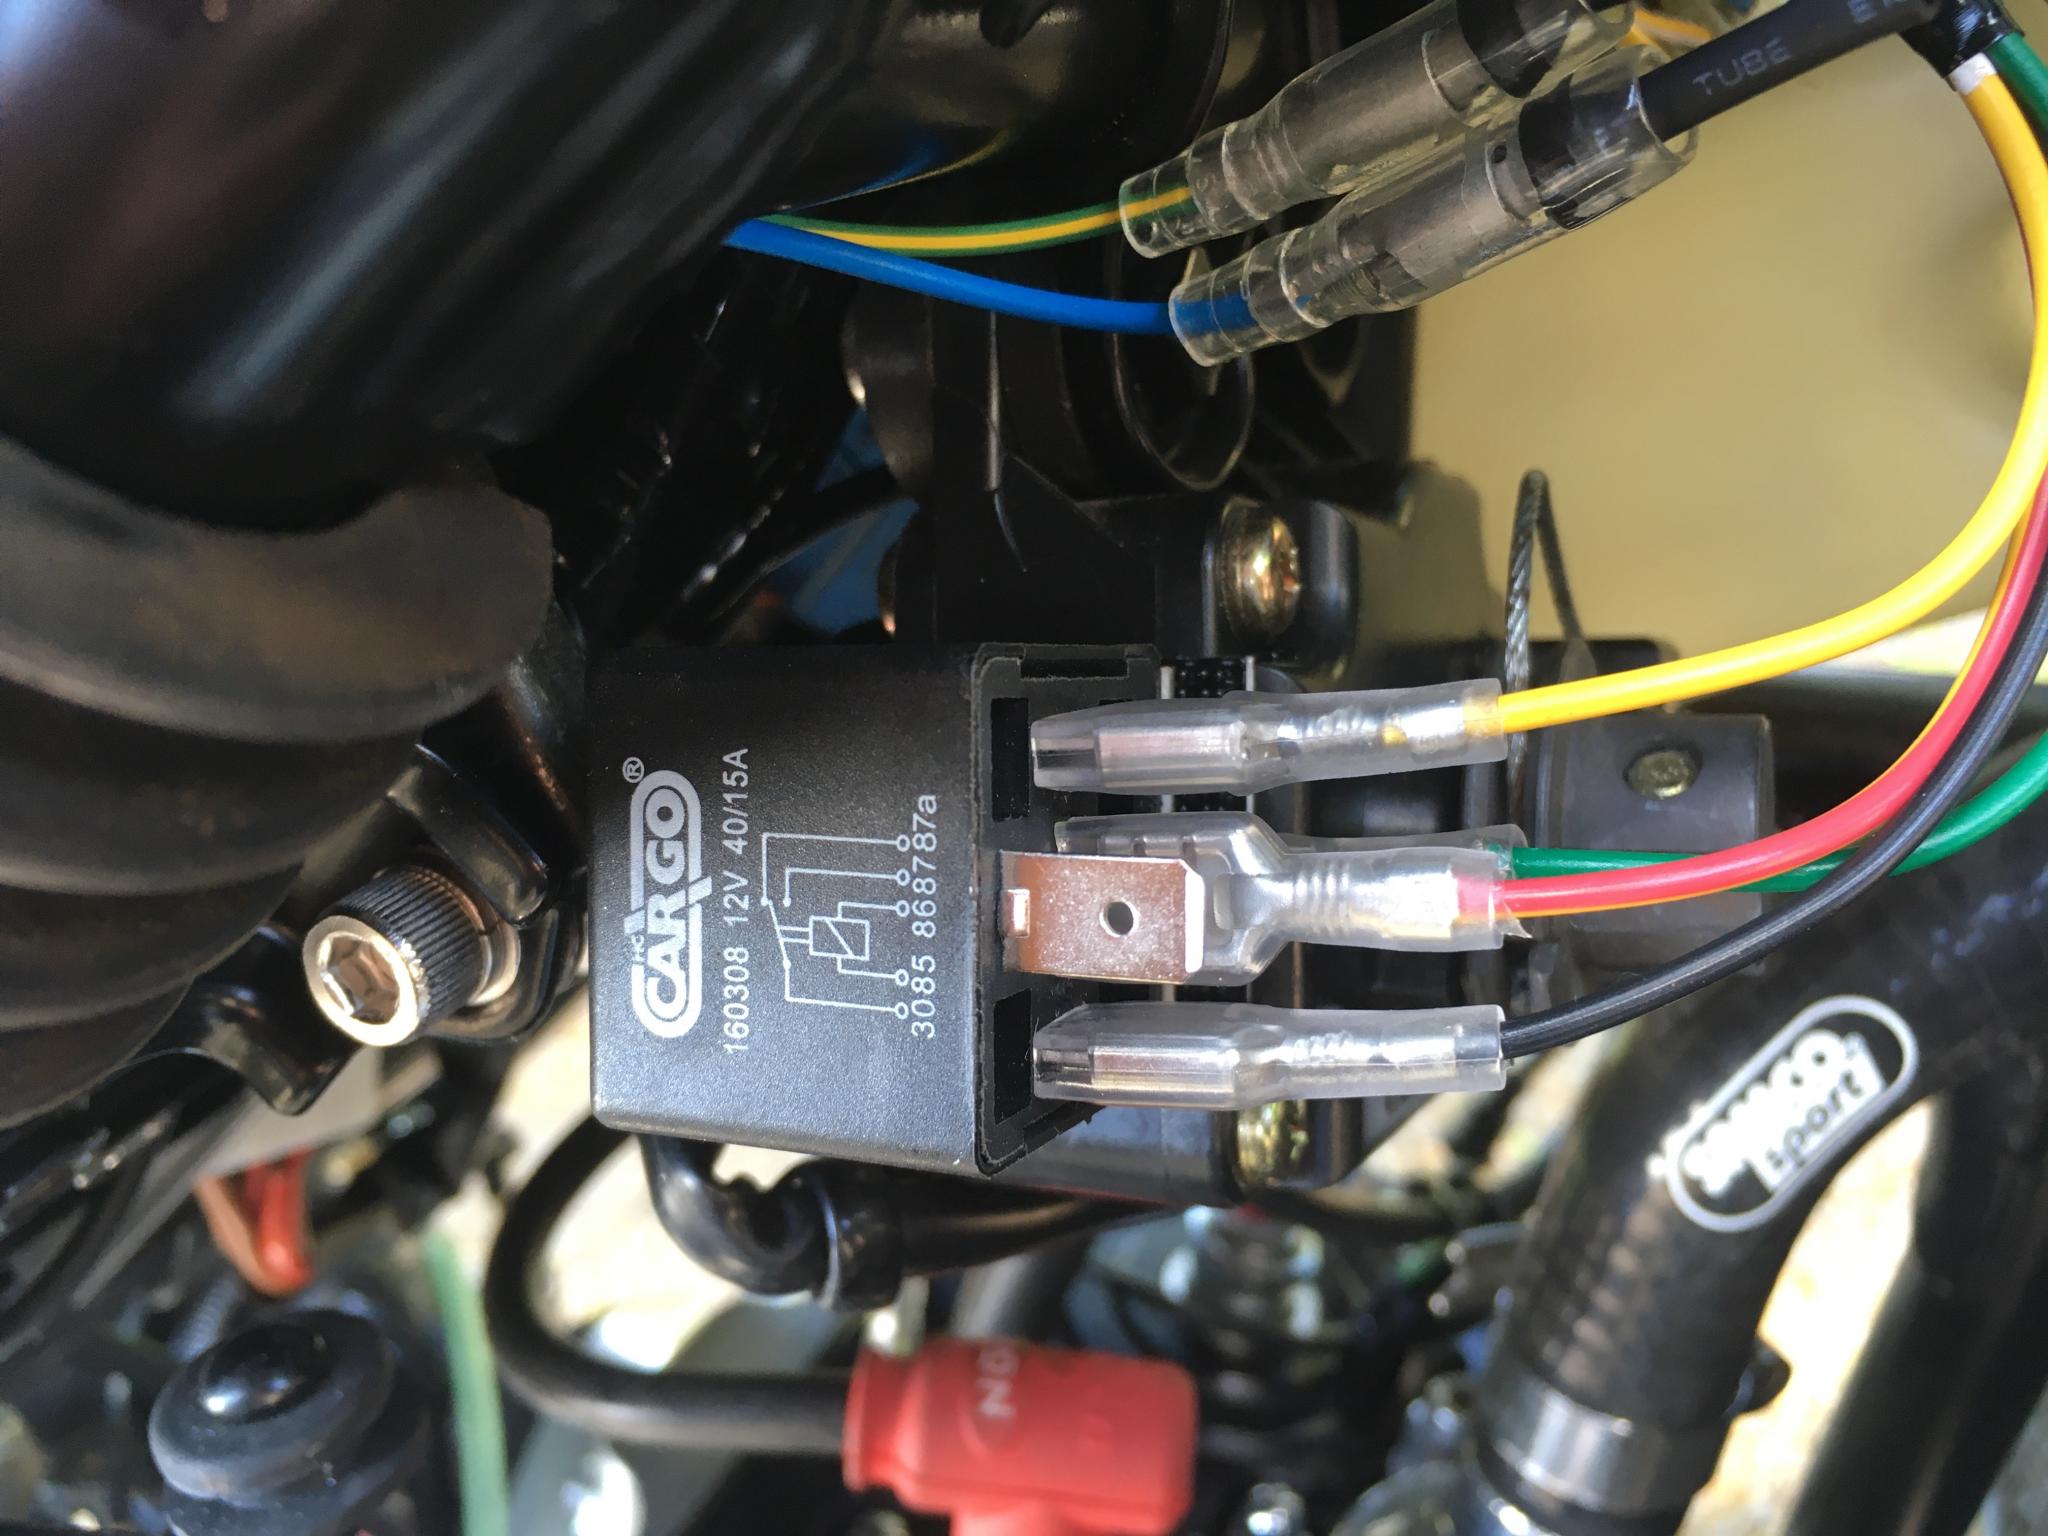
R6 switchgear means you need a changeover relay to switch between high and low beam
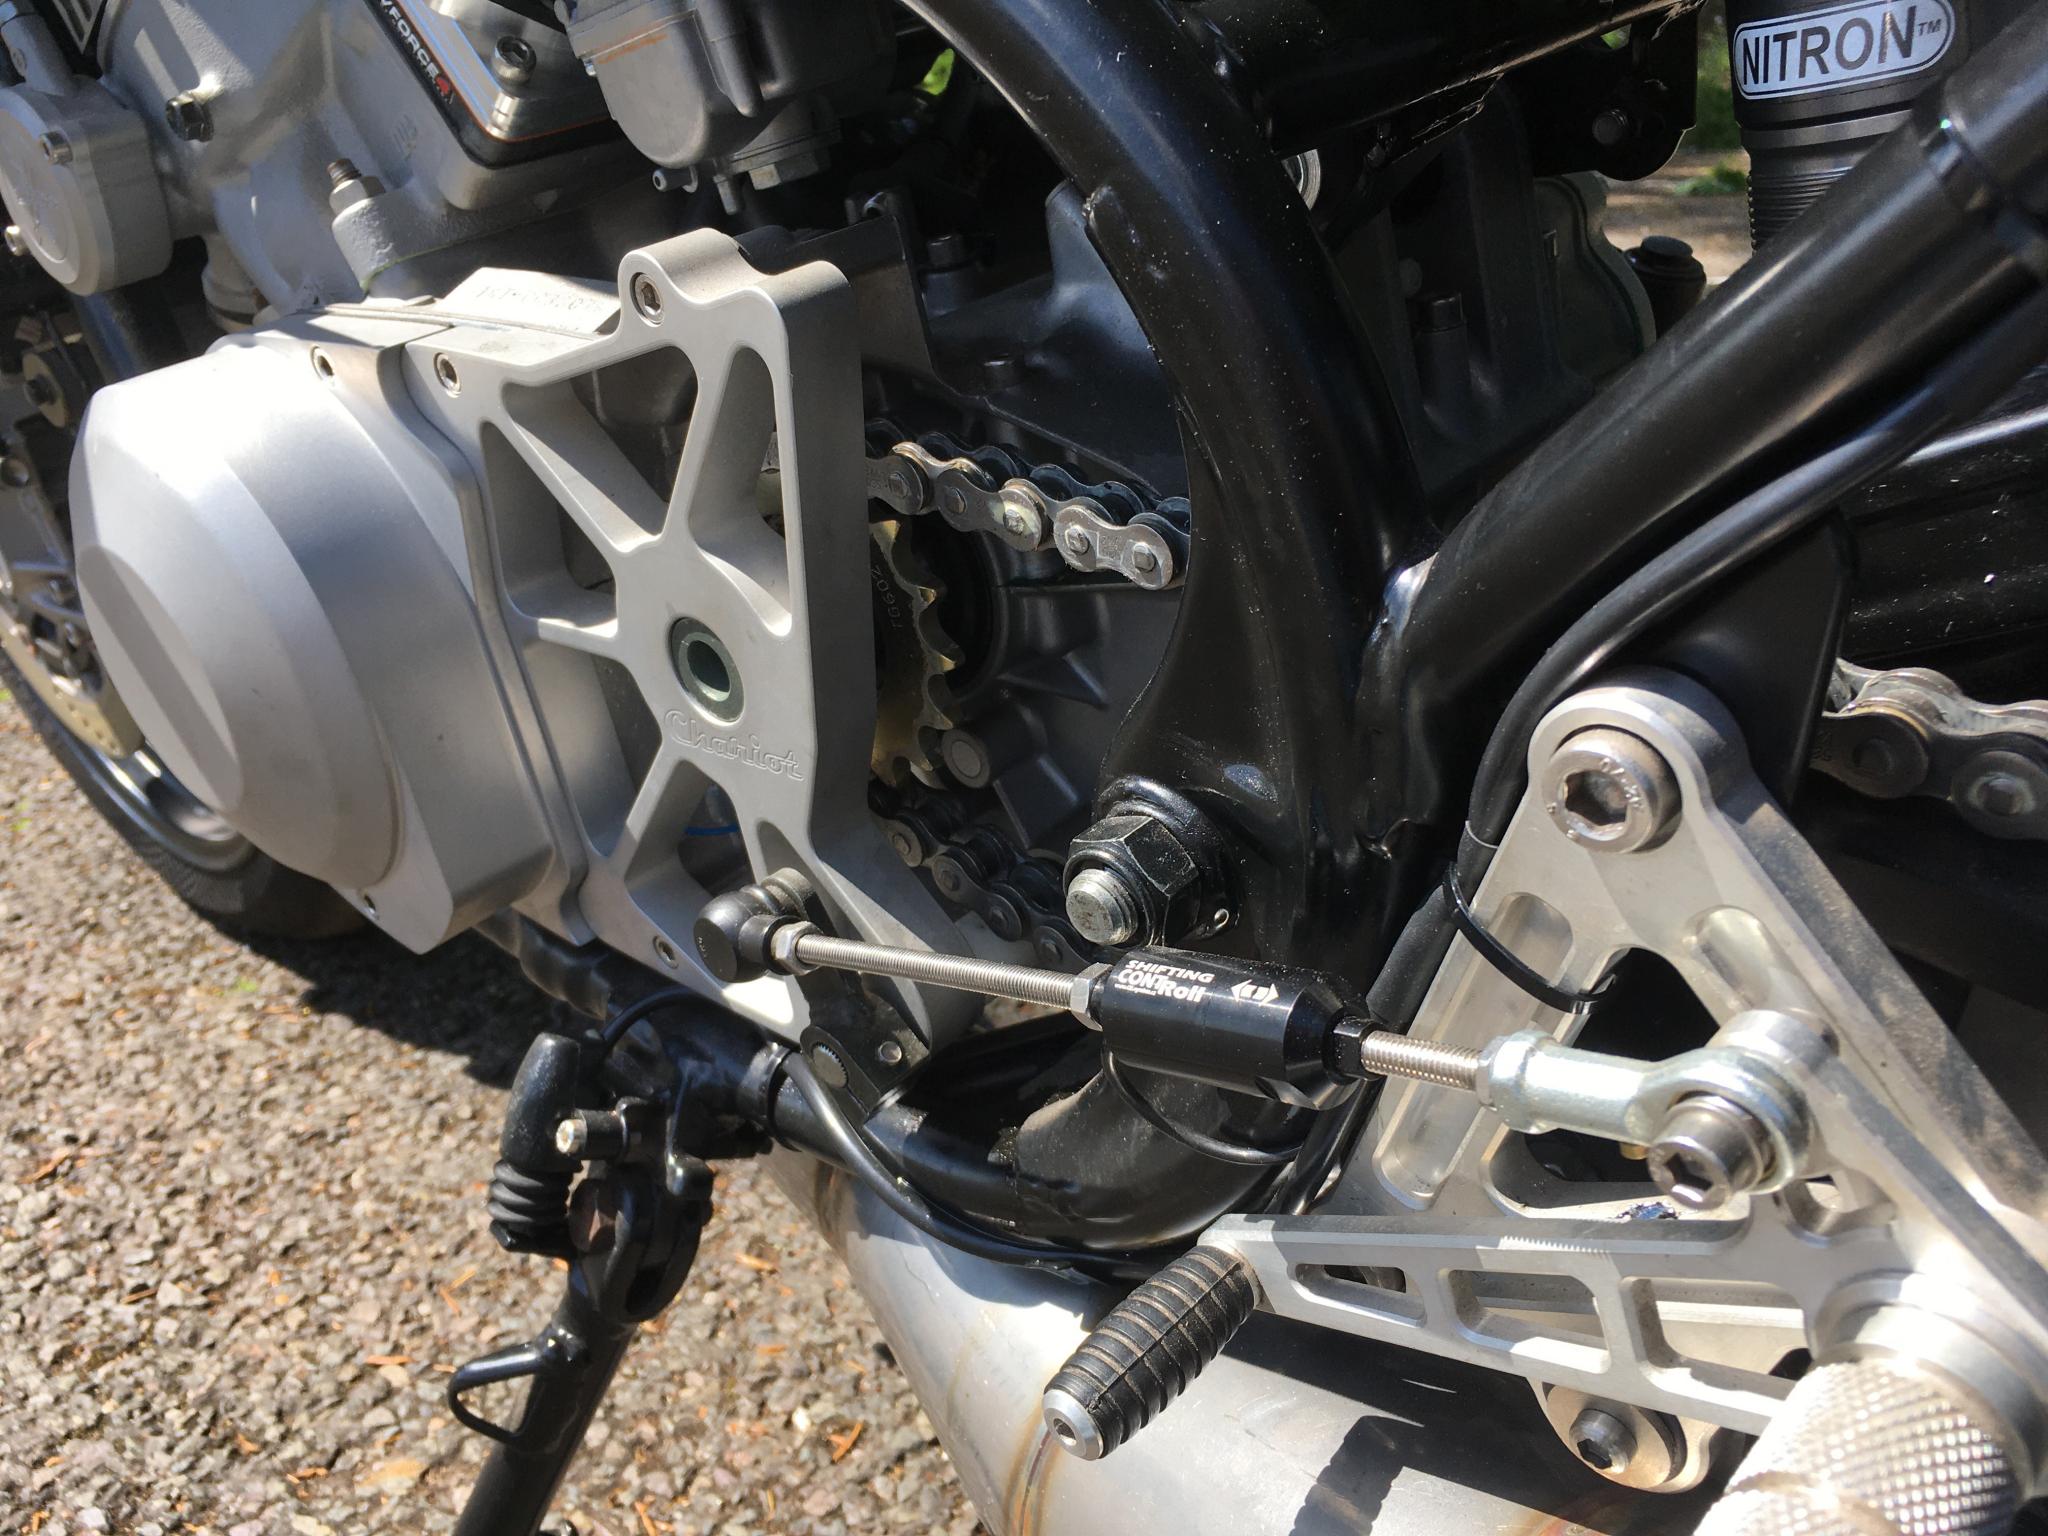
Quickshifter wiring needs to run round the footrest to avoid the chain. Sprocket cover by Chariot comes with an outrigger bearing for extra drivetrain stability
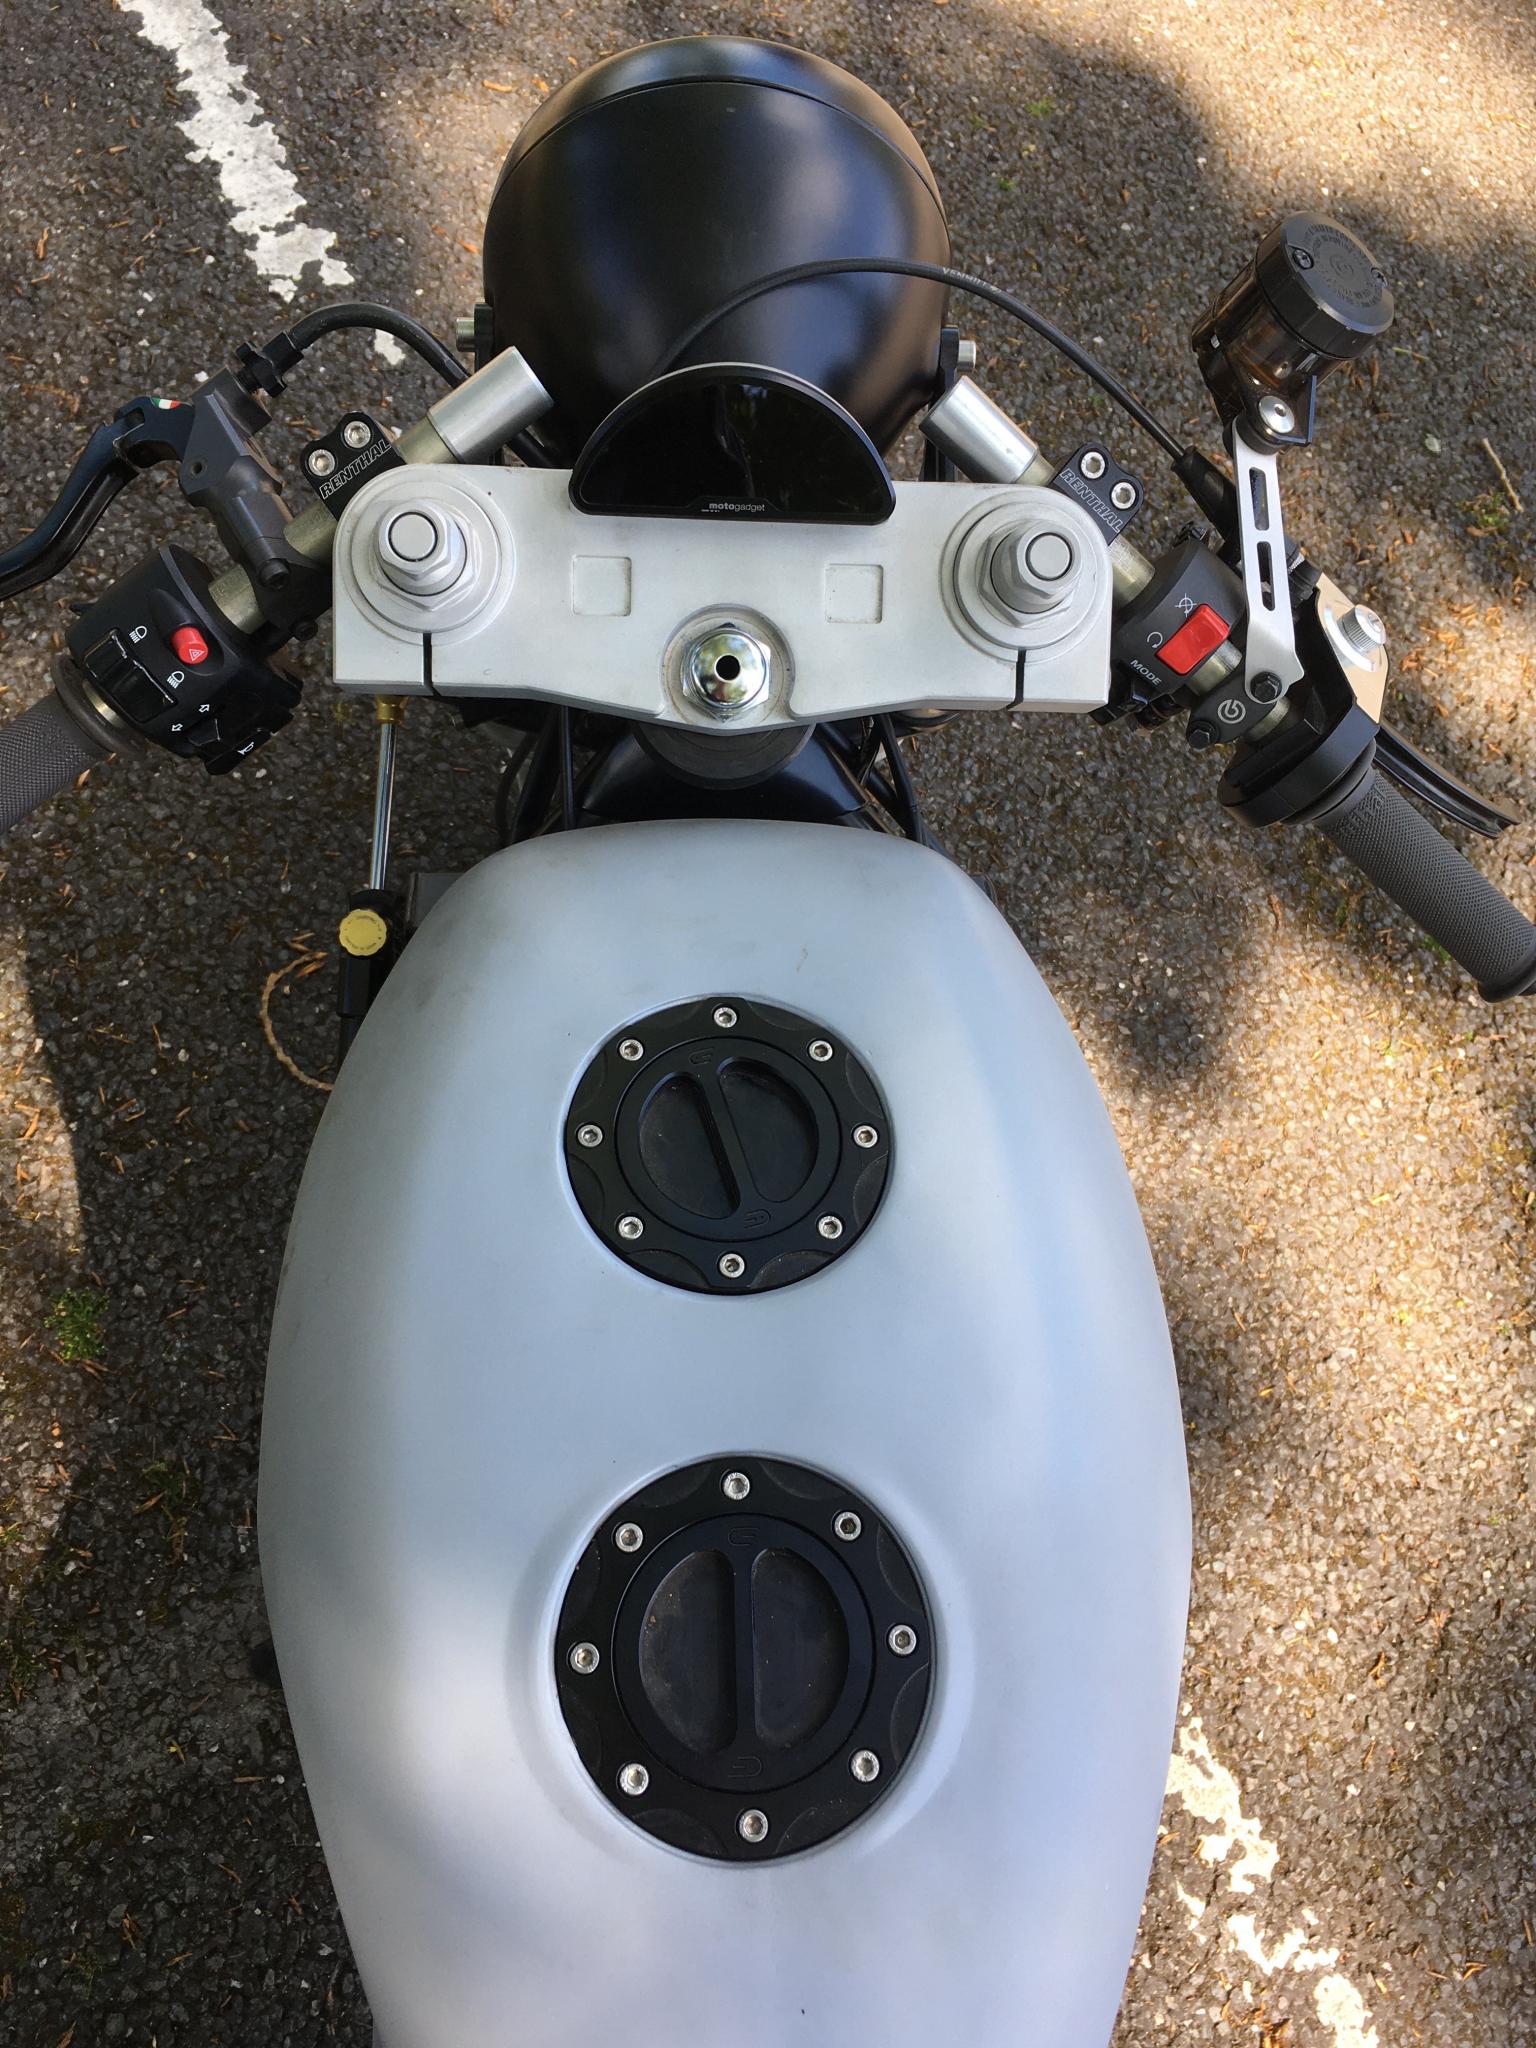
One filler cap for petrol, one for oil. That’s quite a feat of welding, and it opens up the space under the seat for the classic ’empty’ look