Yamaha TDR250 rewire
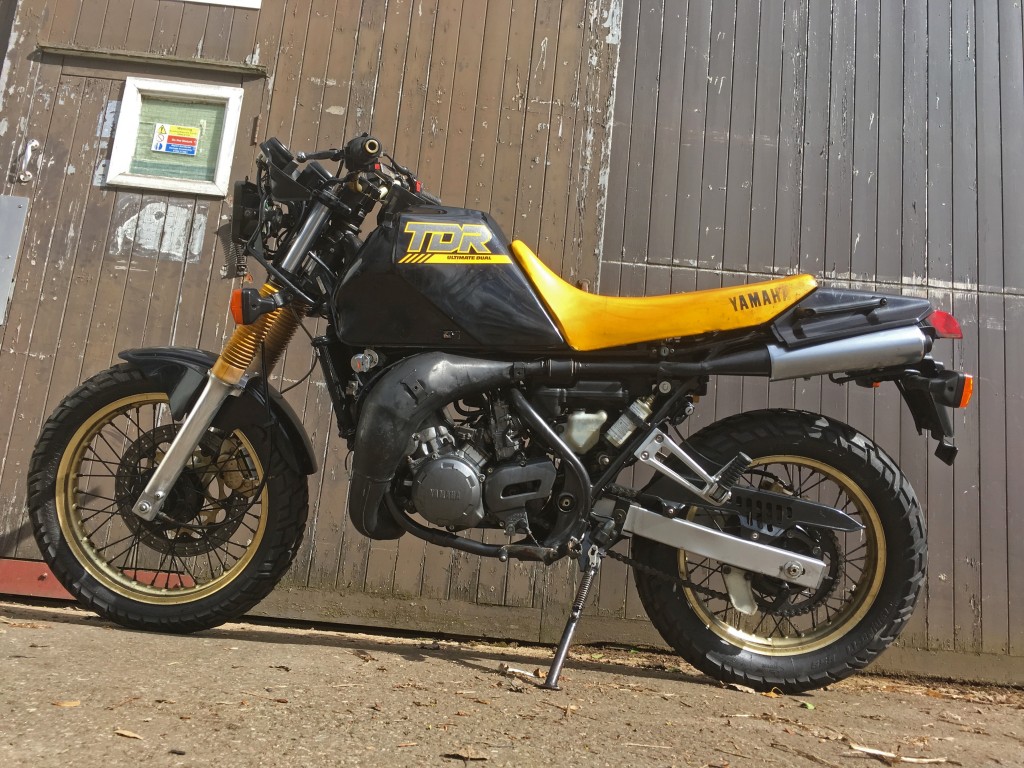
I used to run a TDR250 myself, and even raced it a couple of times, so working on this one was like deja vu all over again.
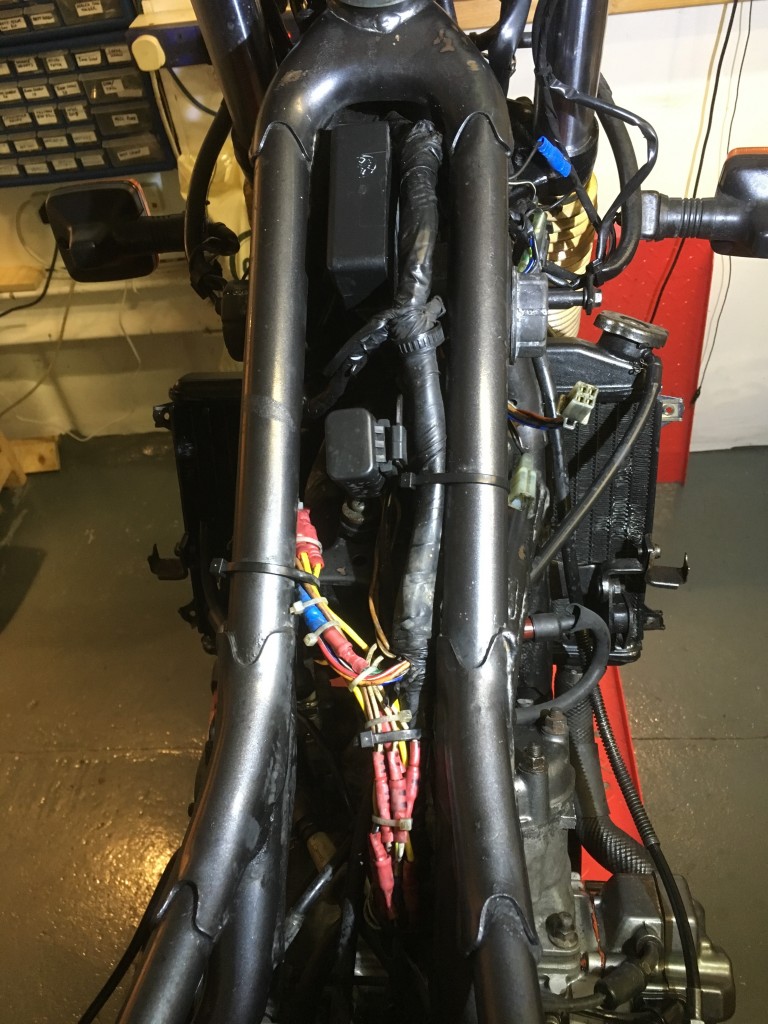
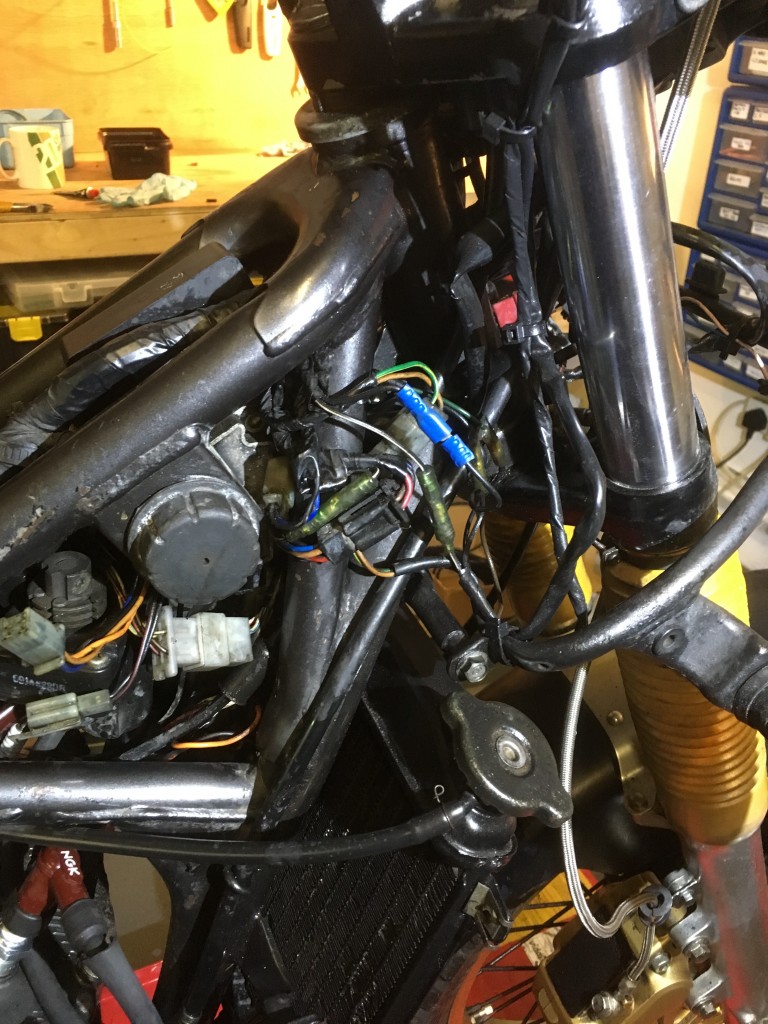
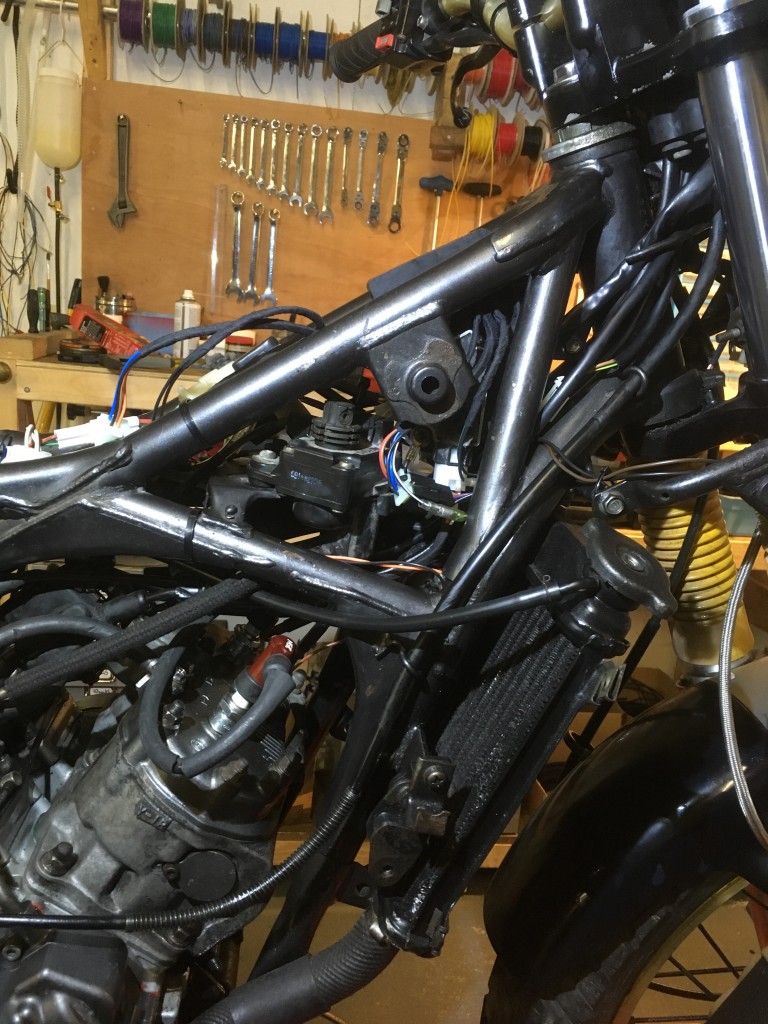
Daniel’s bike was in almost 100% original condition, which is always the thing to look for in a project. It also came at a good price because, as the seller admitted, it didn’t run properly. You only have to take the tank off to see why. At least four of the red connectors for the CDI unit just fell off when I started disconnecting them. Daniel had already decided a new loom was the best option.
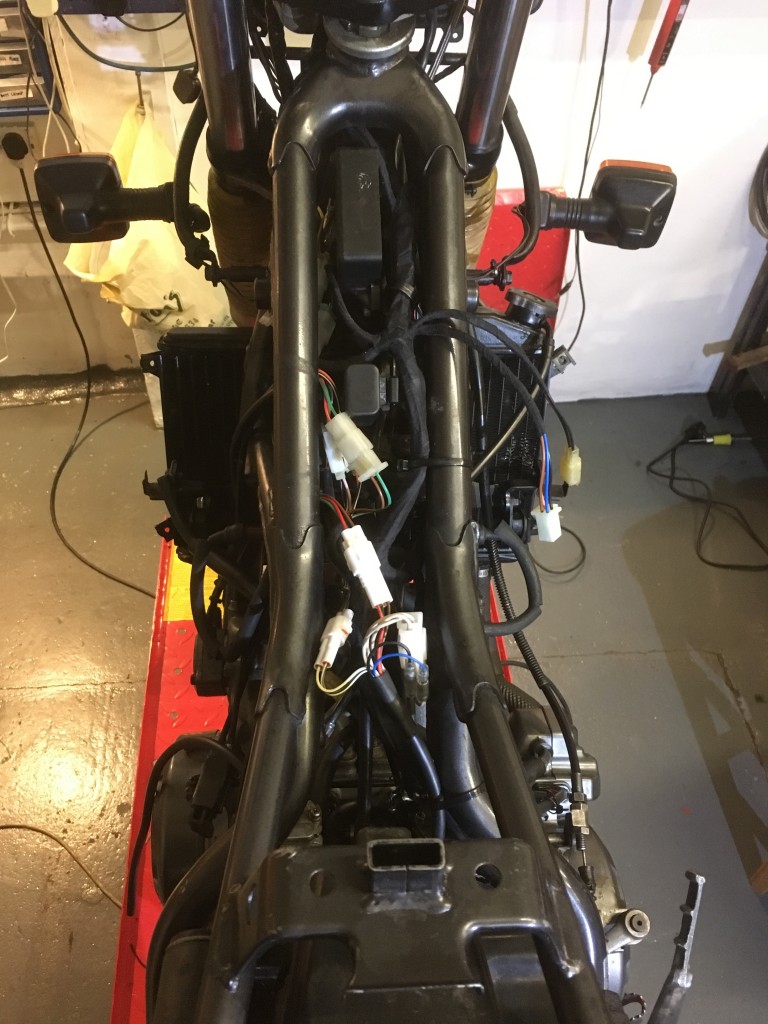
A lot of the work making a new loom involves checking the bits it plugs into: switchgear, lights, alternator, etc. There were a lot of exposed or corroded wires and oil damage on this TDR, but if you are patient it can usually all be fixed. For the loom itself, the bike was totally standard, so I pegged out the old loom on a board and replicated it. Normally you build a custom loom directly onto the bike. I had to estimate a few of the branch lengths where the original loom had got mauled by previous owners, but it came out nicely. I wrapped it in fabric tape to get a bit more flexibility than self-clinging PVC tape.
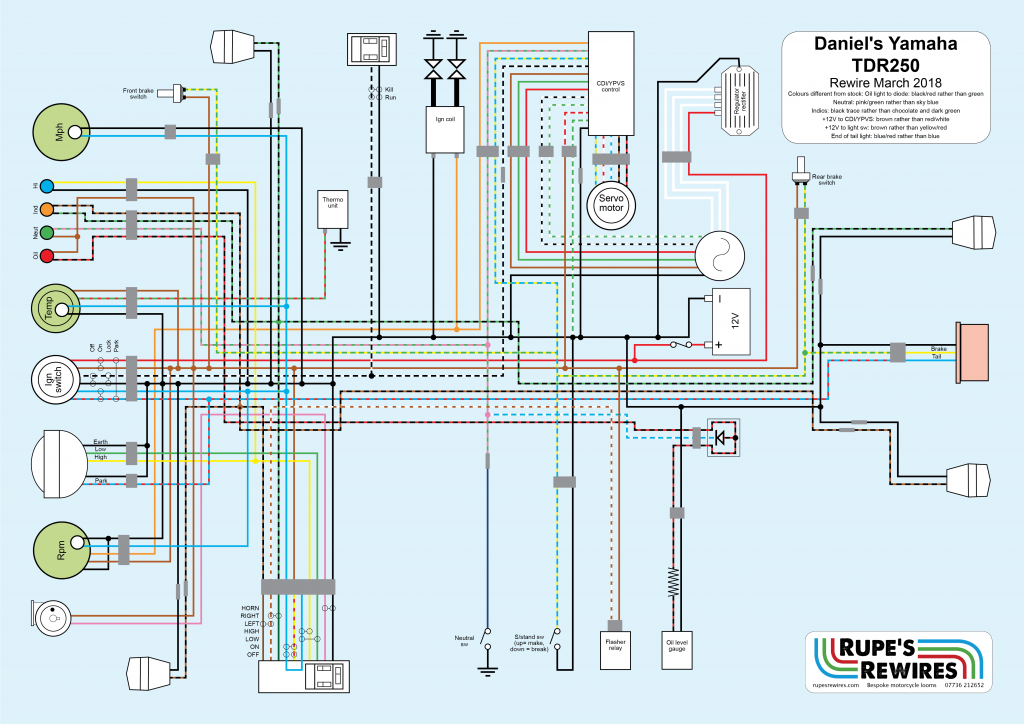
The bike started first kick, and has now gone on to its next stage – some engine work at Pete O’Dell’s Motorcycle Works in Peterborough. The wiring diagram has a few cable colour alterations but I’ve pointed them out. If you’re a TDR owner, you’re welcome to use it.
