
Simple bike, fun to mess around with
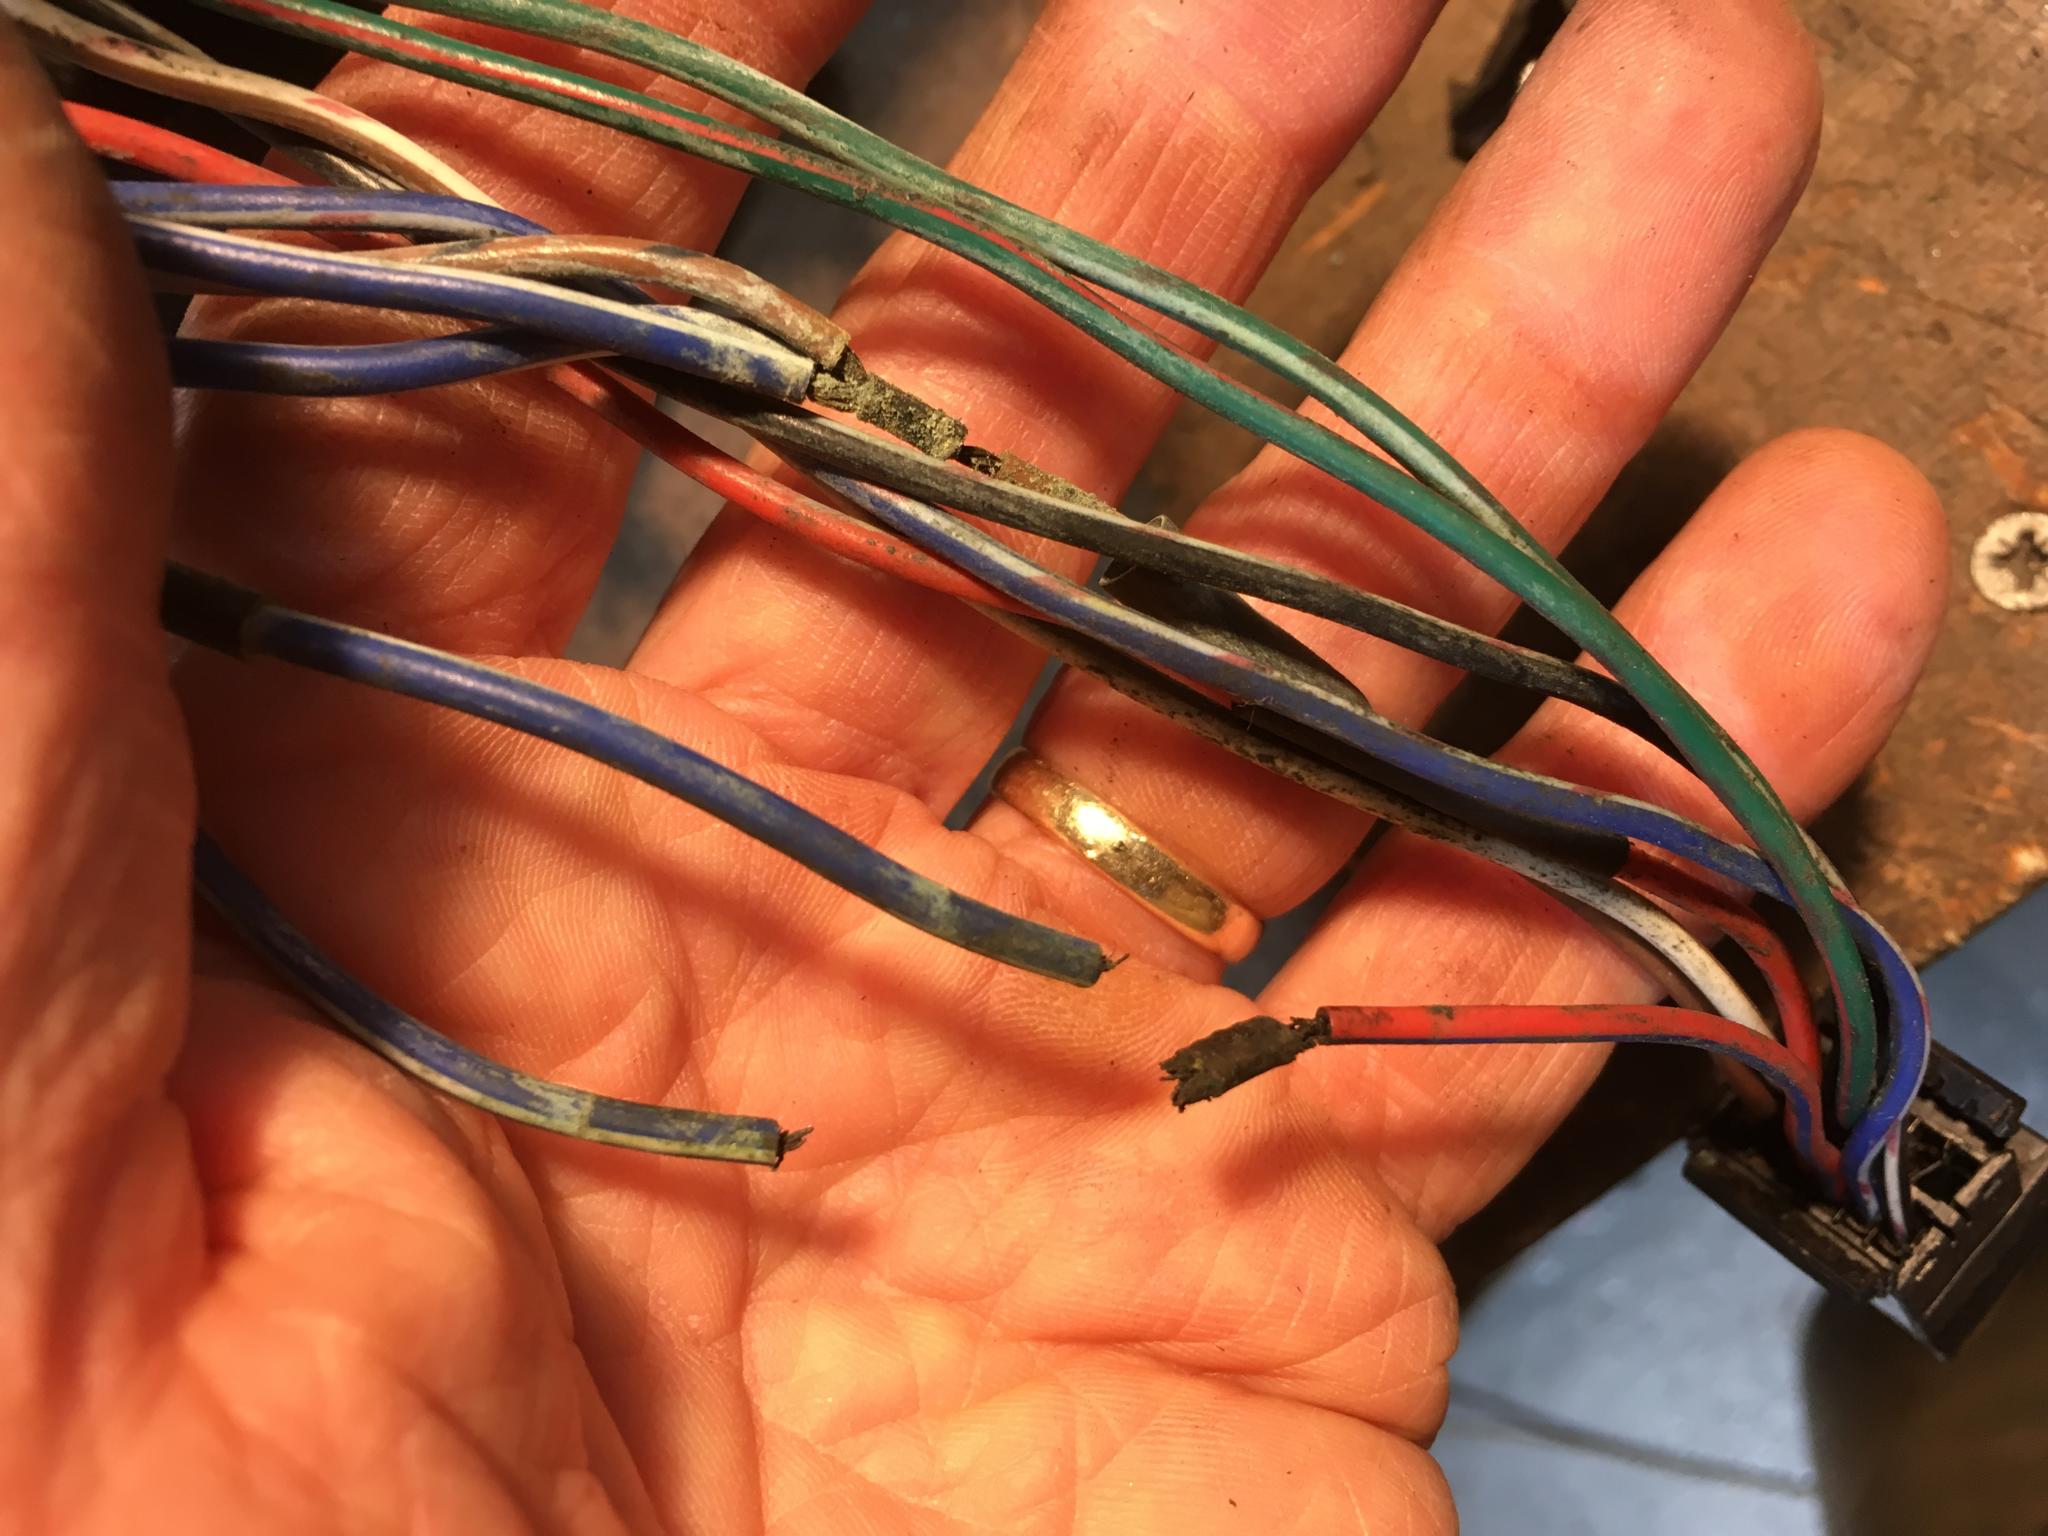
Hidden in the speedo wiring… Even Paul Daniels couldn’t fix this

And here’s the regulator rectifier plug. It’s amazing the battery got any charge at all
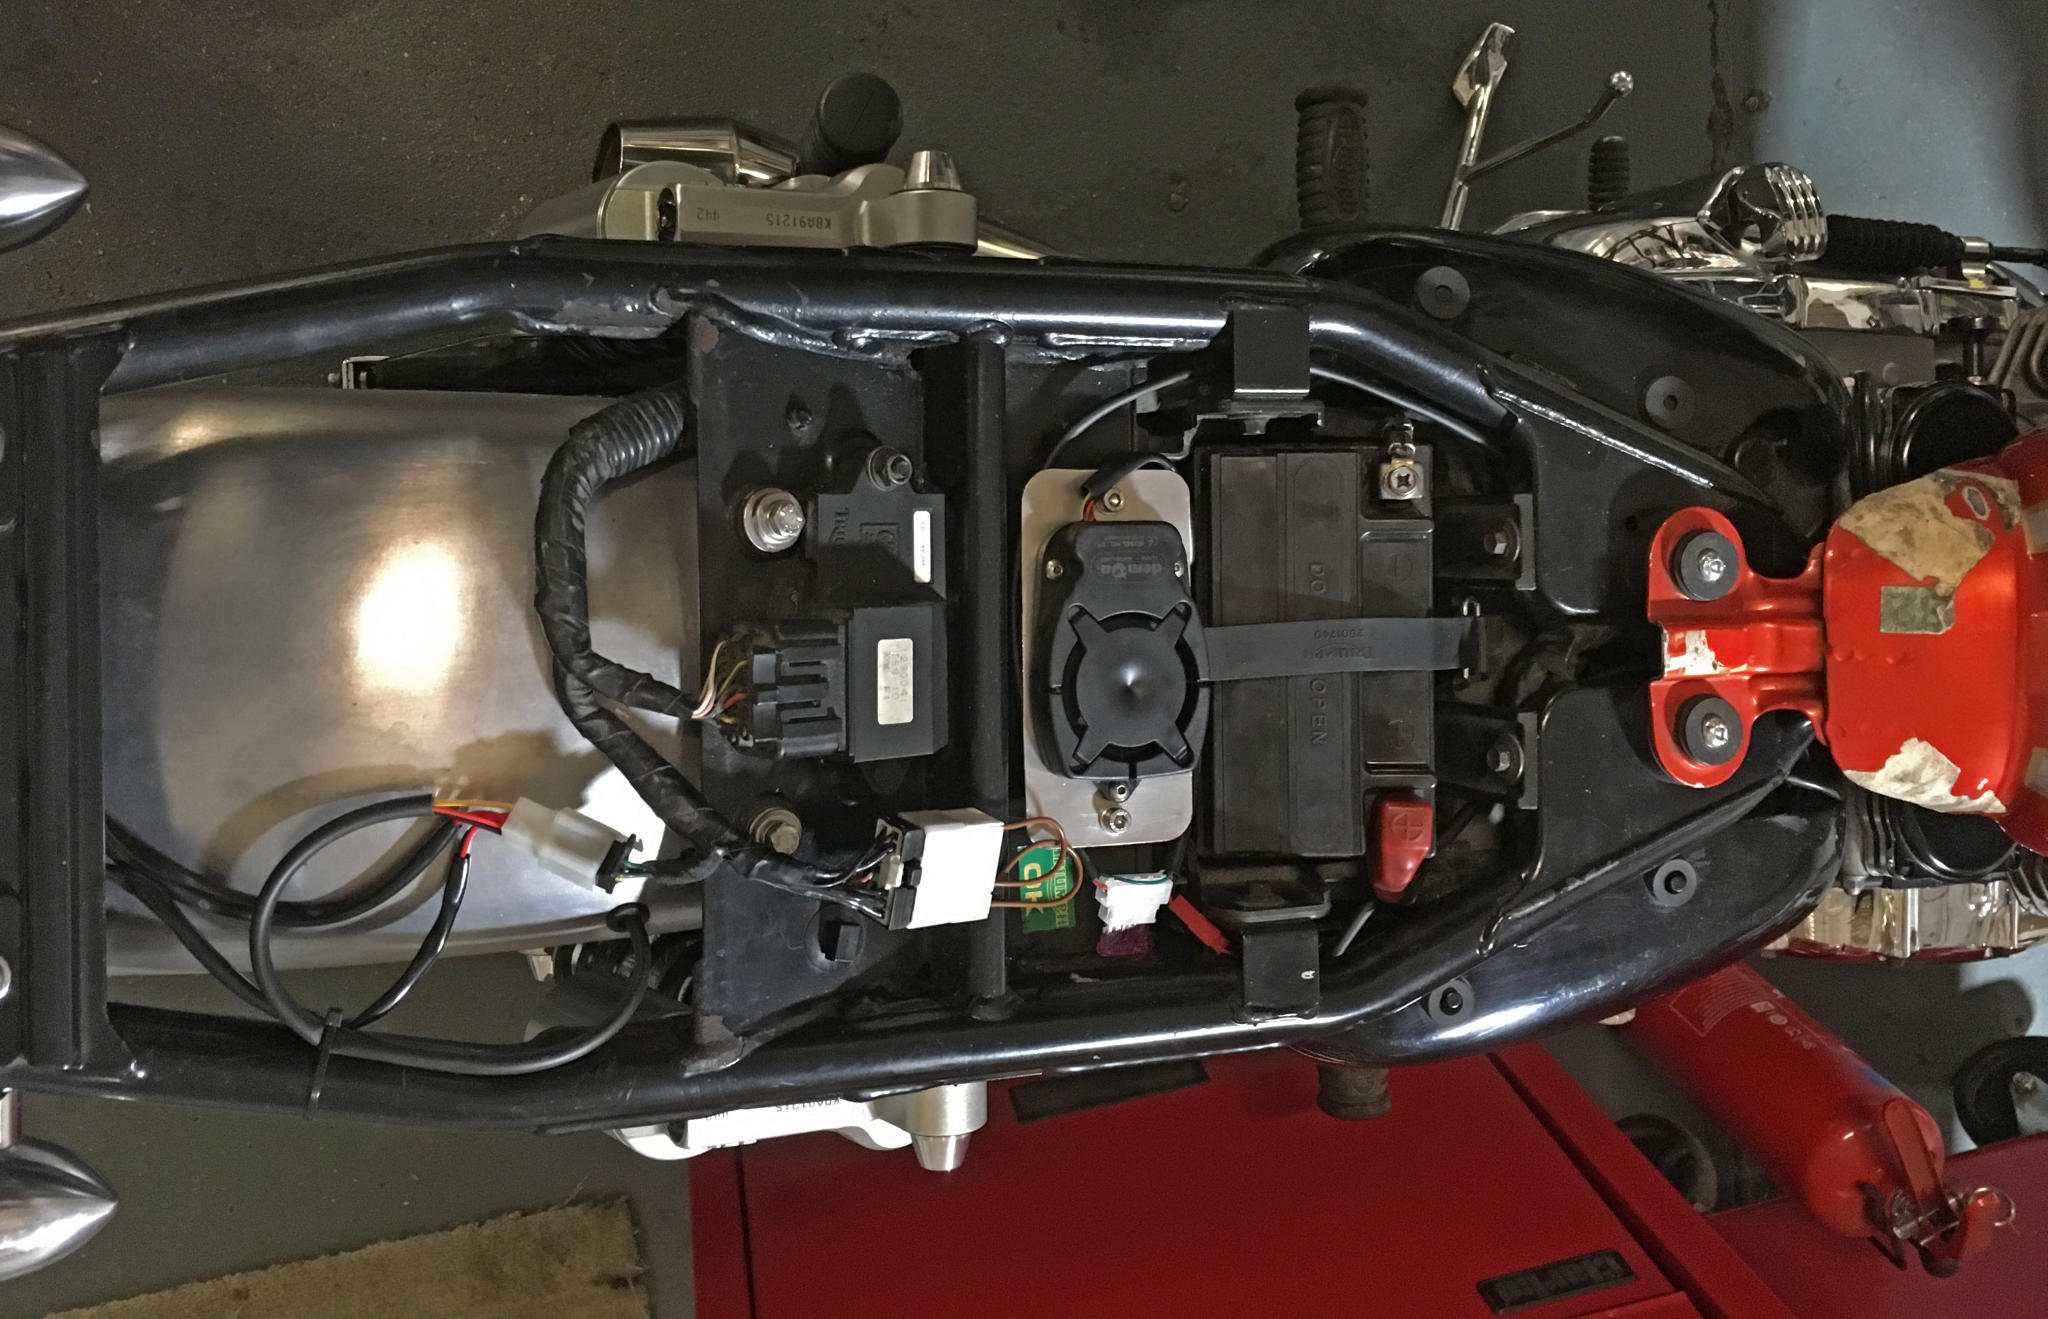
Original Triumph alarm replaced by the white adaptor plug. New alarm fitted. Underseat wiring tidied up
Tony’s Triumph
Tony and his son have had lots of fun customising this 2002 Bonnie. It’s got some really classy parts: Japanese-made Posh indicators, Excel rims, a neat headlight, Daytona speedo, adjustable bars and a Harrison six-pot caliper. But it was starting to show electrical trouble, and wouldn’t start on the button. Tony thought it might need a whole new loom – but the damage turned out to be just at the front of the bike, where the weather hits it. That, and a dead alarm which was causing the starting issue.
None of the problems were easy to see, but when I removed the original speedo the wiring crumbled to dust. Fortunately we didn’t need any of those wires because Tony had brought along a Daytona speedo anyway, and the new connections to the loom were fine. But I kept burrowing into the loom to check for more problems – and found the plug to the regulator rectifier had almost burned out. That was fixed with a very careful graft of new cables.
The speedo needed a new surround to suit the bike. Tony fancied brass rather than aluminium, so next door Scott the fabricator got busy. It’s brushed brass with clear lacquer. And it’s the only one in existence.
Tony needed a new alarm to satisfy his insurance company, so I fitted a simple one which wouldn’t be able to affect the ignition system even if it went wrong. I also took the opportunity to tidy up the wires under the seat. Tony got the bike back fully operational– with a much smaller bill than he’d bargained for.
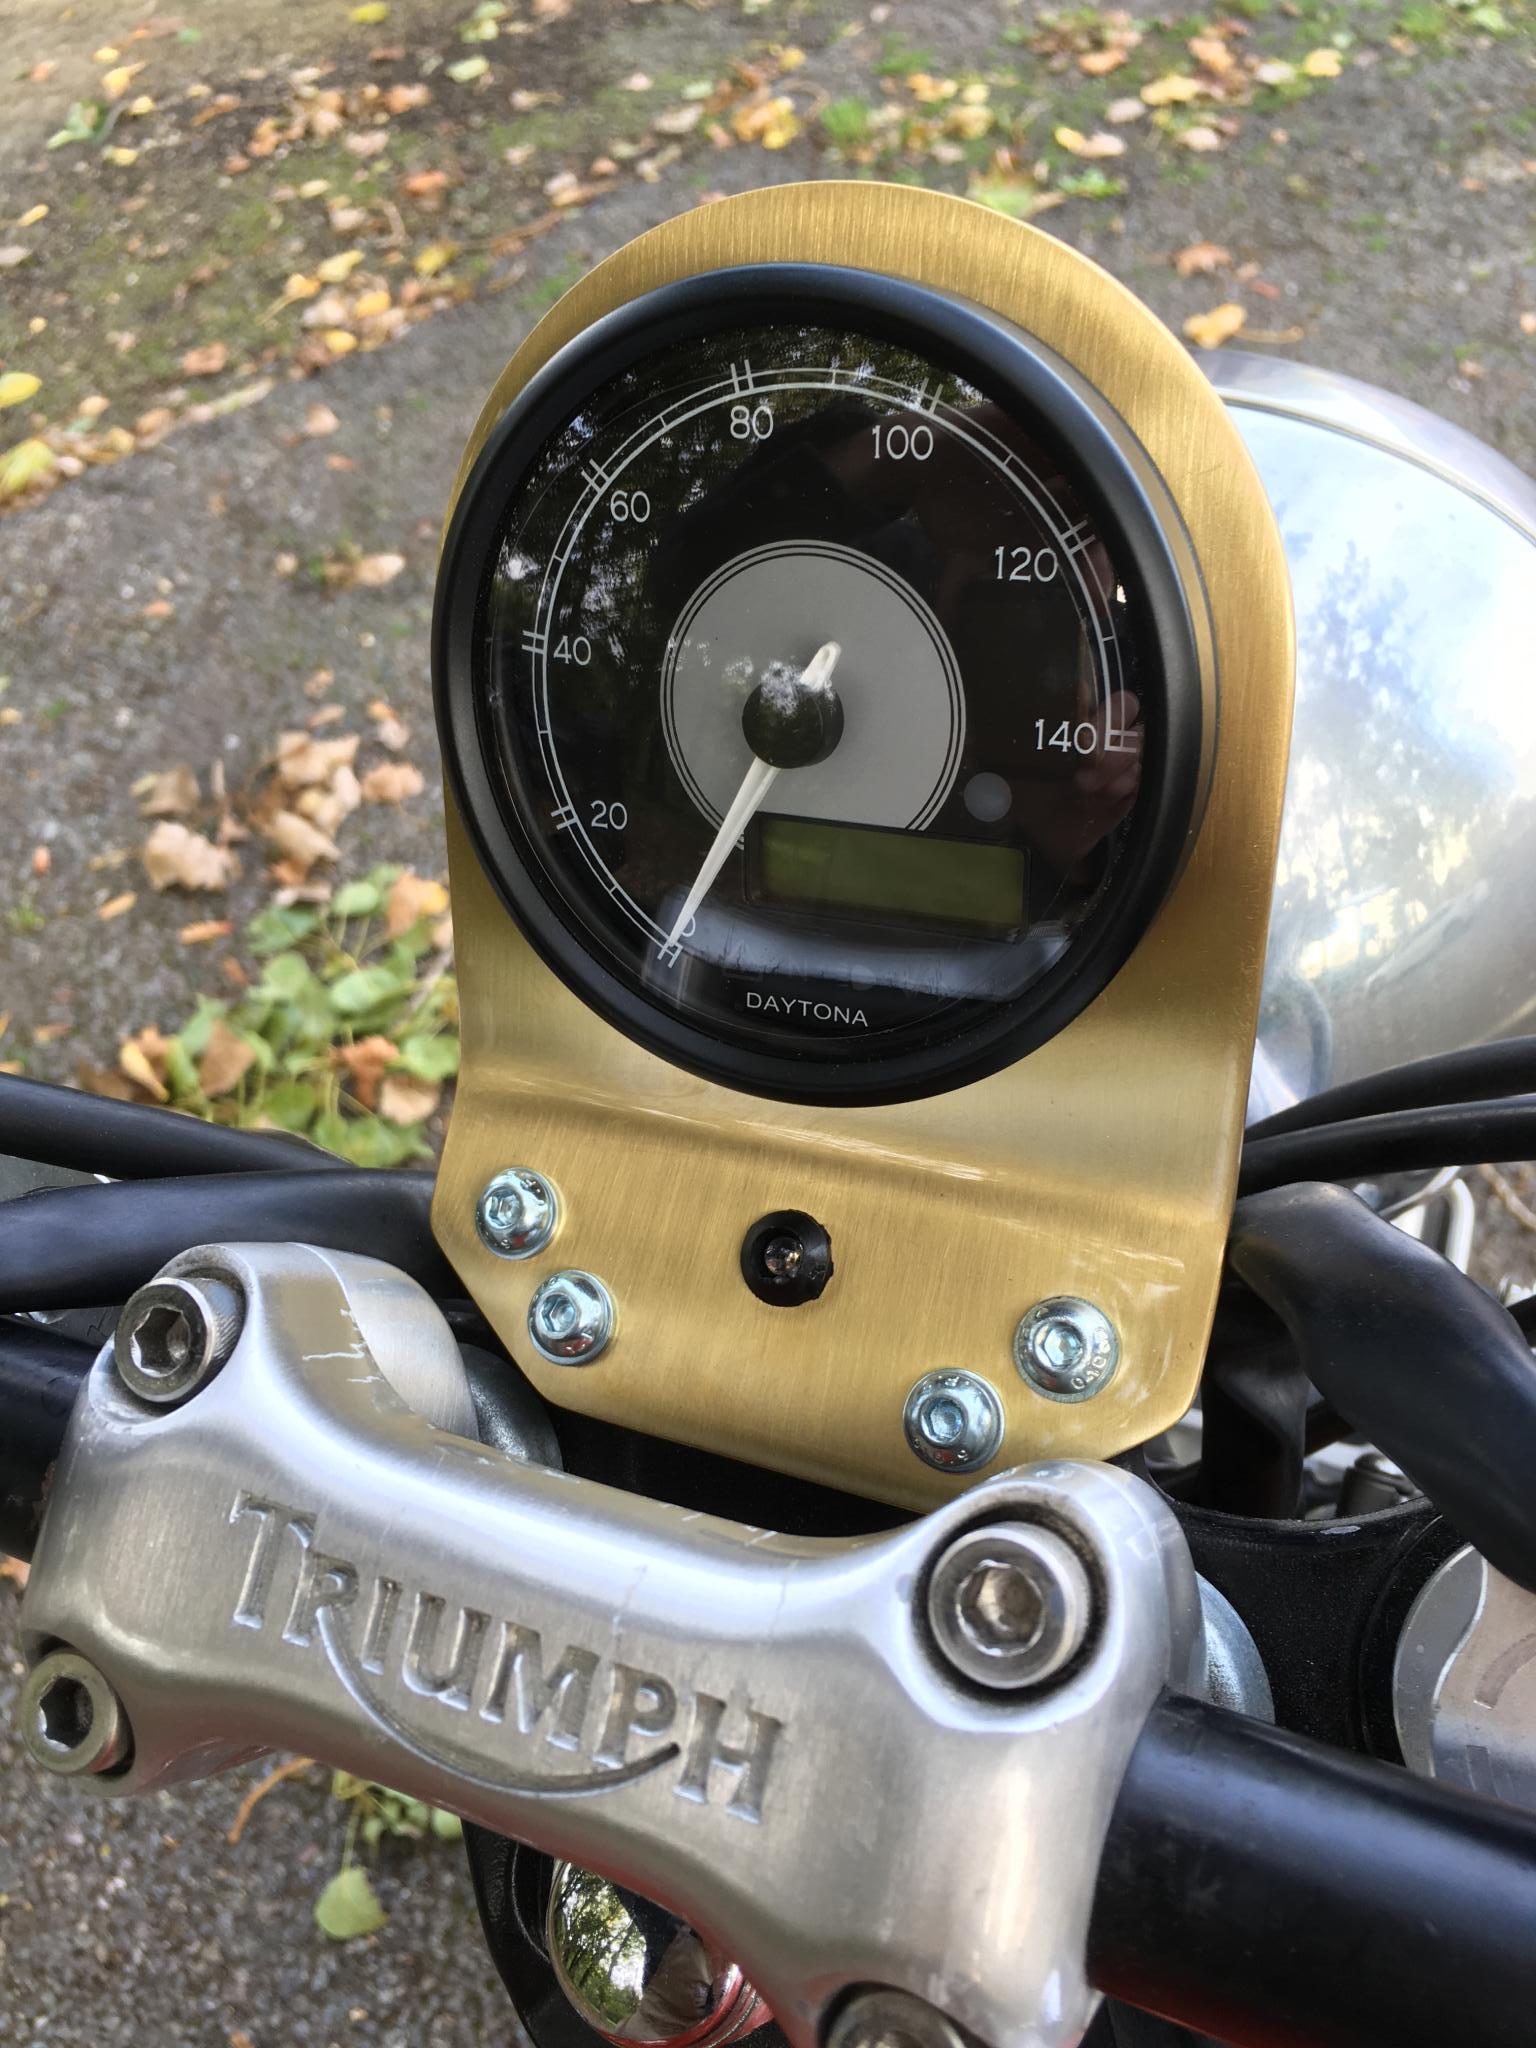
Daytona Classic speedo, with Scott’s custom brass surround
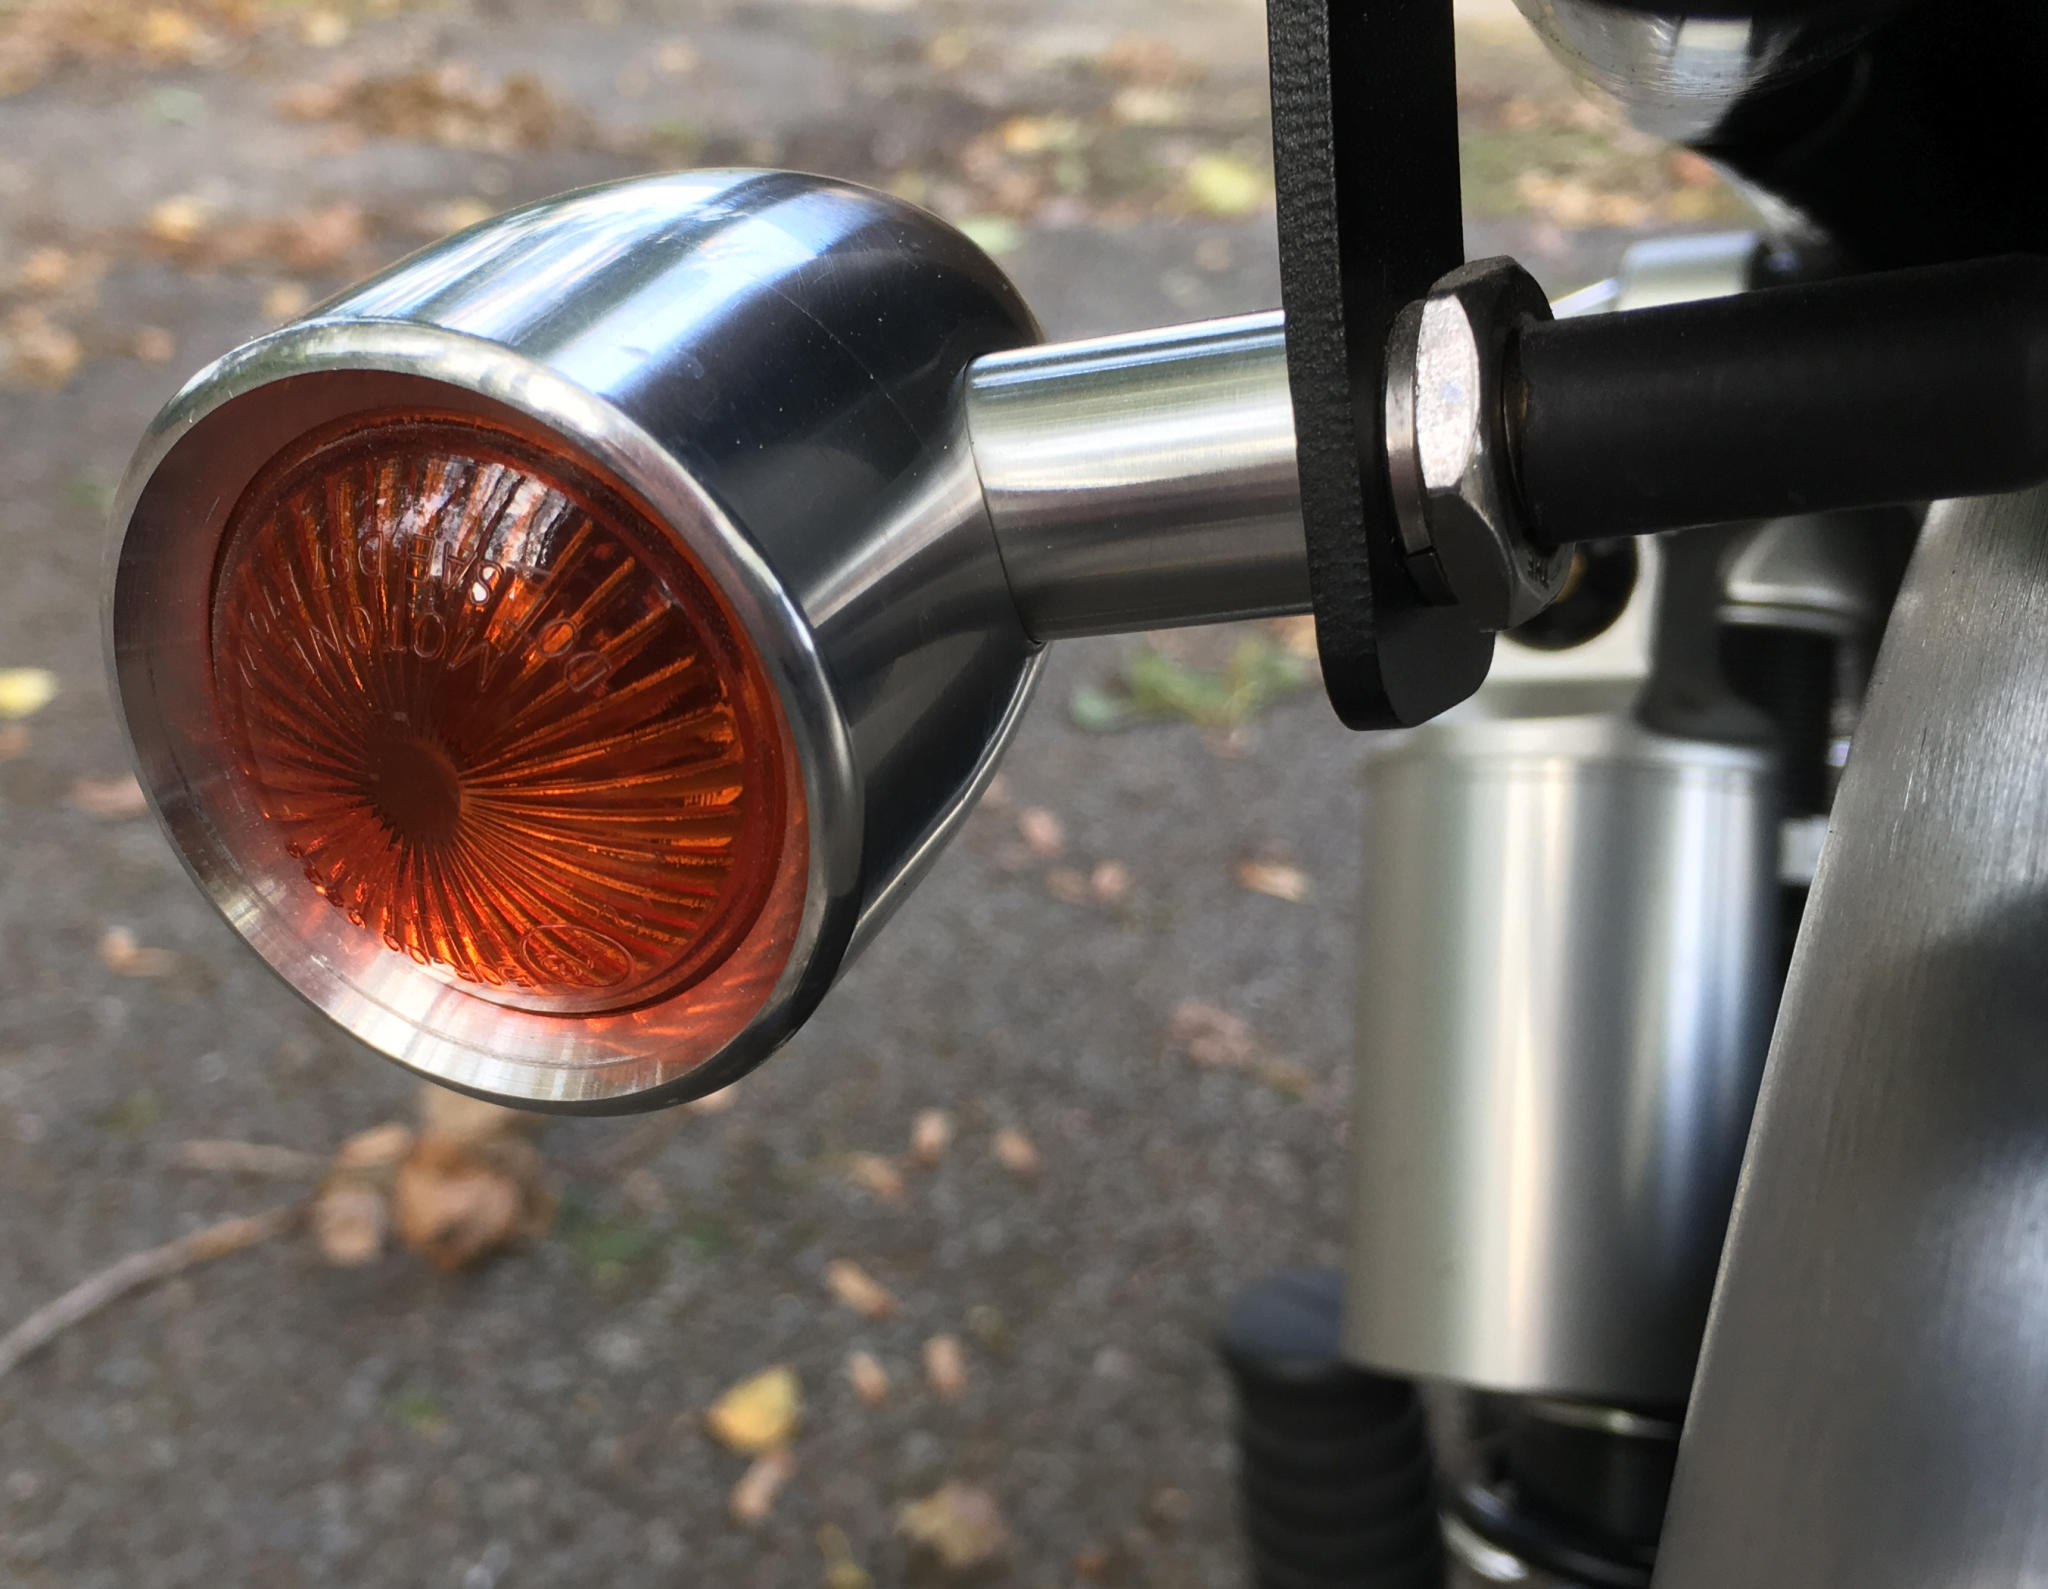
Very high quality indicators, almost certainly made by Posh in Japan
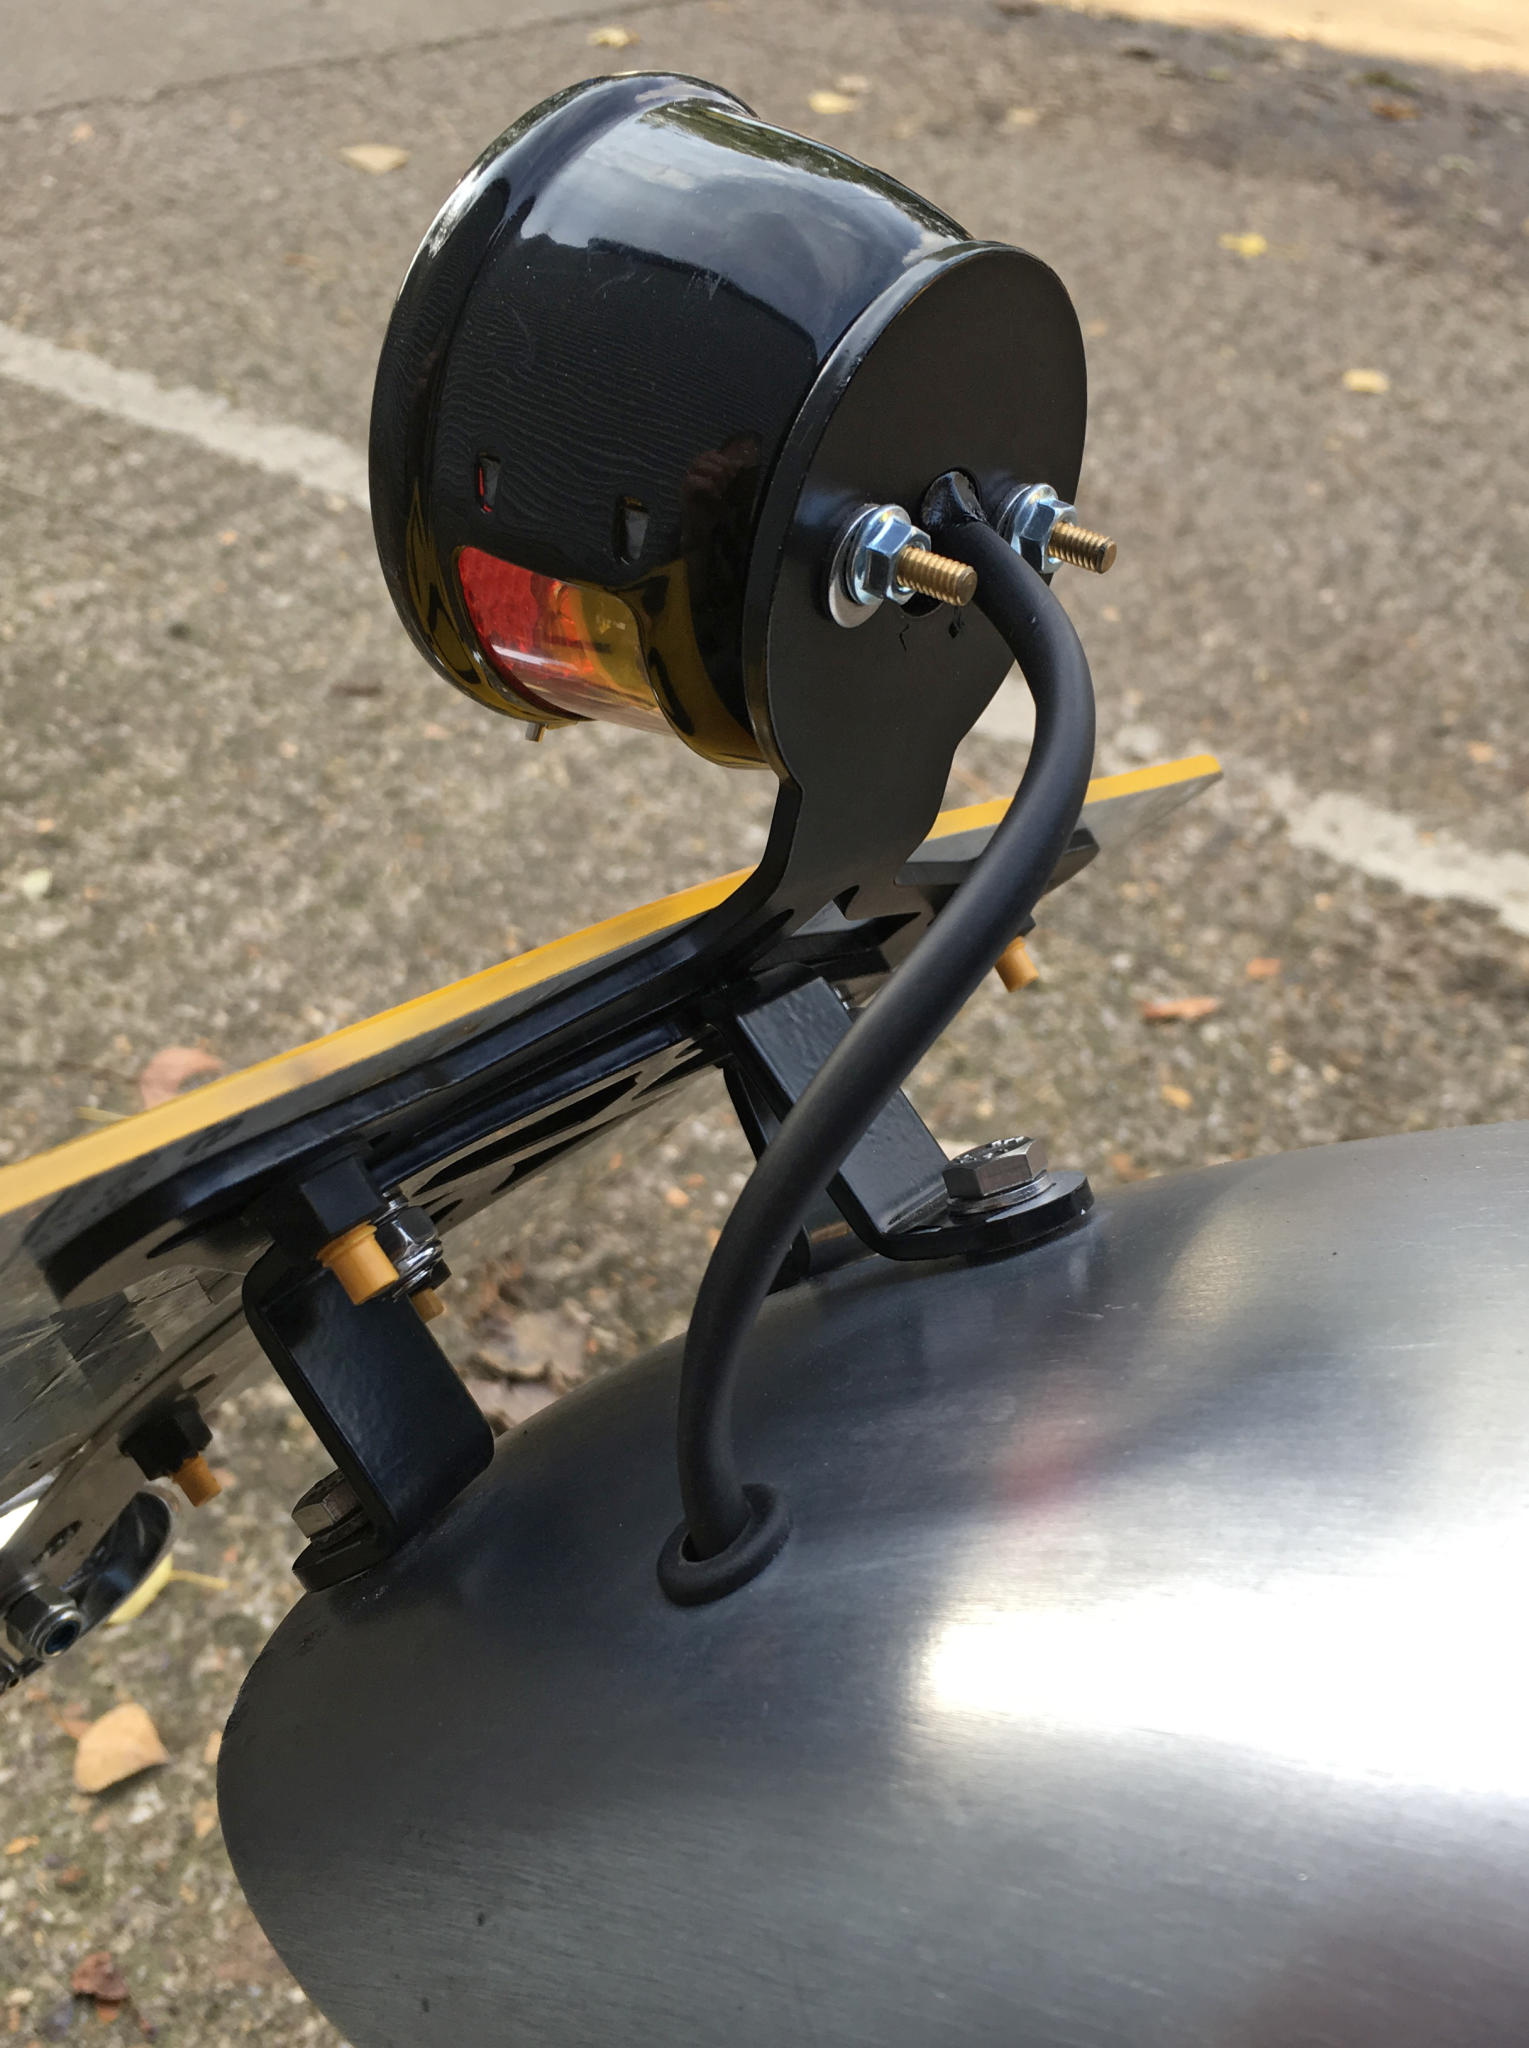
Vincent-style tail light. Tony wanted the wires to disappear into the mudguard asap. Underneath the cable is fixed with CT1 adhesive