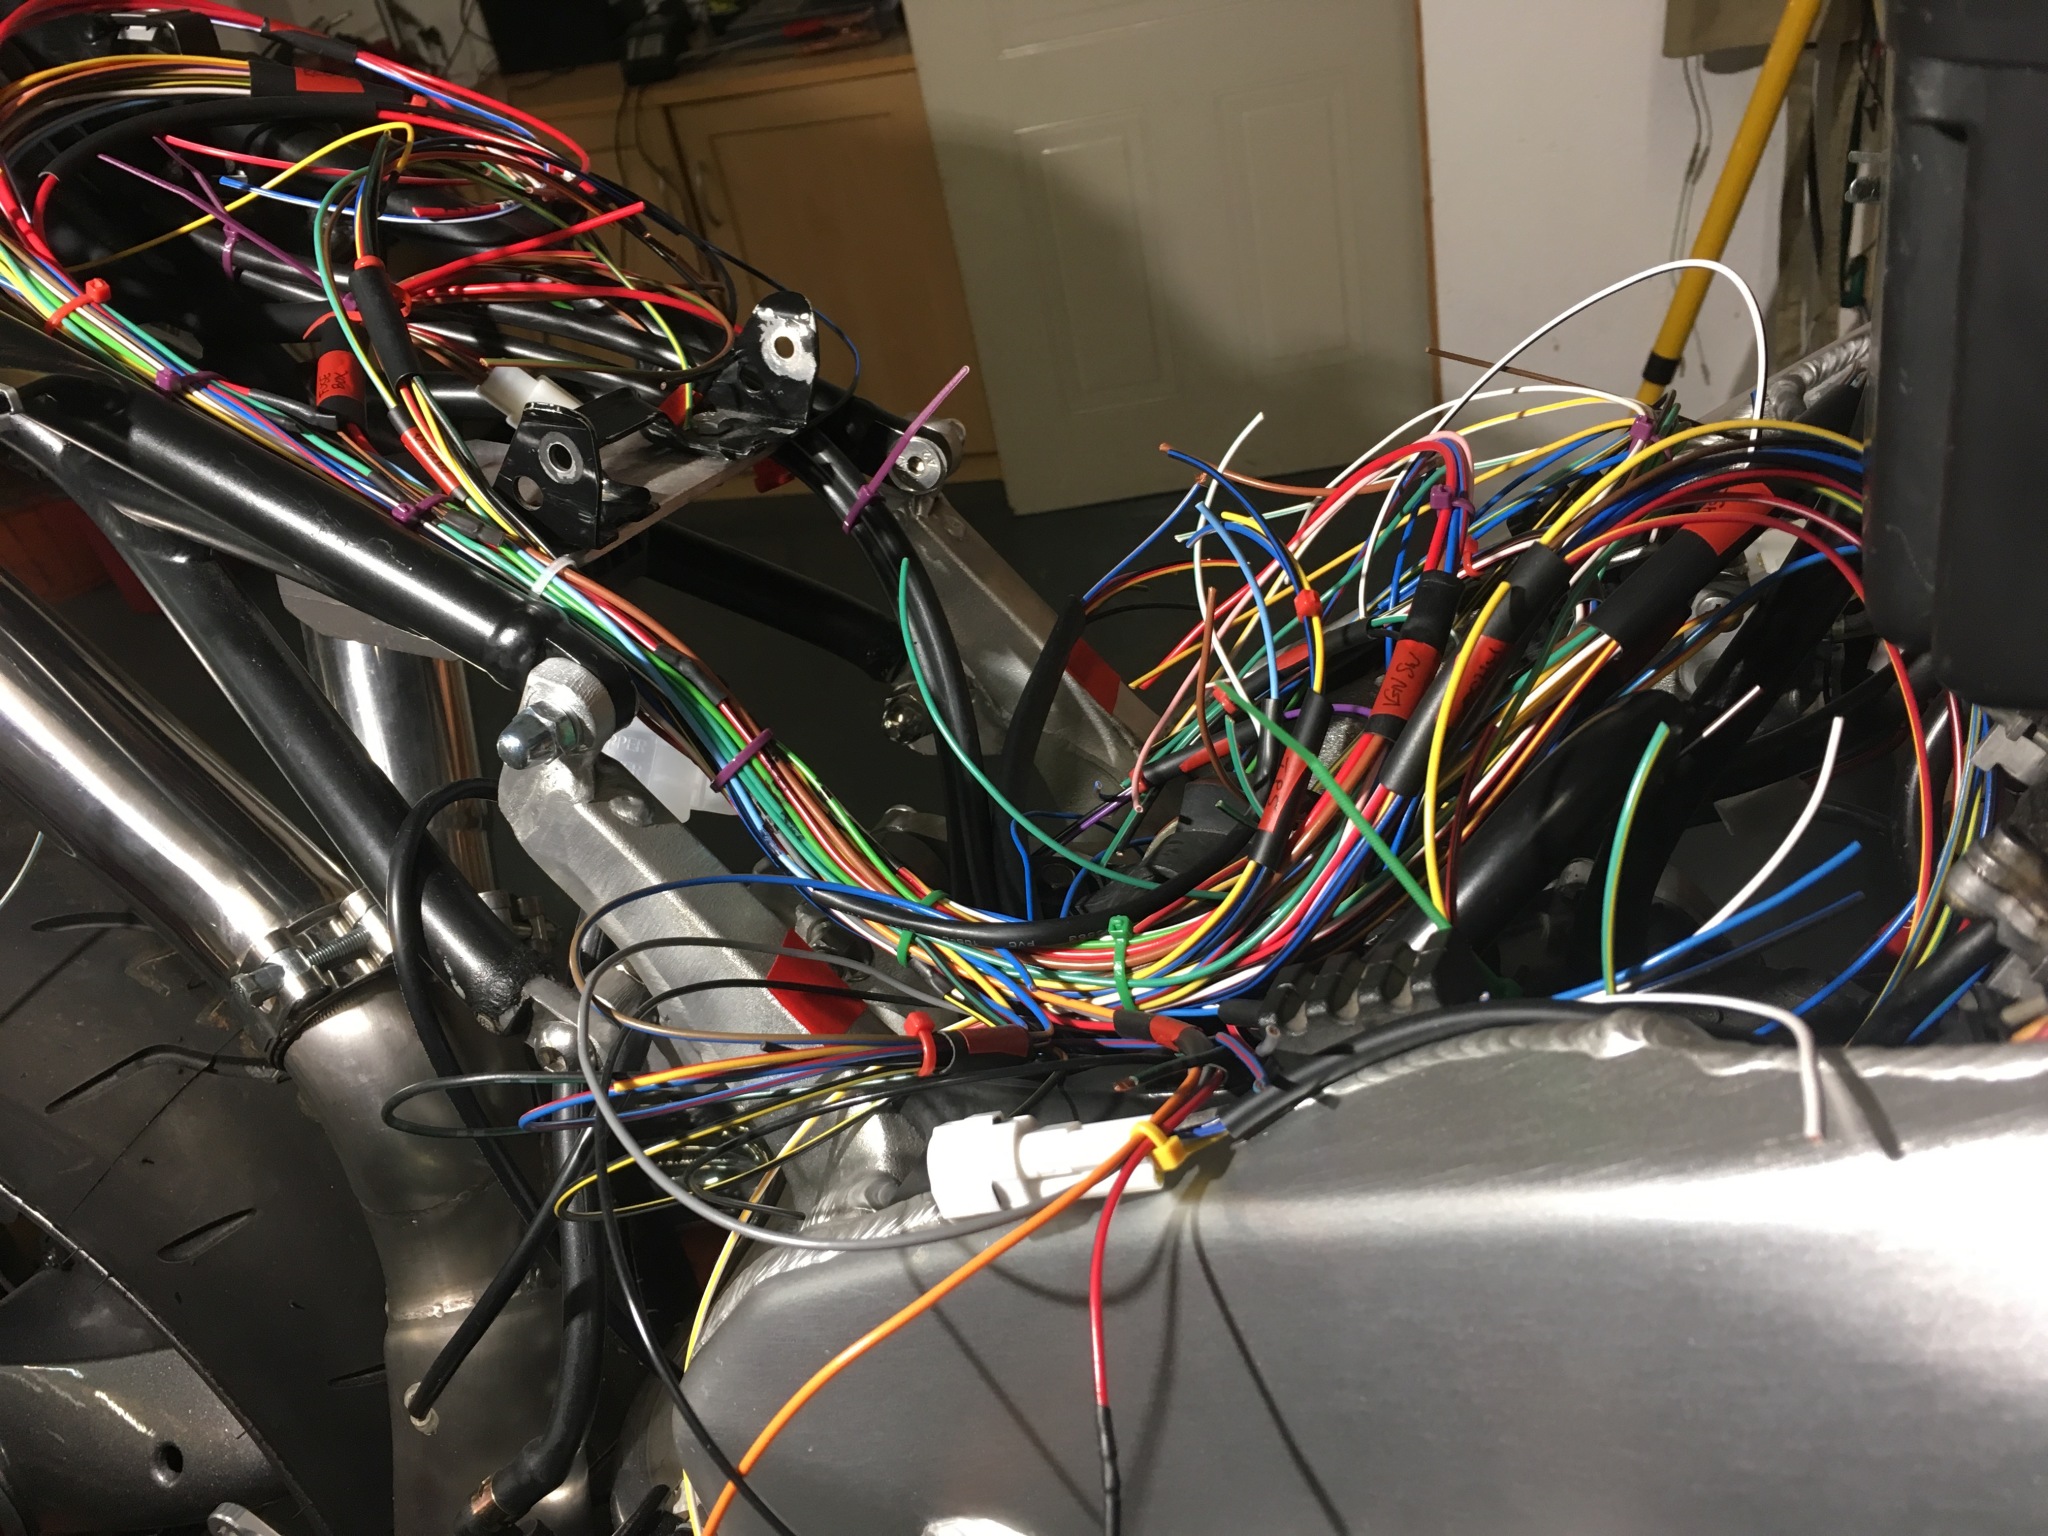
The new loom’s first fitting. Japan’s final carb model looms are as complicated as their first injected bikes
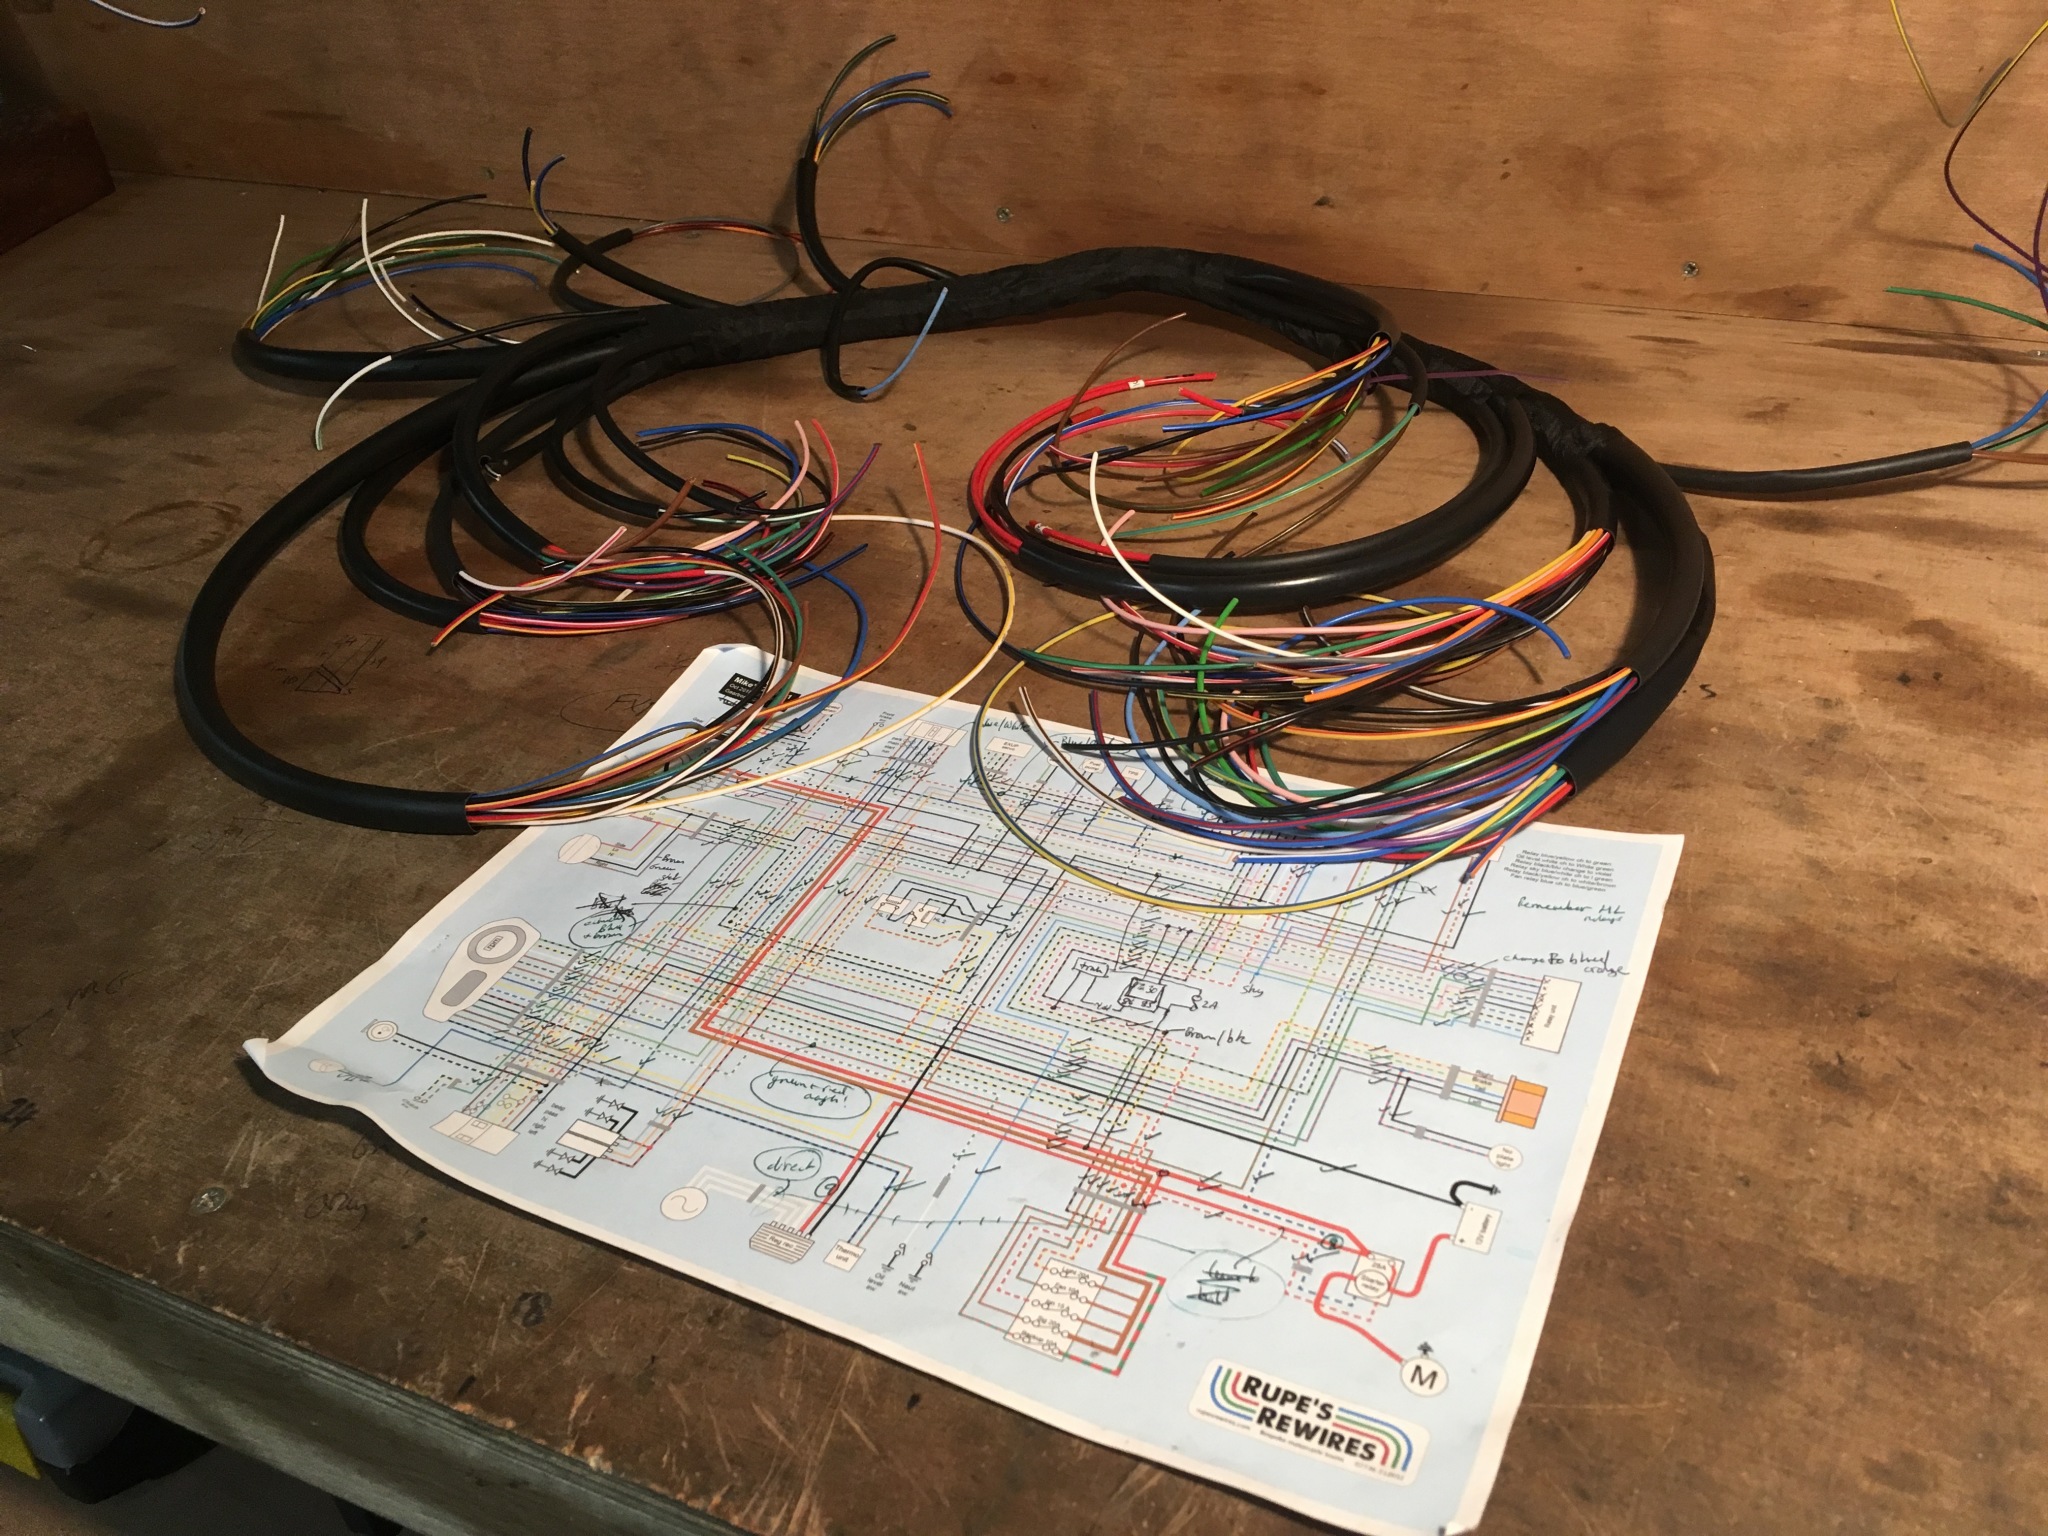
A bit later: the loom safely wrapped and ready for plugs
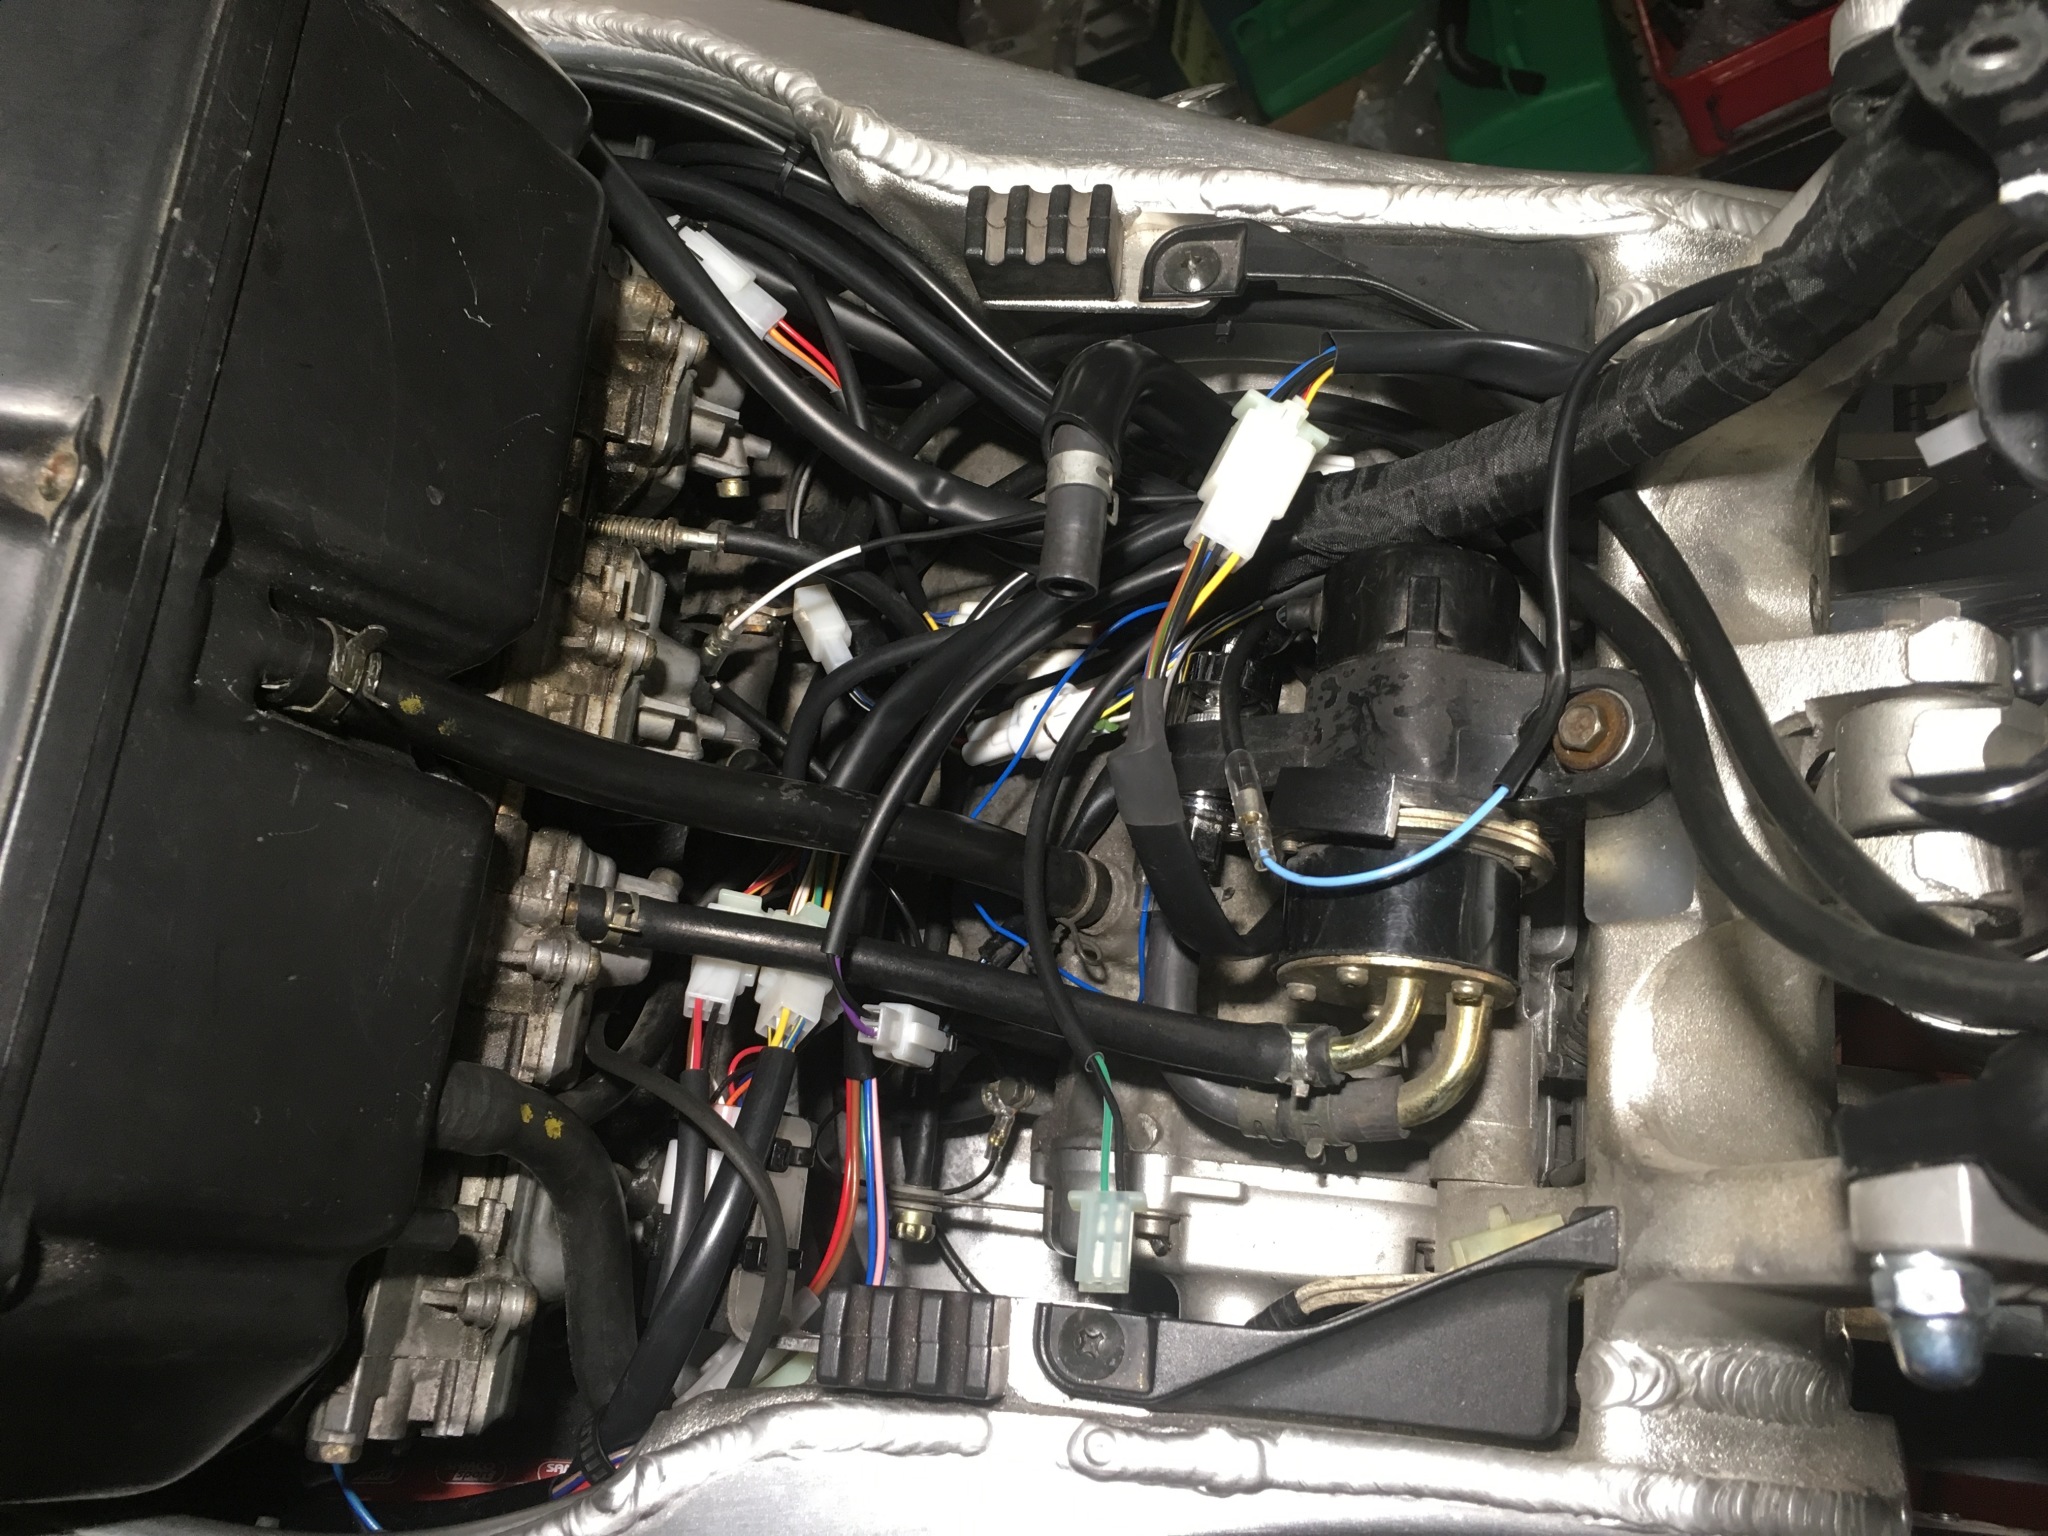
The gubbins behind the engine. Owner Mike used an EXUP servo replacement gadget from the US
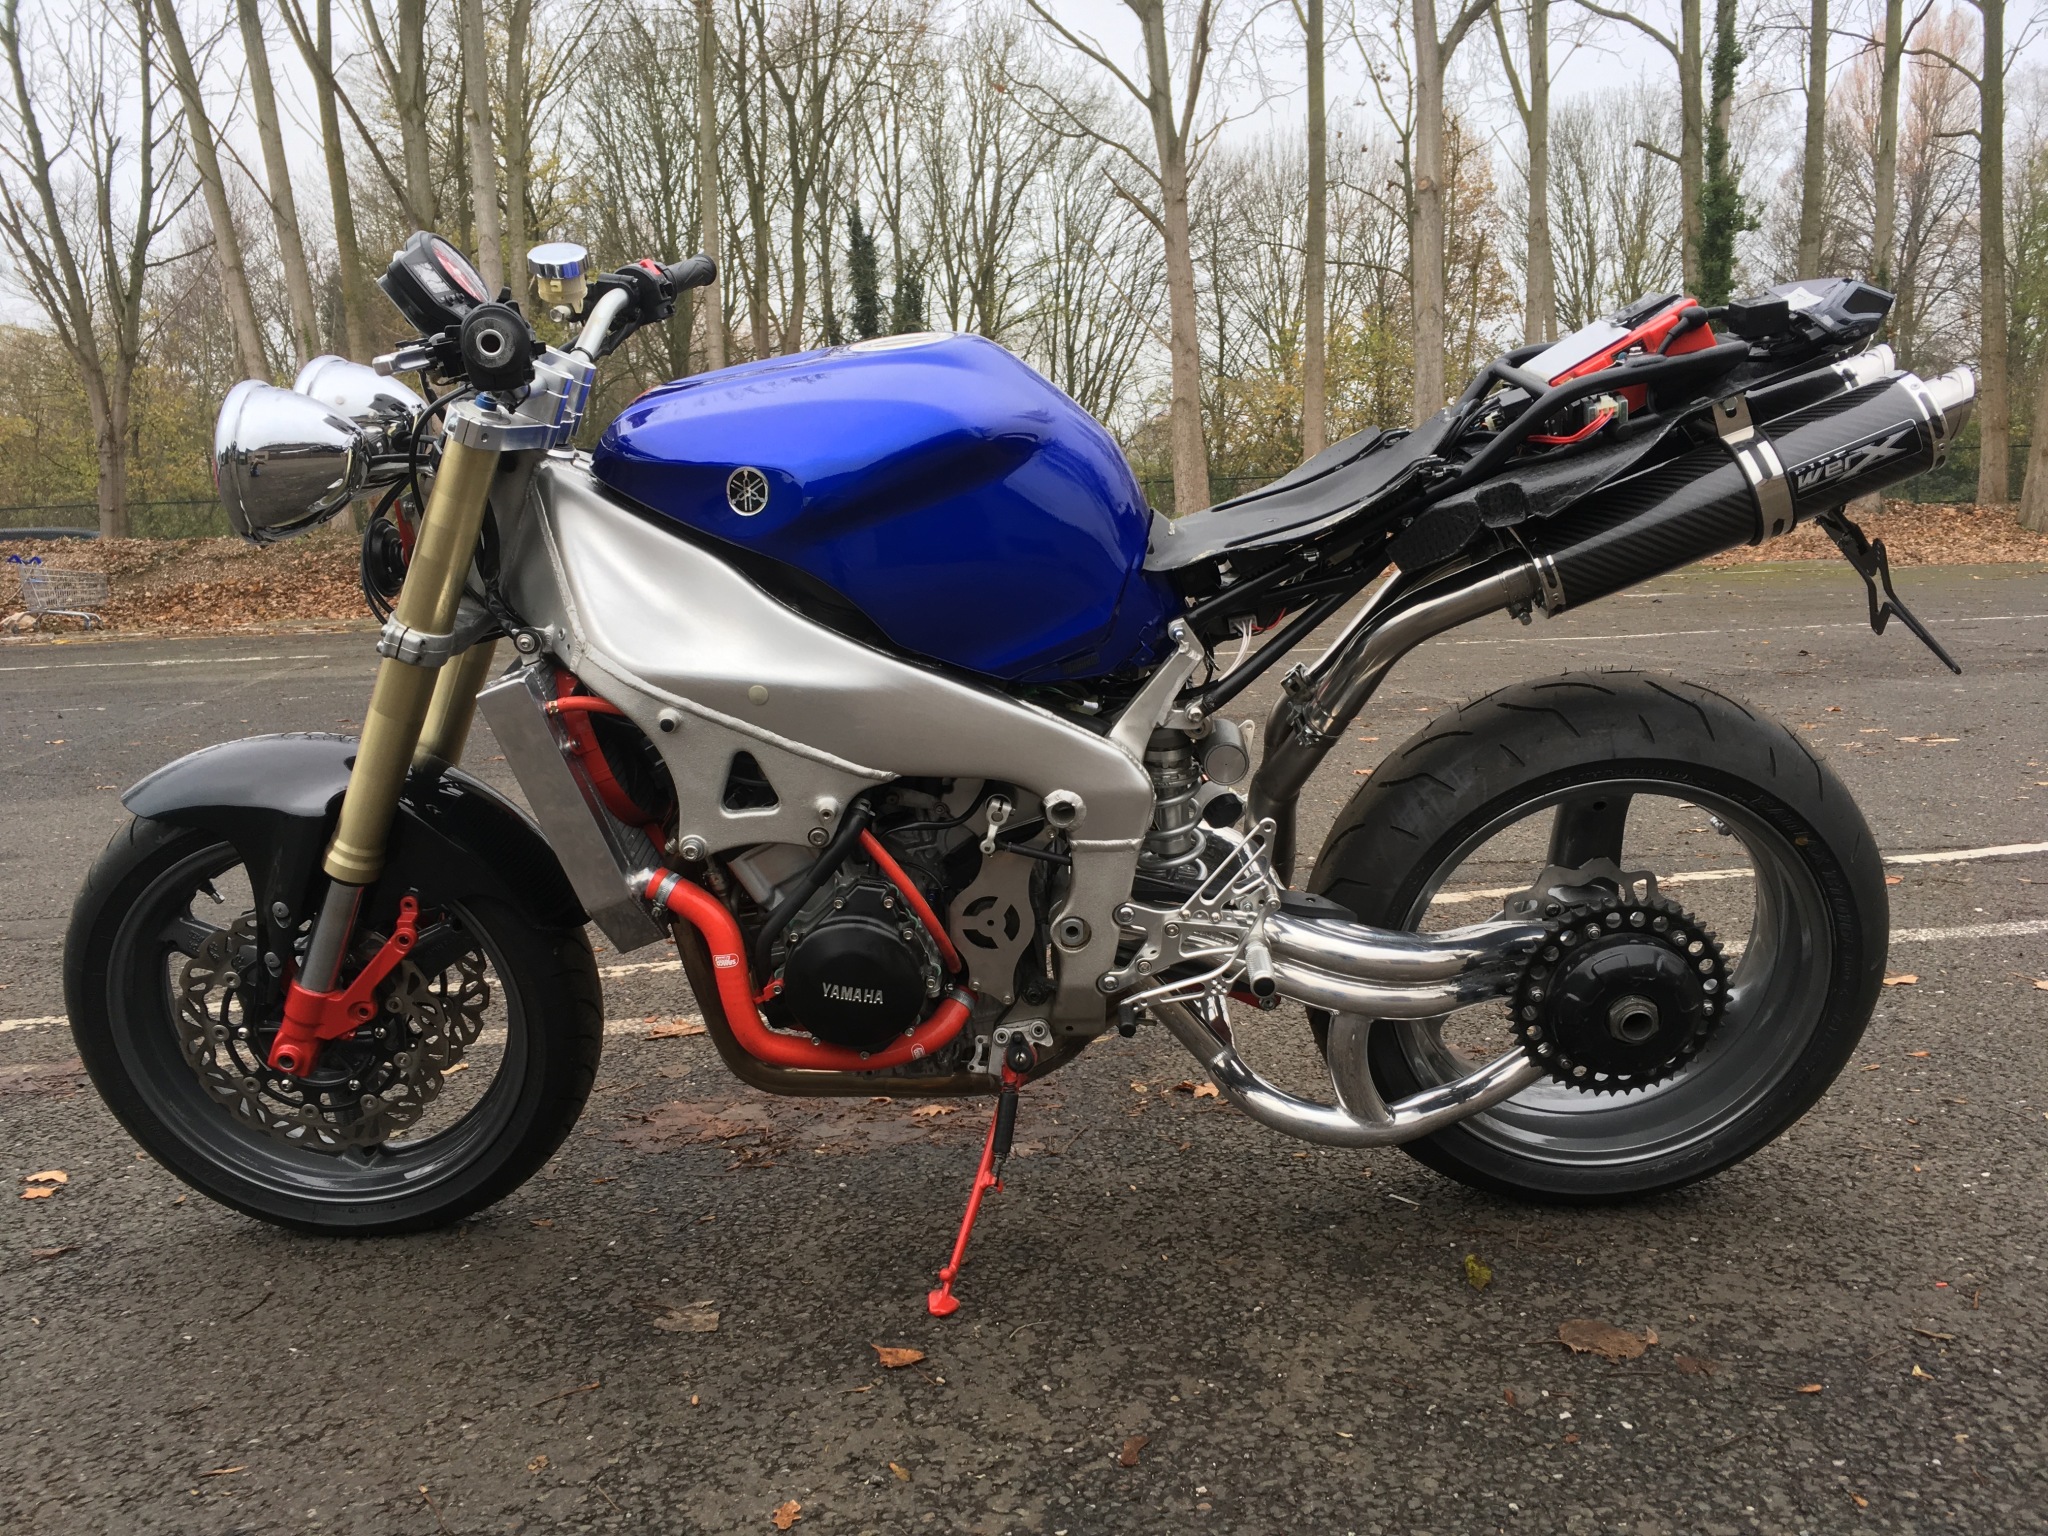
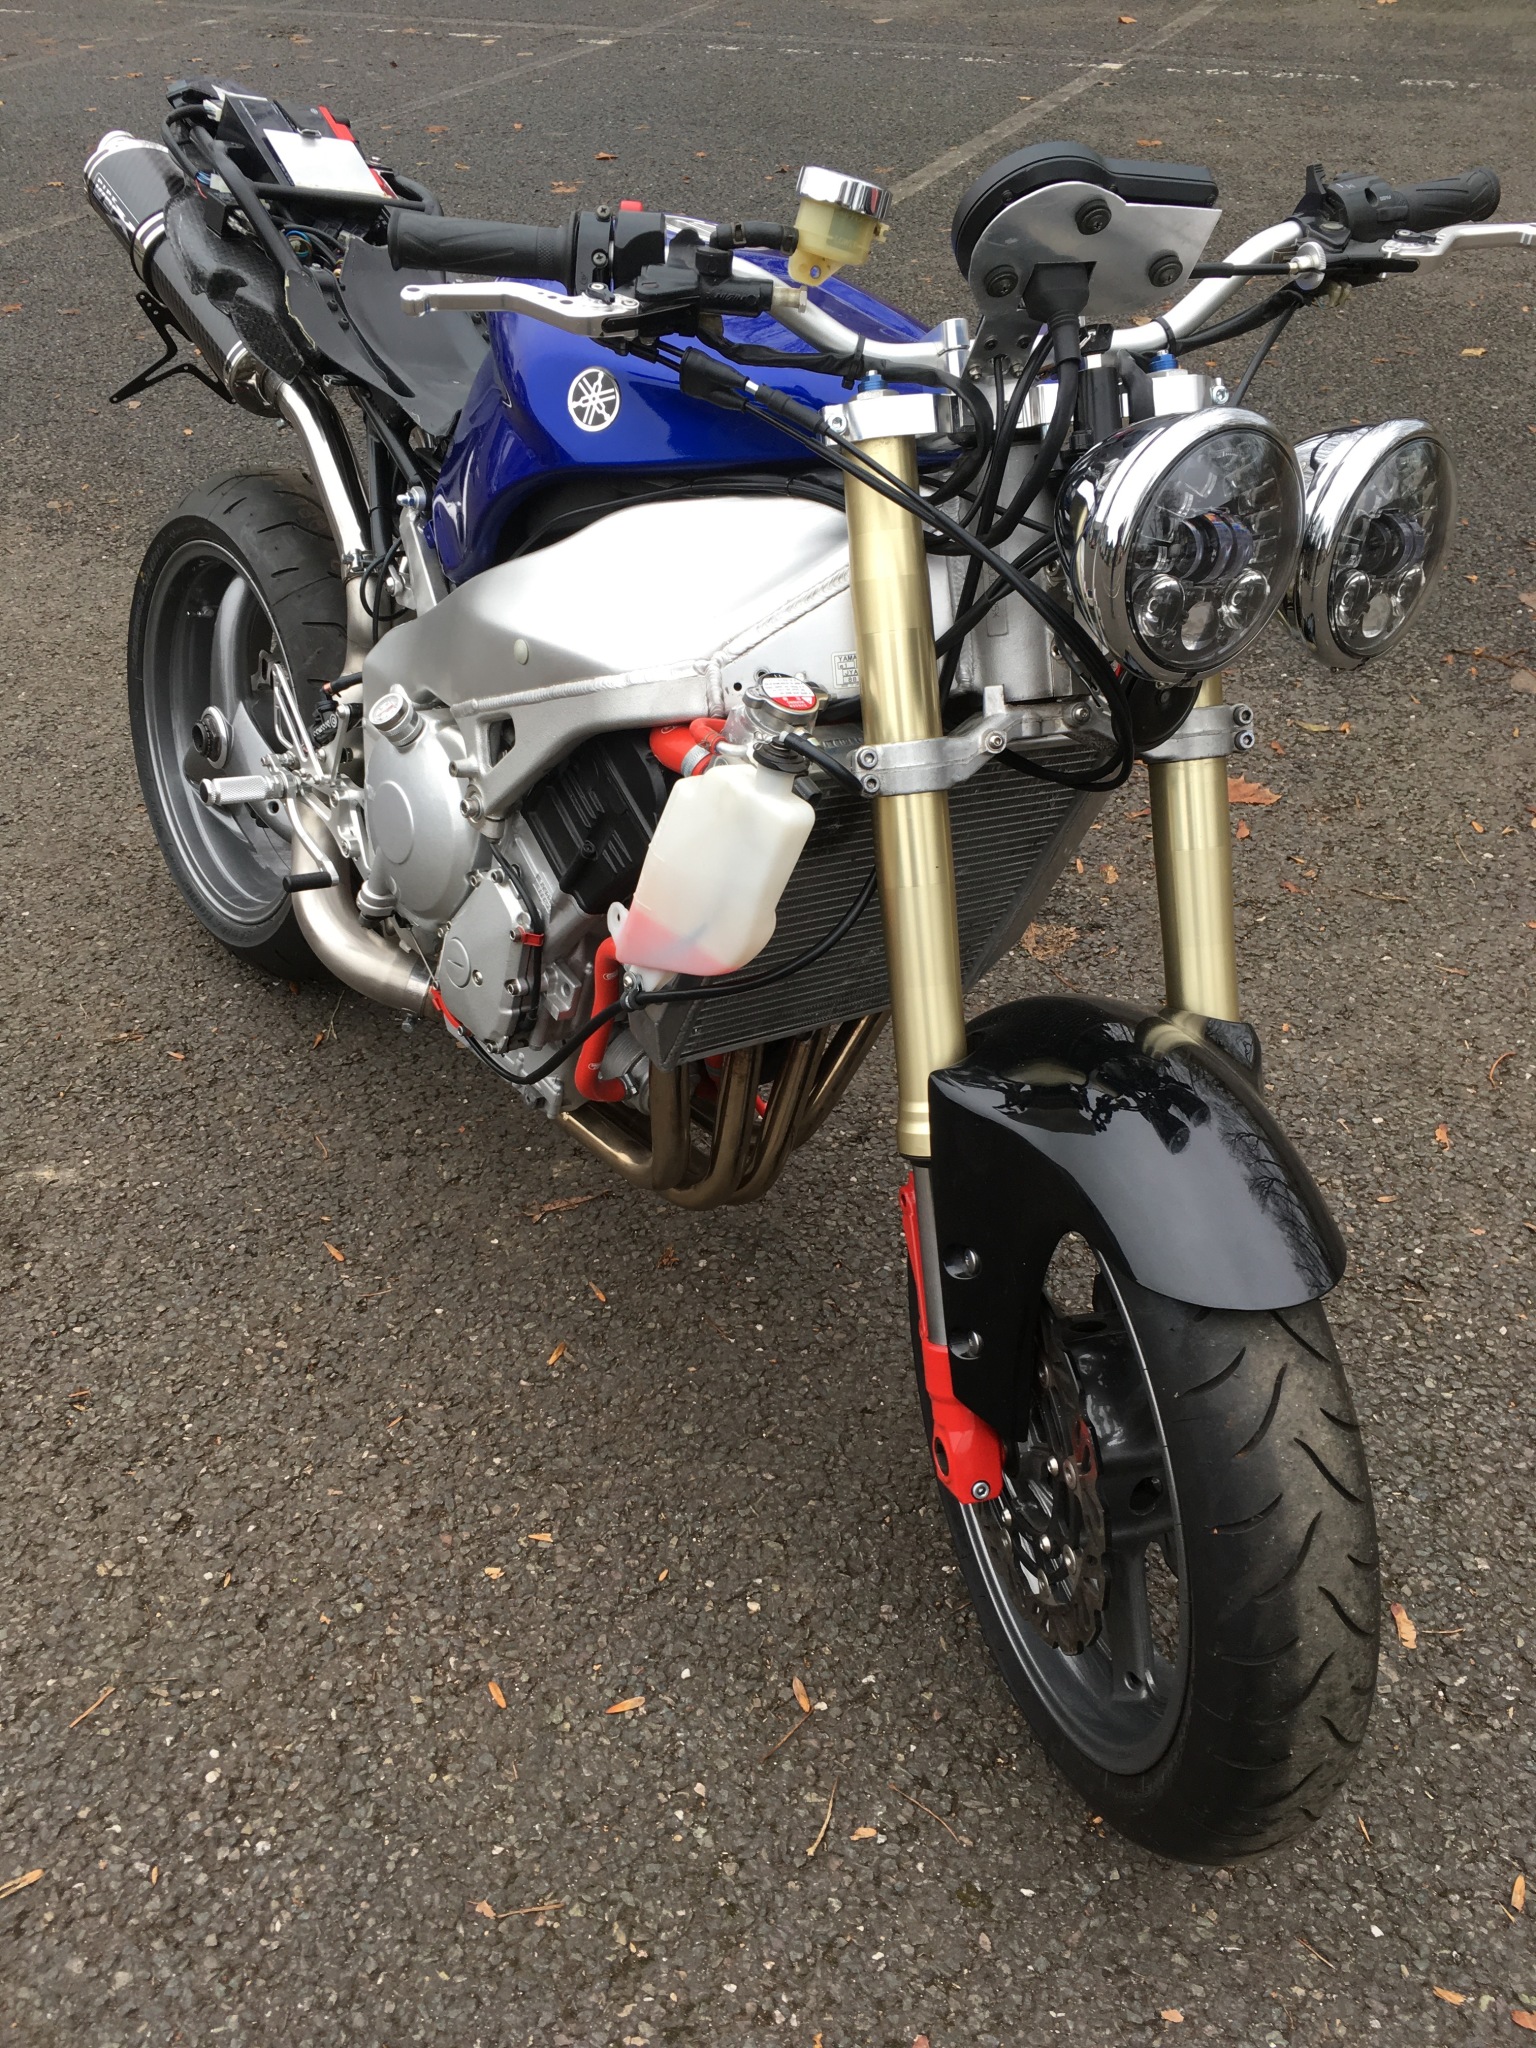
Yamaha R1 street fighter
Owner Mike has been building this bike for years. It’s got a one-off single-sided swing arm, aftermarket Ducati seat and subframe, bug eye LED headlights, flat bars, an aftermarket gear position indicator, and no fairing. This meant the original loom was sticking out like a sore thumb. On top of that, Mike had to move most of the components to new places. So the original wiring was only going to work with with several hideous modifications.
His brief was to do a new loom to suit the bike, and keep the visual side as subtle as possible.
This turned out to be one of the most confusing jobs I’ve ever done because both the Haynes manual wiring diagram and the factory one have small but significant mistakes. (Both are to do with the R1’s elaborate interlock system that controls starting and running with various combinations of side stands, clutch switch and gear position.)
On top of that, Yamaha used the same colour cables to do more than one job, and designed in the harness for an alarm/immobiliser without explaining which wires need connecting if you don’t want the alarm.
Anyway, we got there in the end. Next stop: a dyno set-up session and then some fresh paintwork.
The tail unit will be a Ducati 848 type affair

The two LED headlights use about 7 amps on full beam – a shade more than one normal 60W bulb