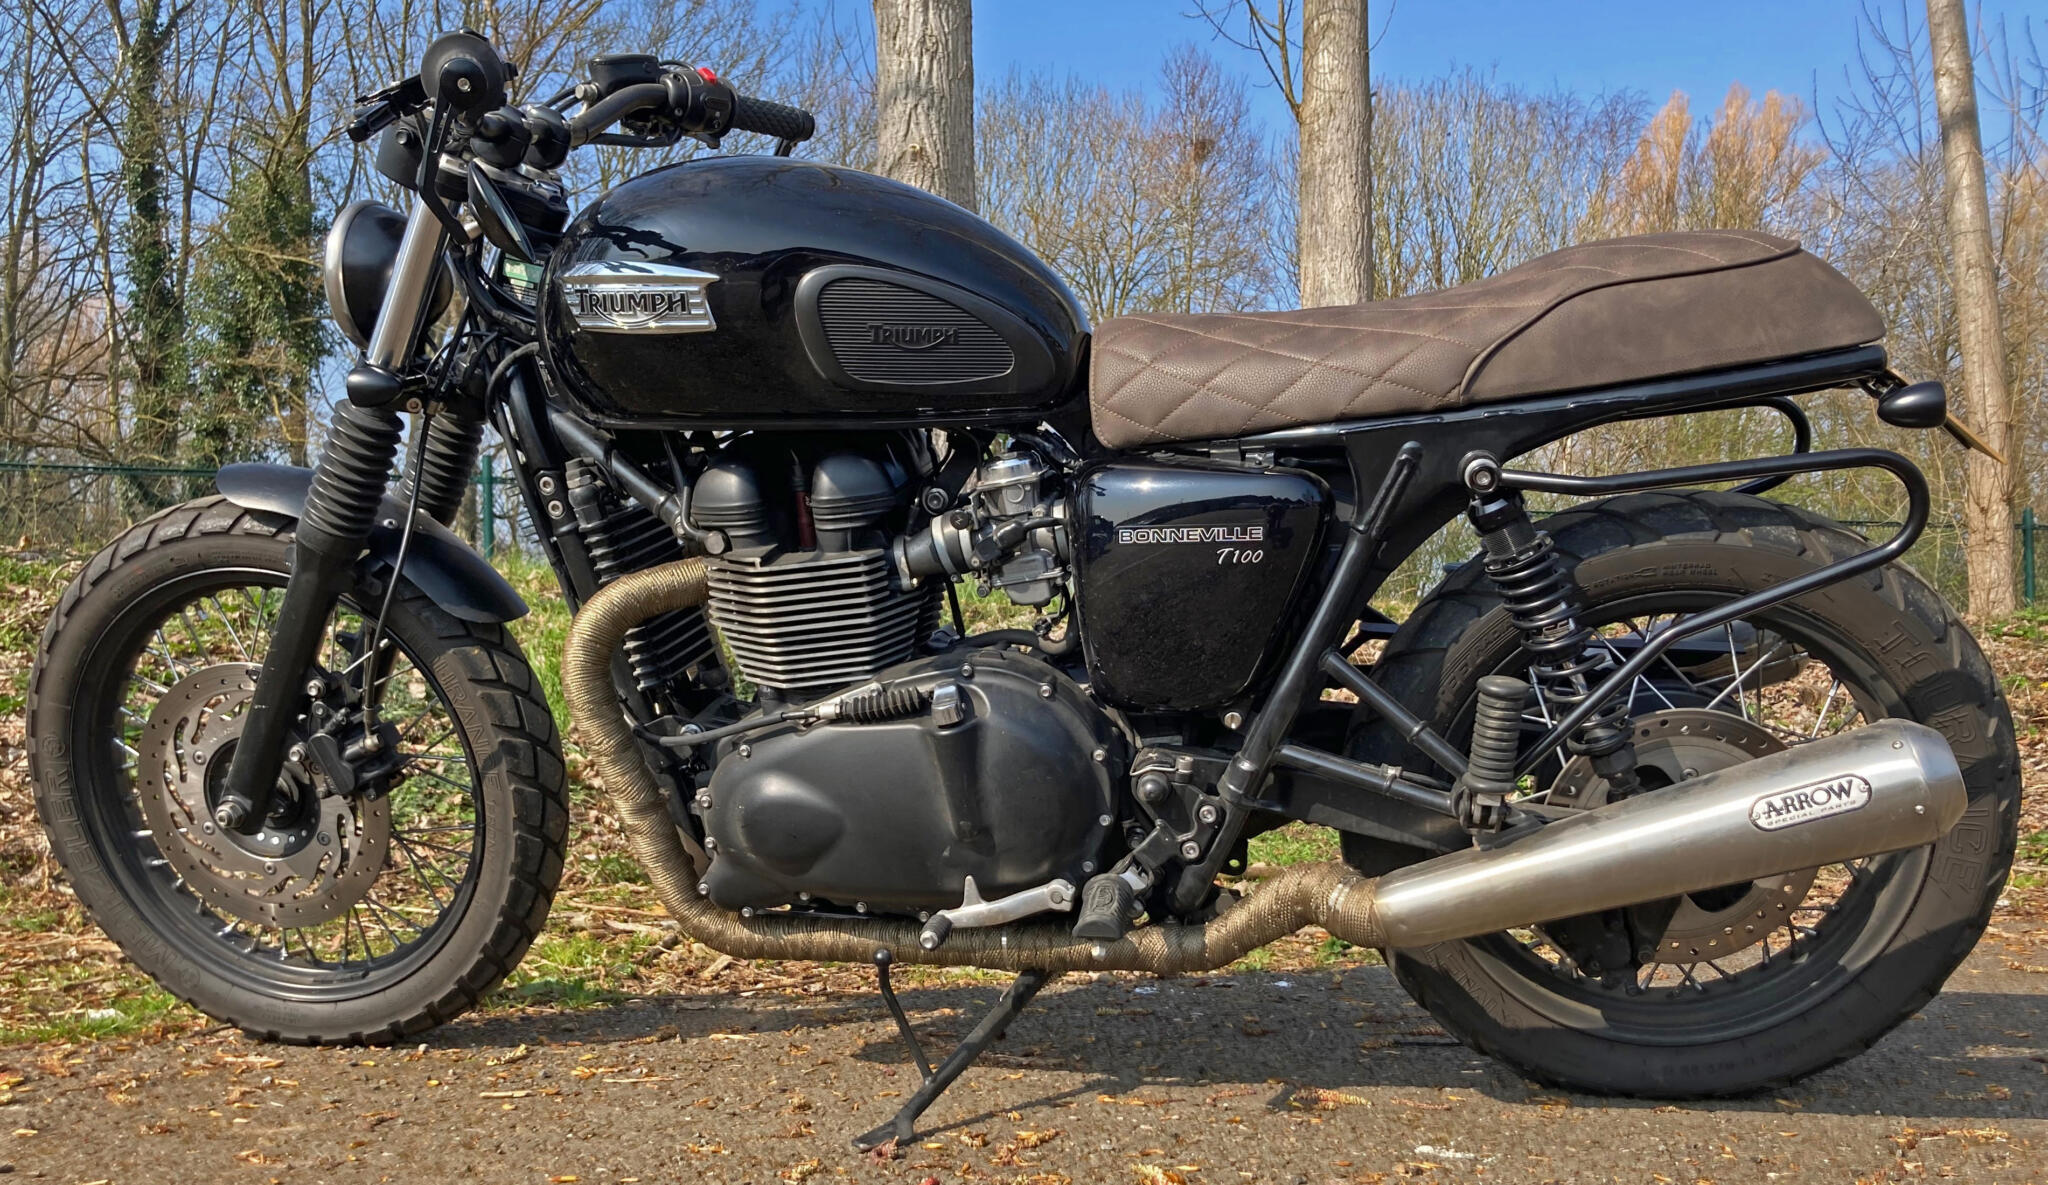
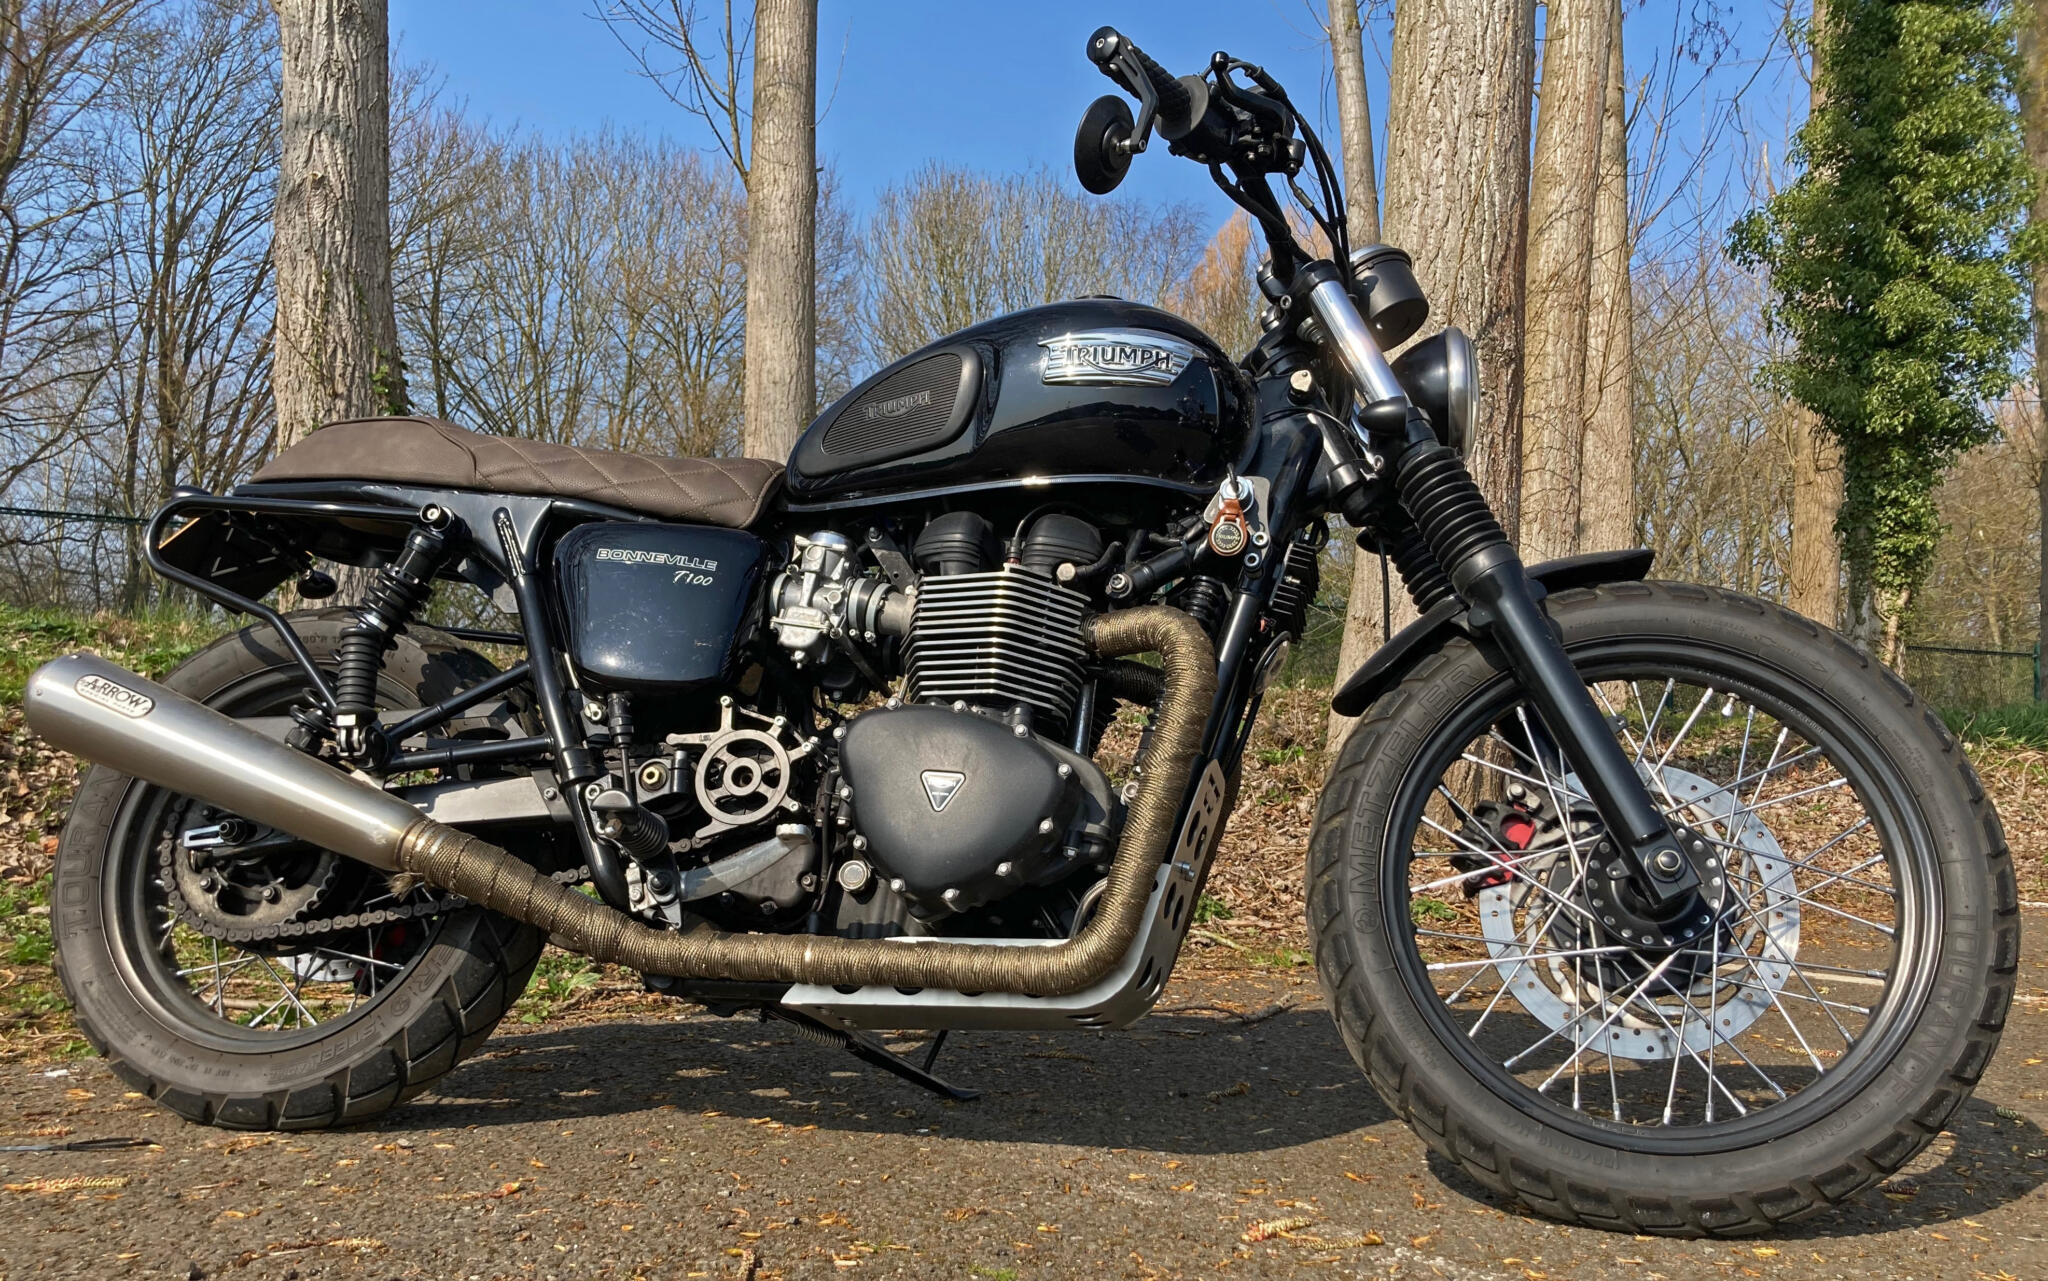
Timeless old thing, with pannier brackets at the back for a forthcoming European tour
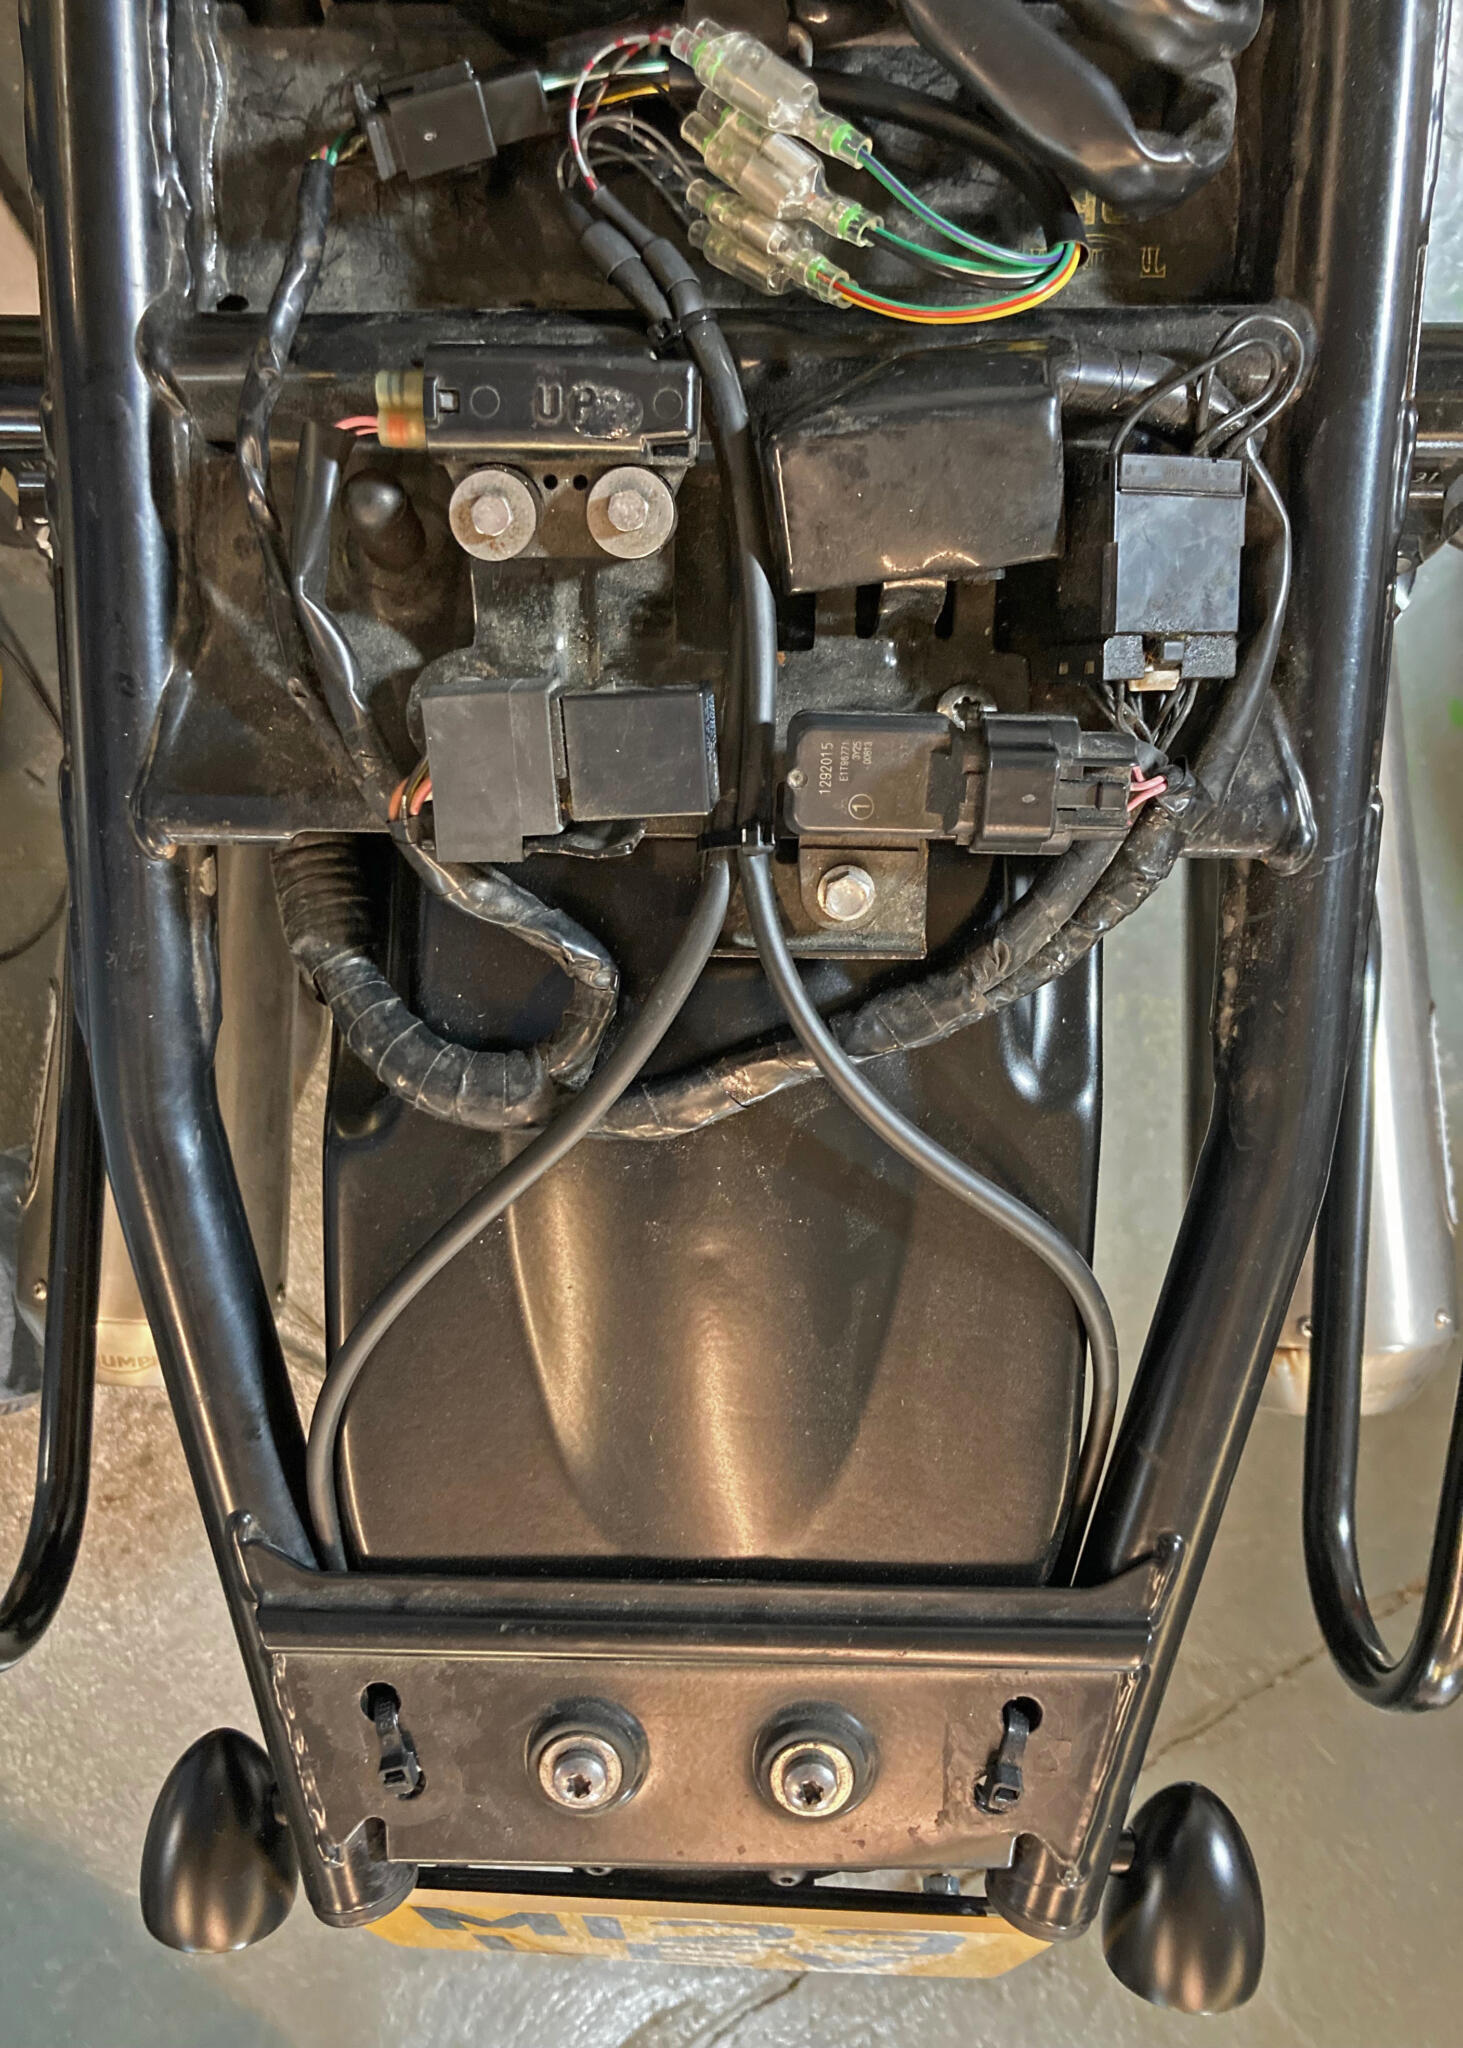
Probably the neatest way to organise the aftermarket indicators
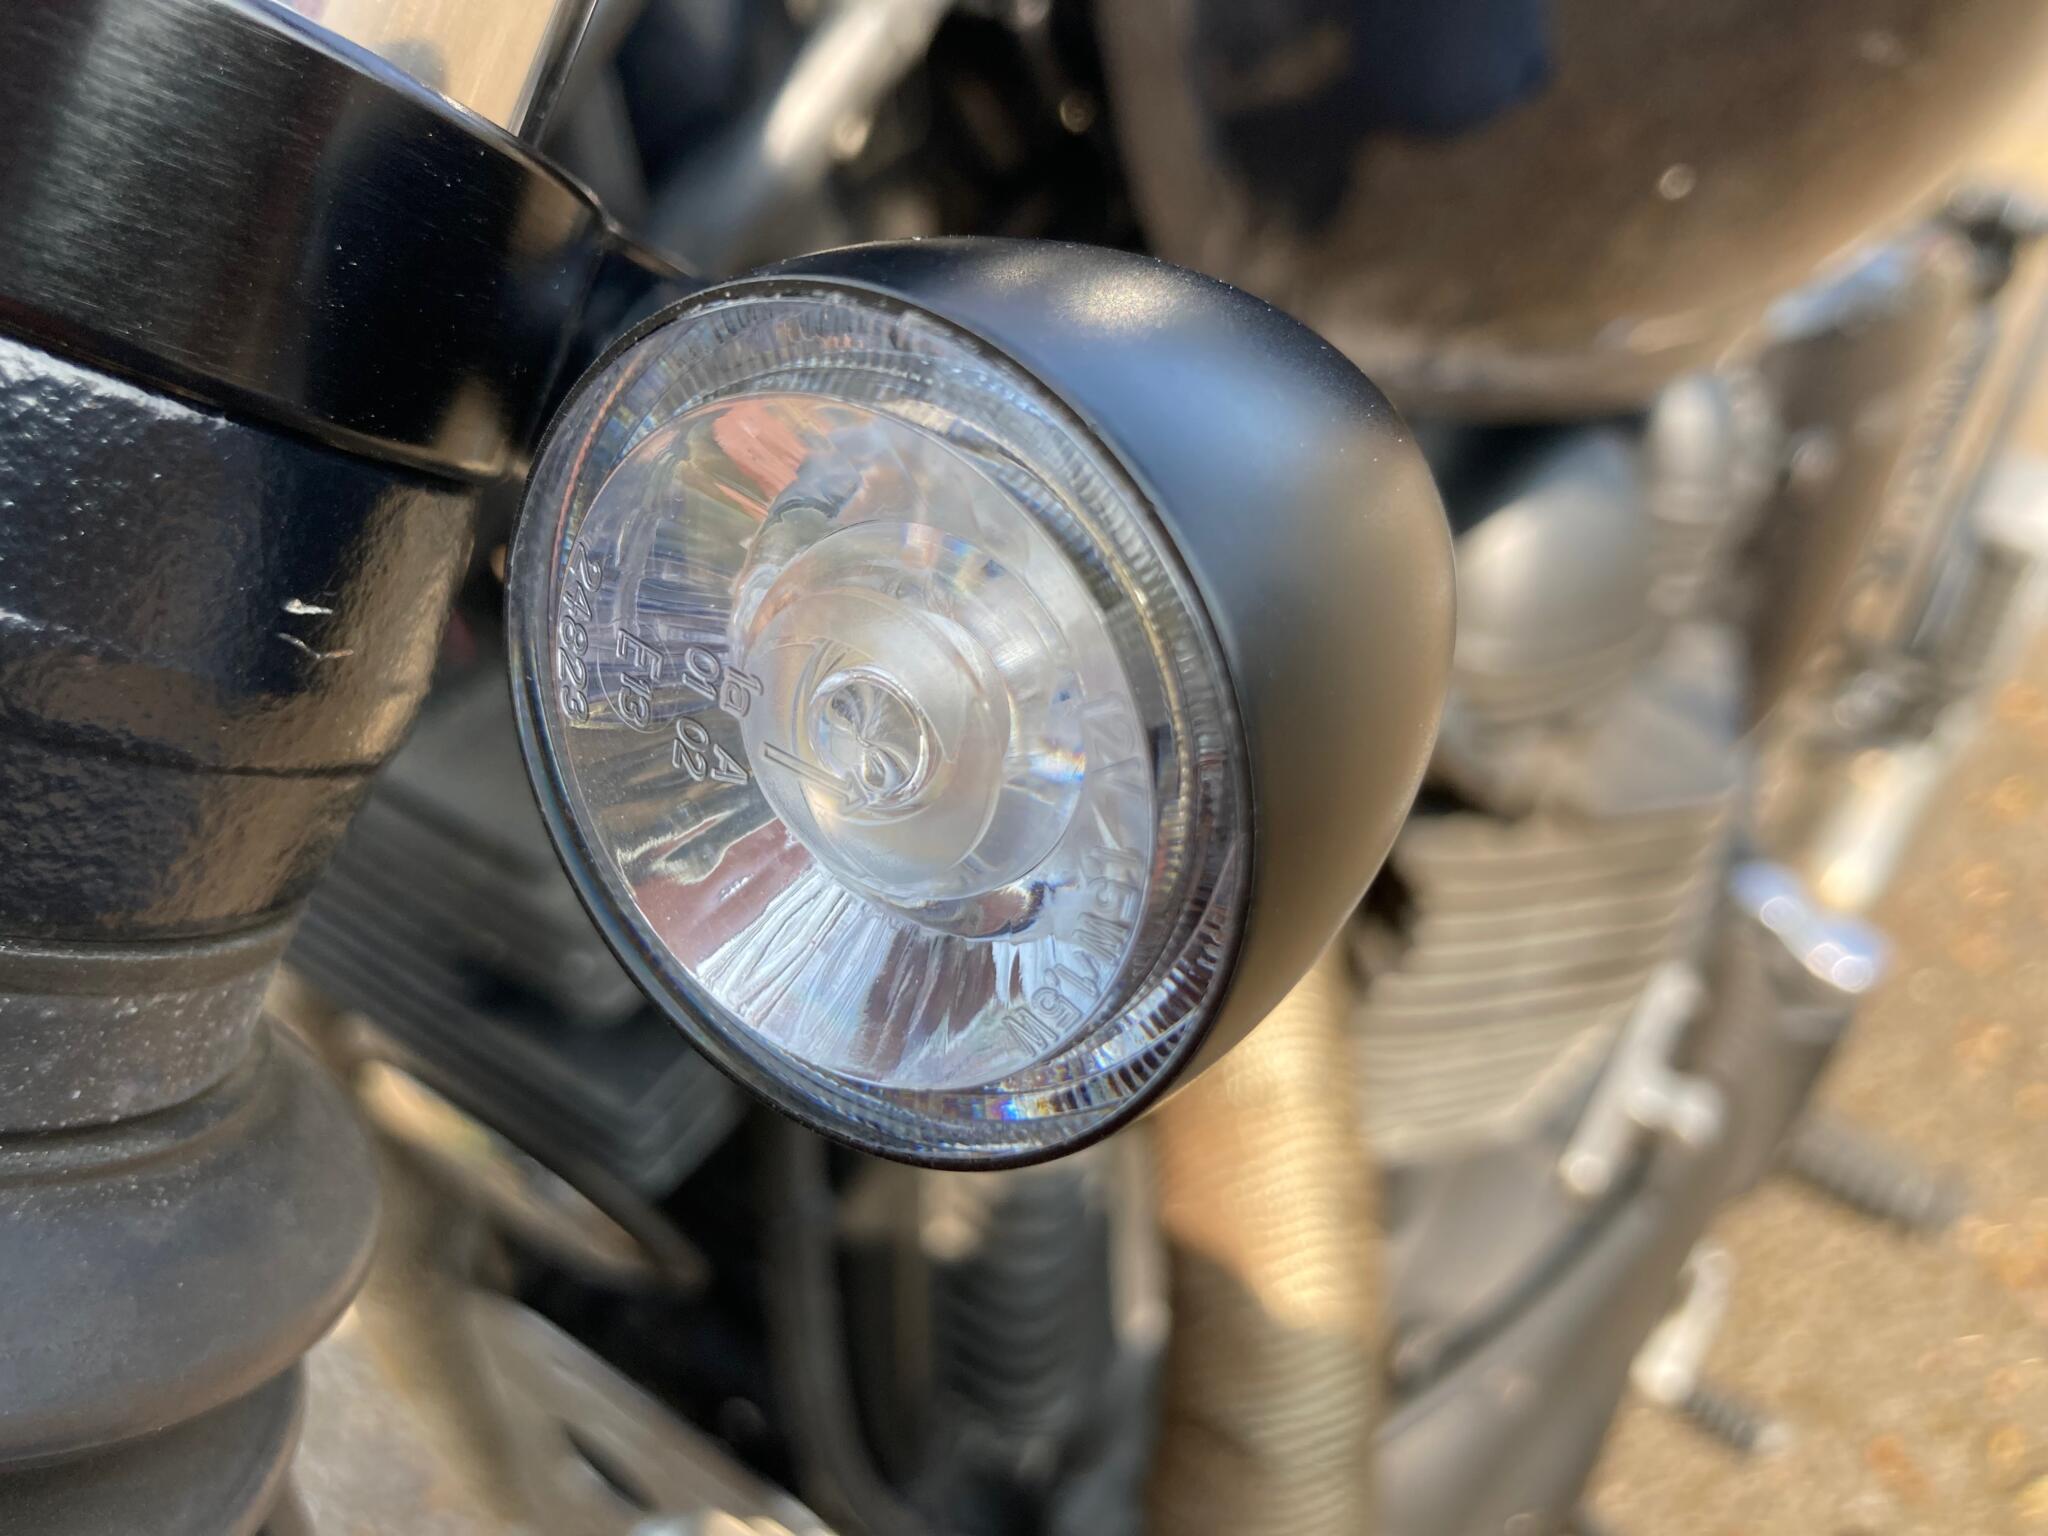
Kellerman indicators are some of the best. Front ones also do running lights. Rear ones also do tail and brake lights
Michael’s Triumph T100
Michael had brought the bike to the RR workshop a few years ago, to tidy up some adapted standard wiring. This time he wanted some super-bright indicators fitting.
I’ve wired up loads of aftermarket indicators, so I thought I would explain how to do it as nicely and reliably as possible.
1. Work out how the wires will run, and how the bullets can connect neatly to the existing loom.
2. Sleeve the wires to a suitable length. Kellermans come coiled up, so the uncoiled wires won’t push through a PVC sleeve without a little silicone grease. The rear ones have four wires (tail, brake, indicator and earth) so I used a 5mm sleeve.
3. Make excellent crimp connections to the bullets (using bullets mean you can replace one indicator if it gets damaged). With skinny LED wires, strip enough insulation to make the strands triple-folded. Before folding them, slide on an insulator and a tiny section of 2mm PVC.
4. Slide the PVC section so it will be crimped by the outer tags of the bullet. Nip the tags up. Then manoeuvre a ratchet tool carefully into position. Squeeze to make both crimps as neatly as possible. Tug-test it for tightness.
5. Paint the bullet with silicone grease, then slide the insulator up. The PVC section should make a fairly watertight seal when the insulator is in place.
Repeat for each bullet. Just take your time, and make each crimp perfect.
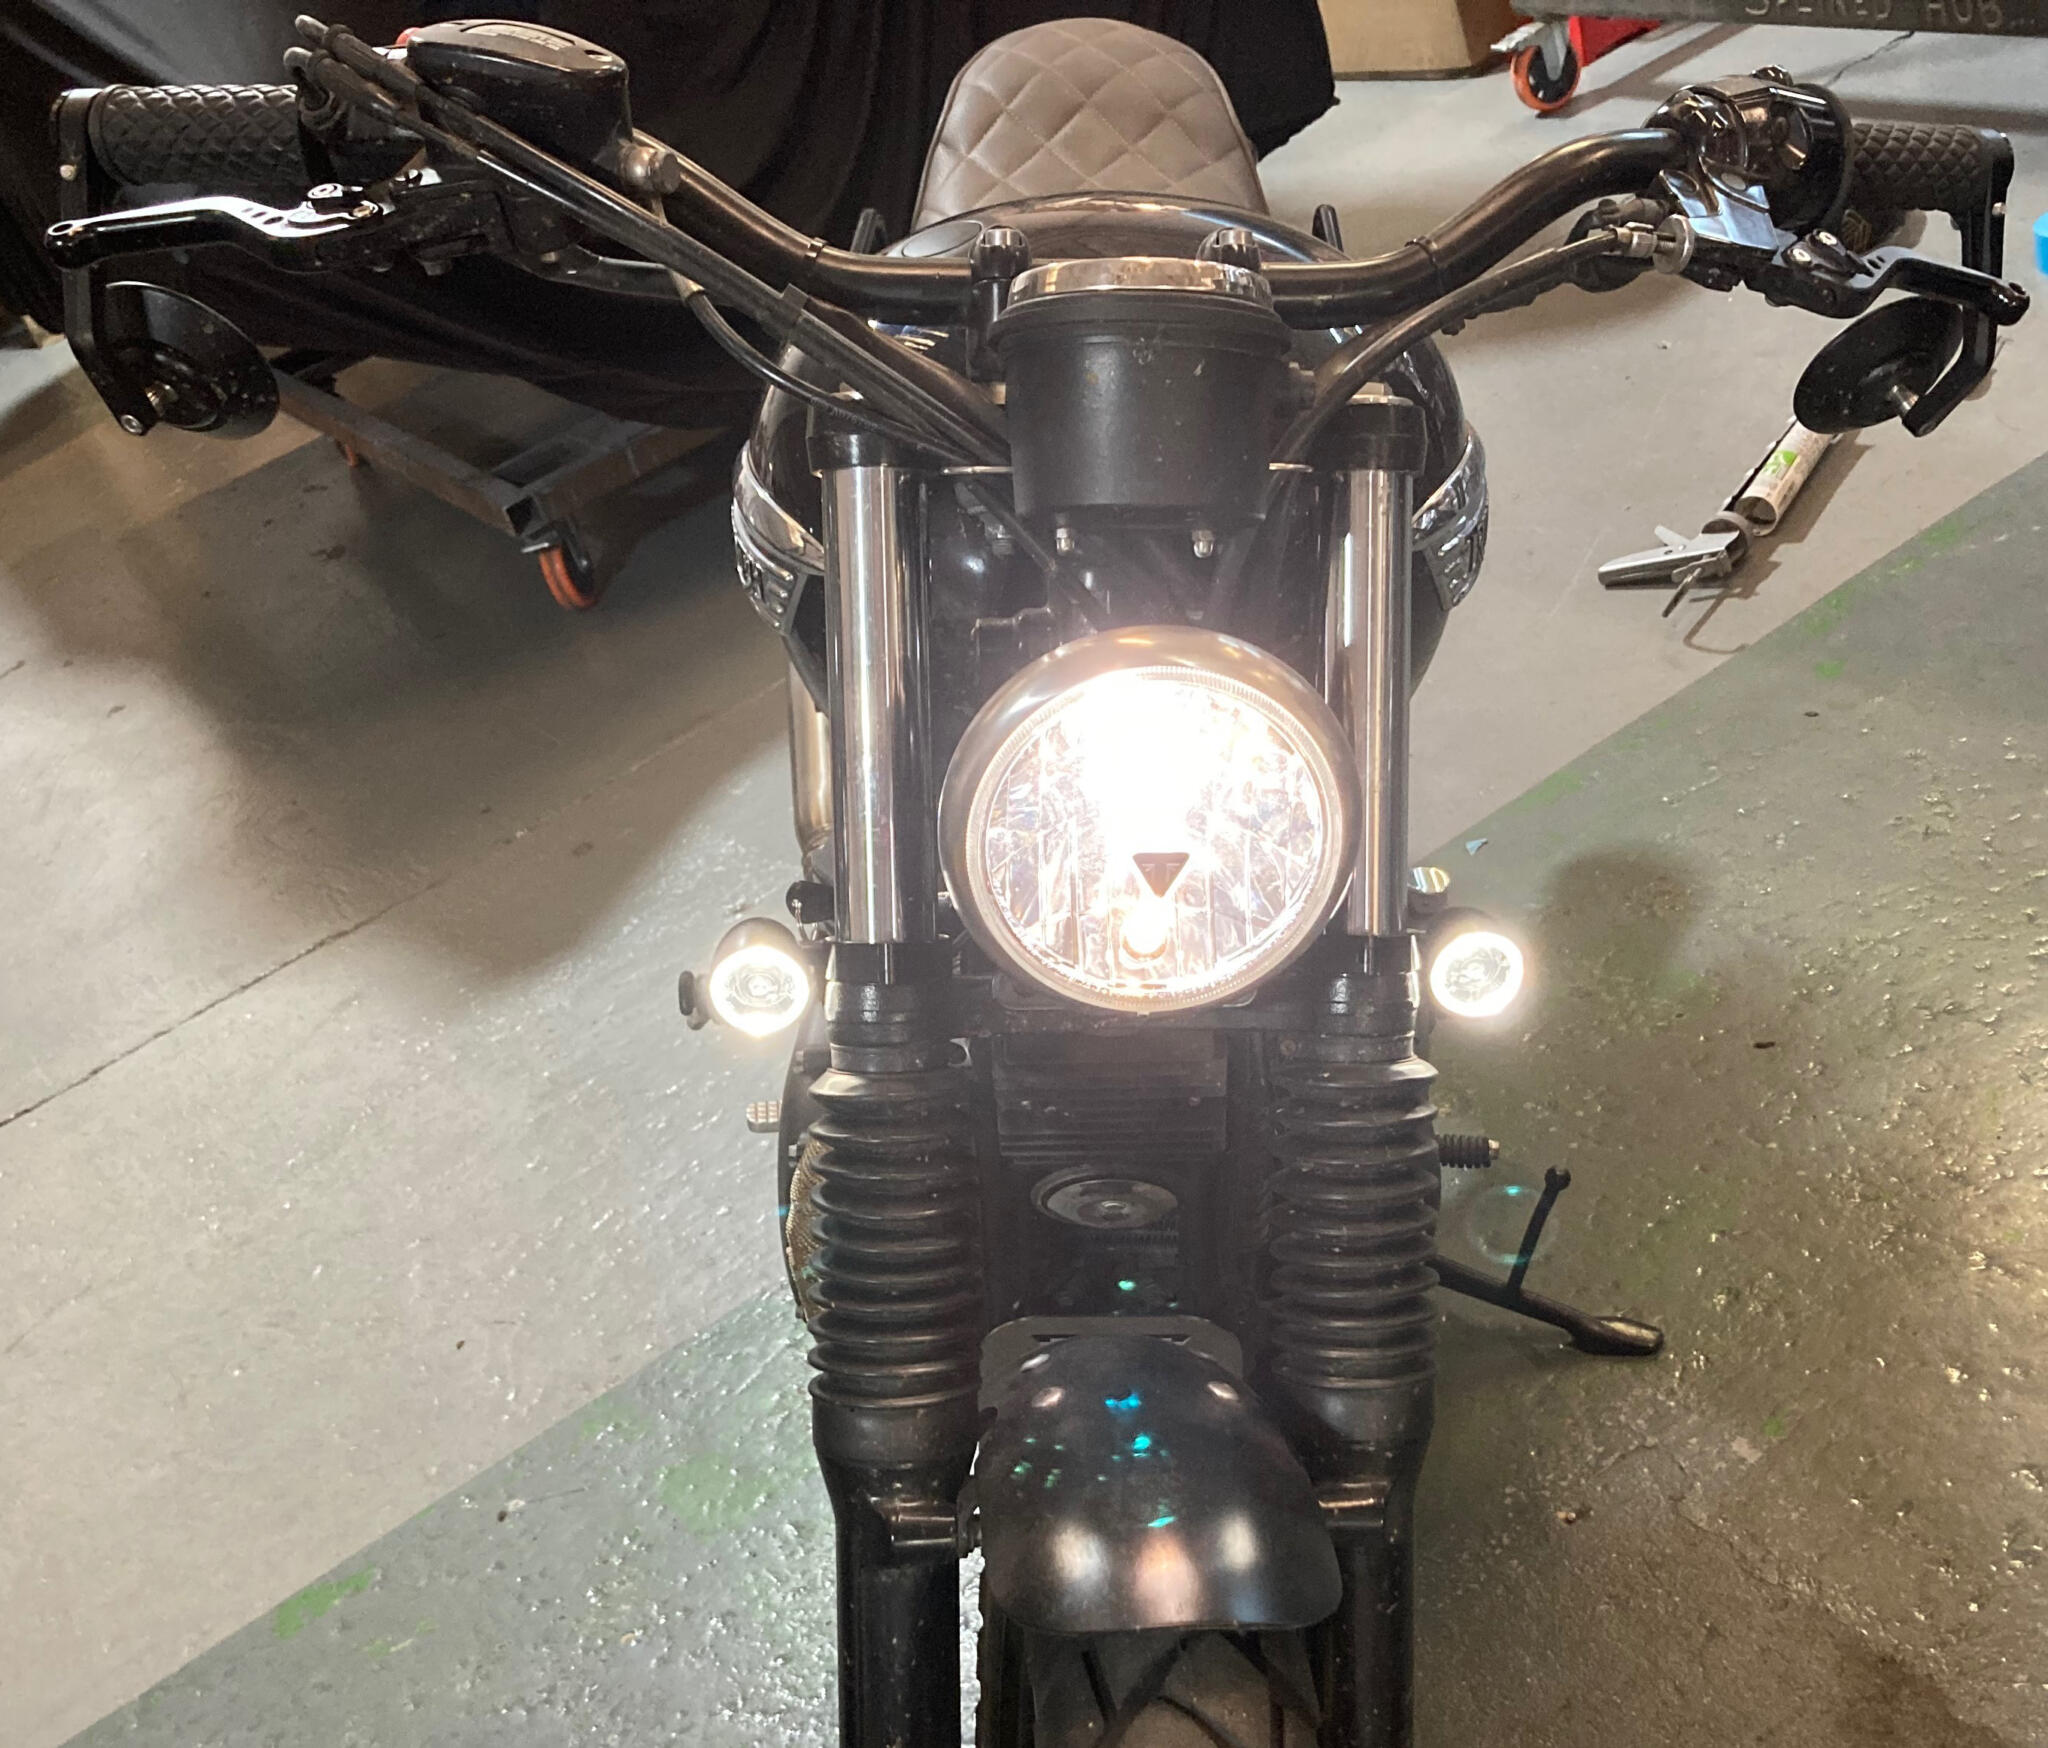
Running lights tap into the pilot light circuit

Connections for (among other things) the front indicators. Not as neat as a custom job, but functional enough
Ready for the summer