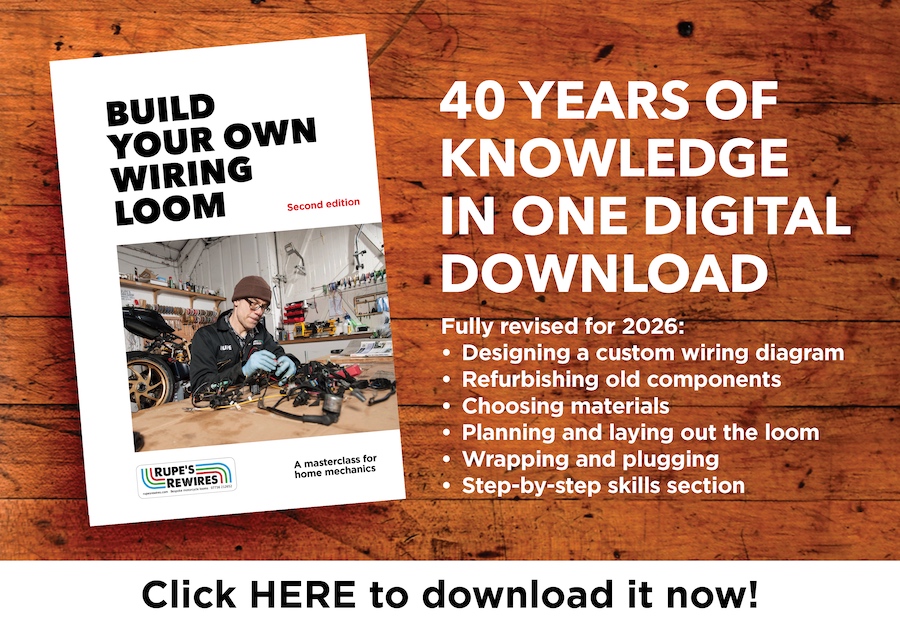
I made an aluminium plate for the coil and new reg rec. The nylon spacers for the coil allow minimum clamping pressure
Ammeters always seem to have bare terminals, which is asking for it. A simple brass spacer allows you to add an insulator, like this
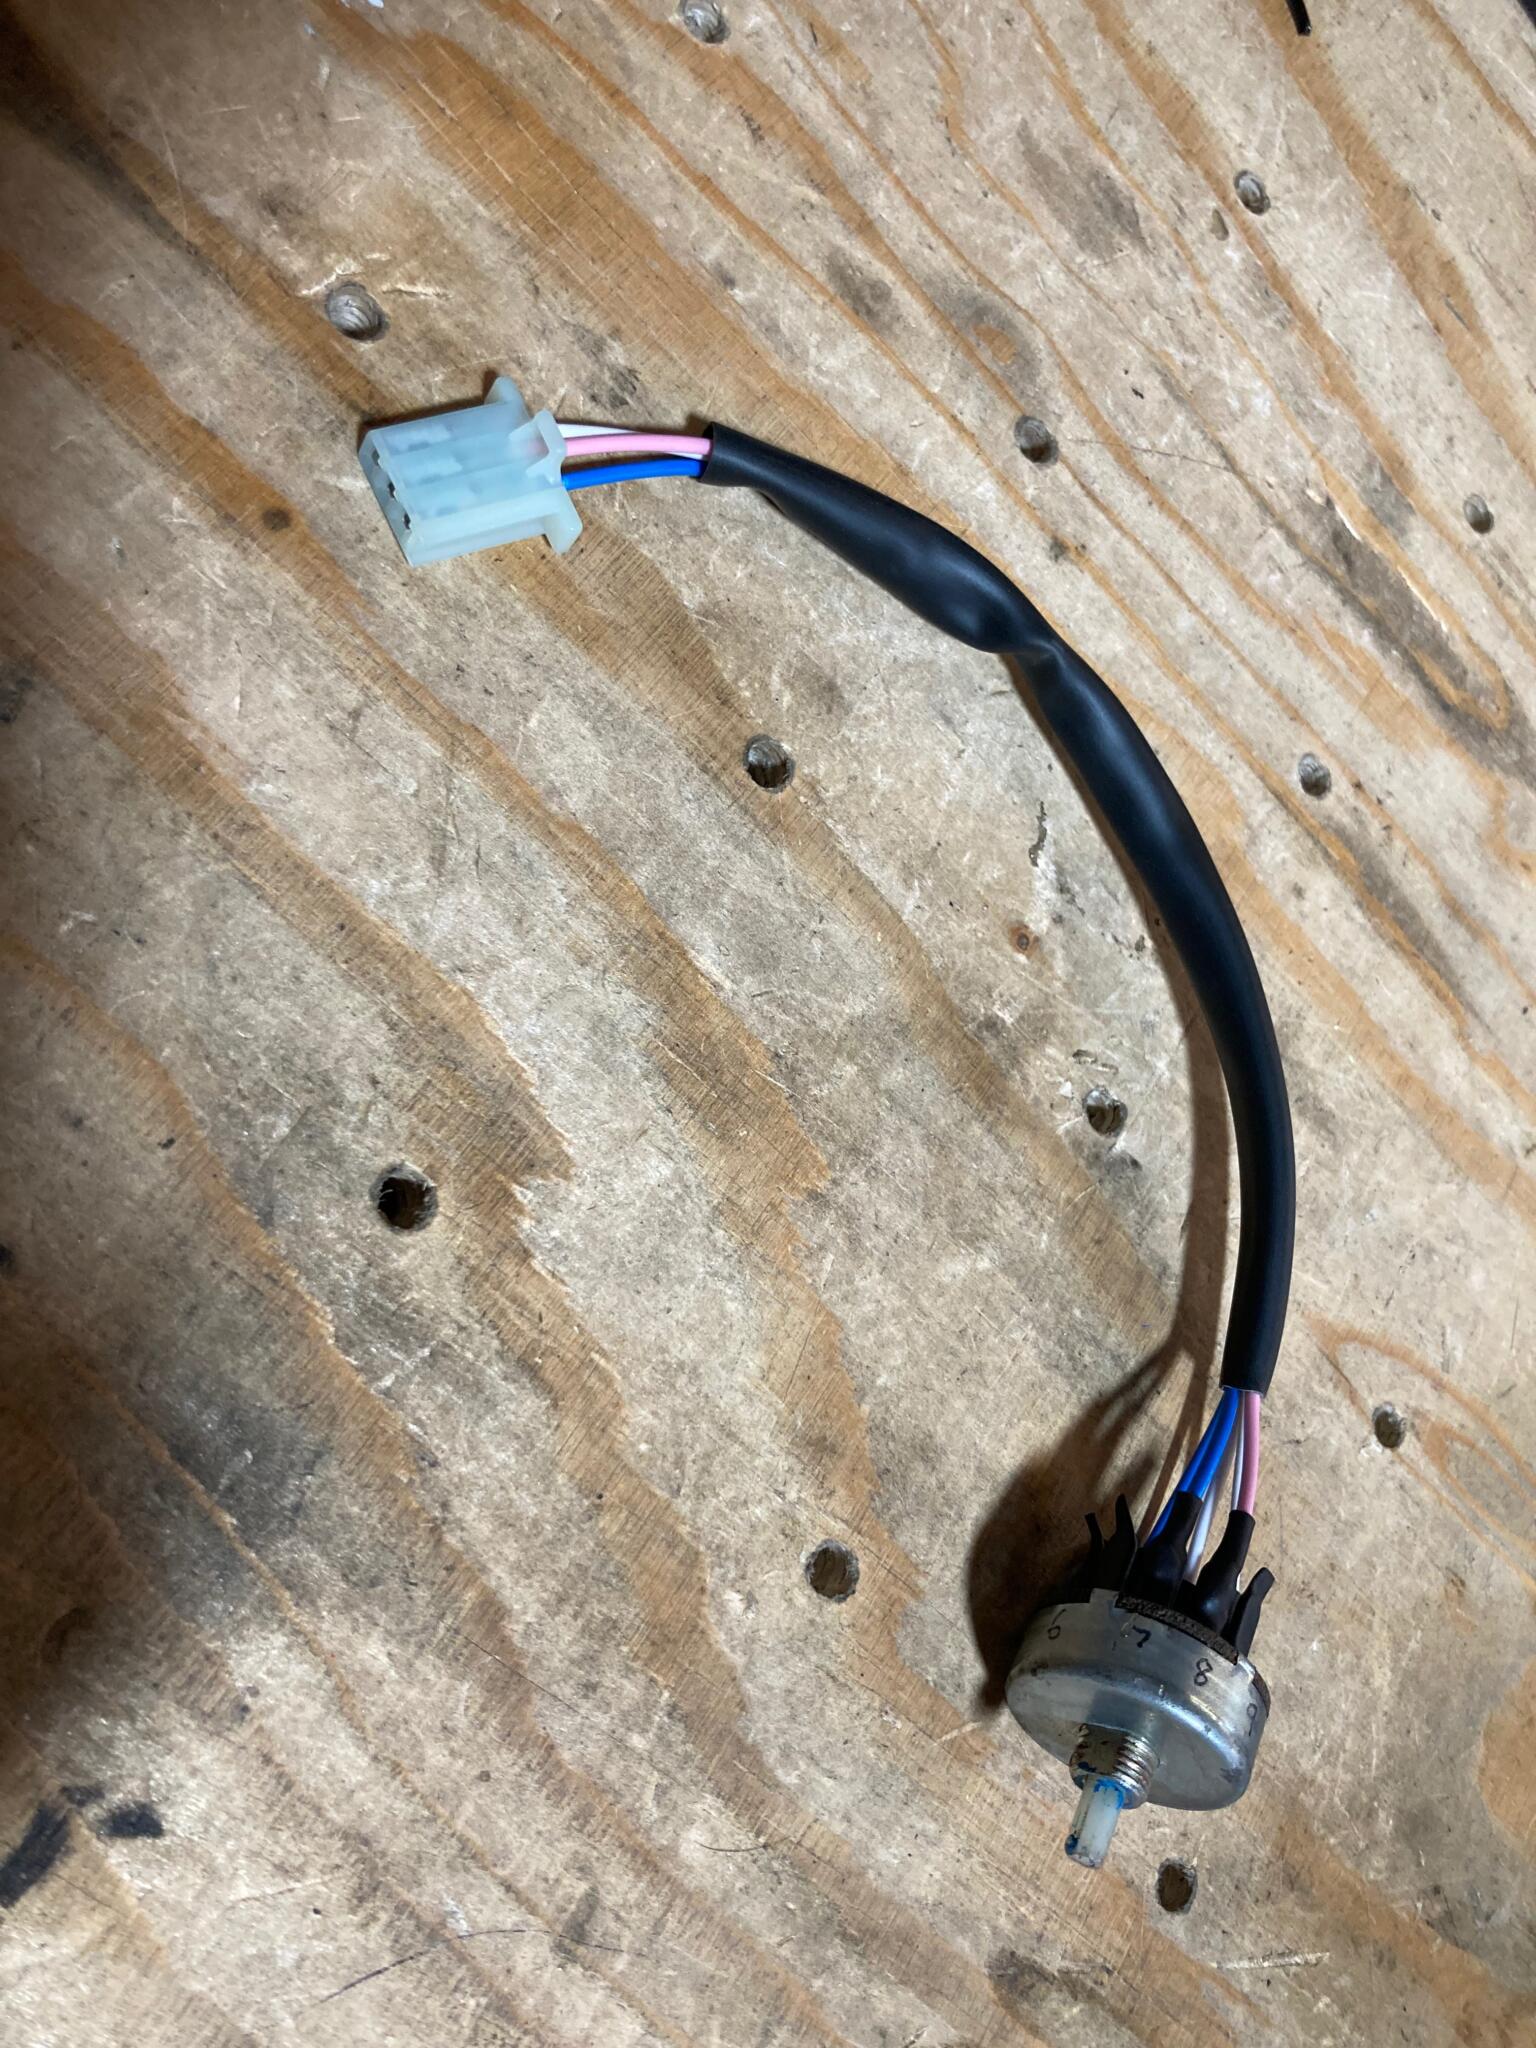
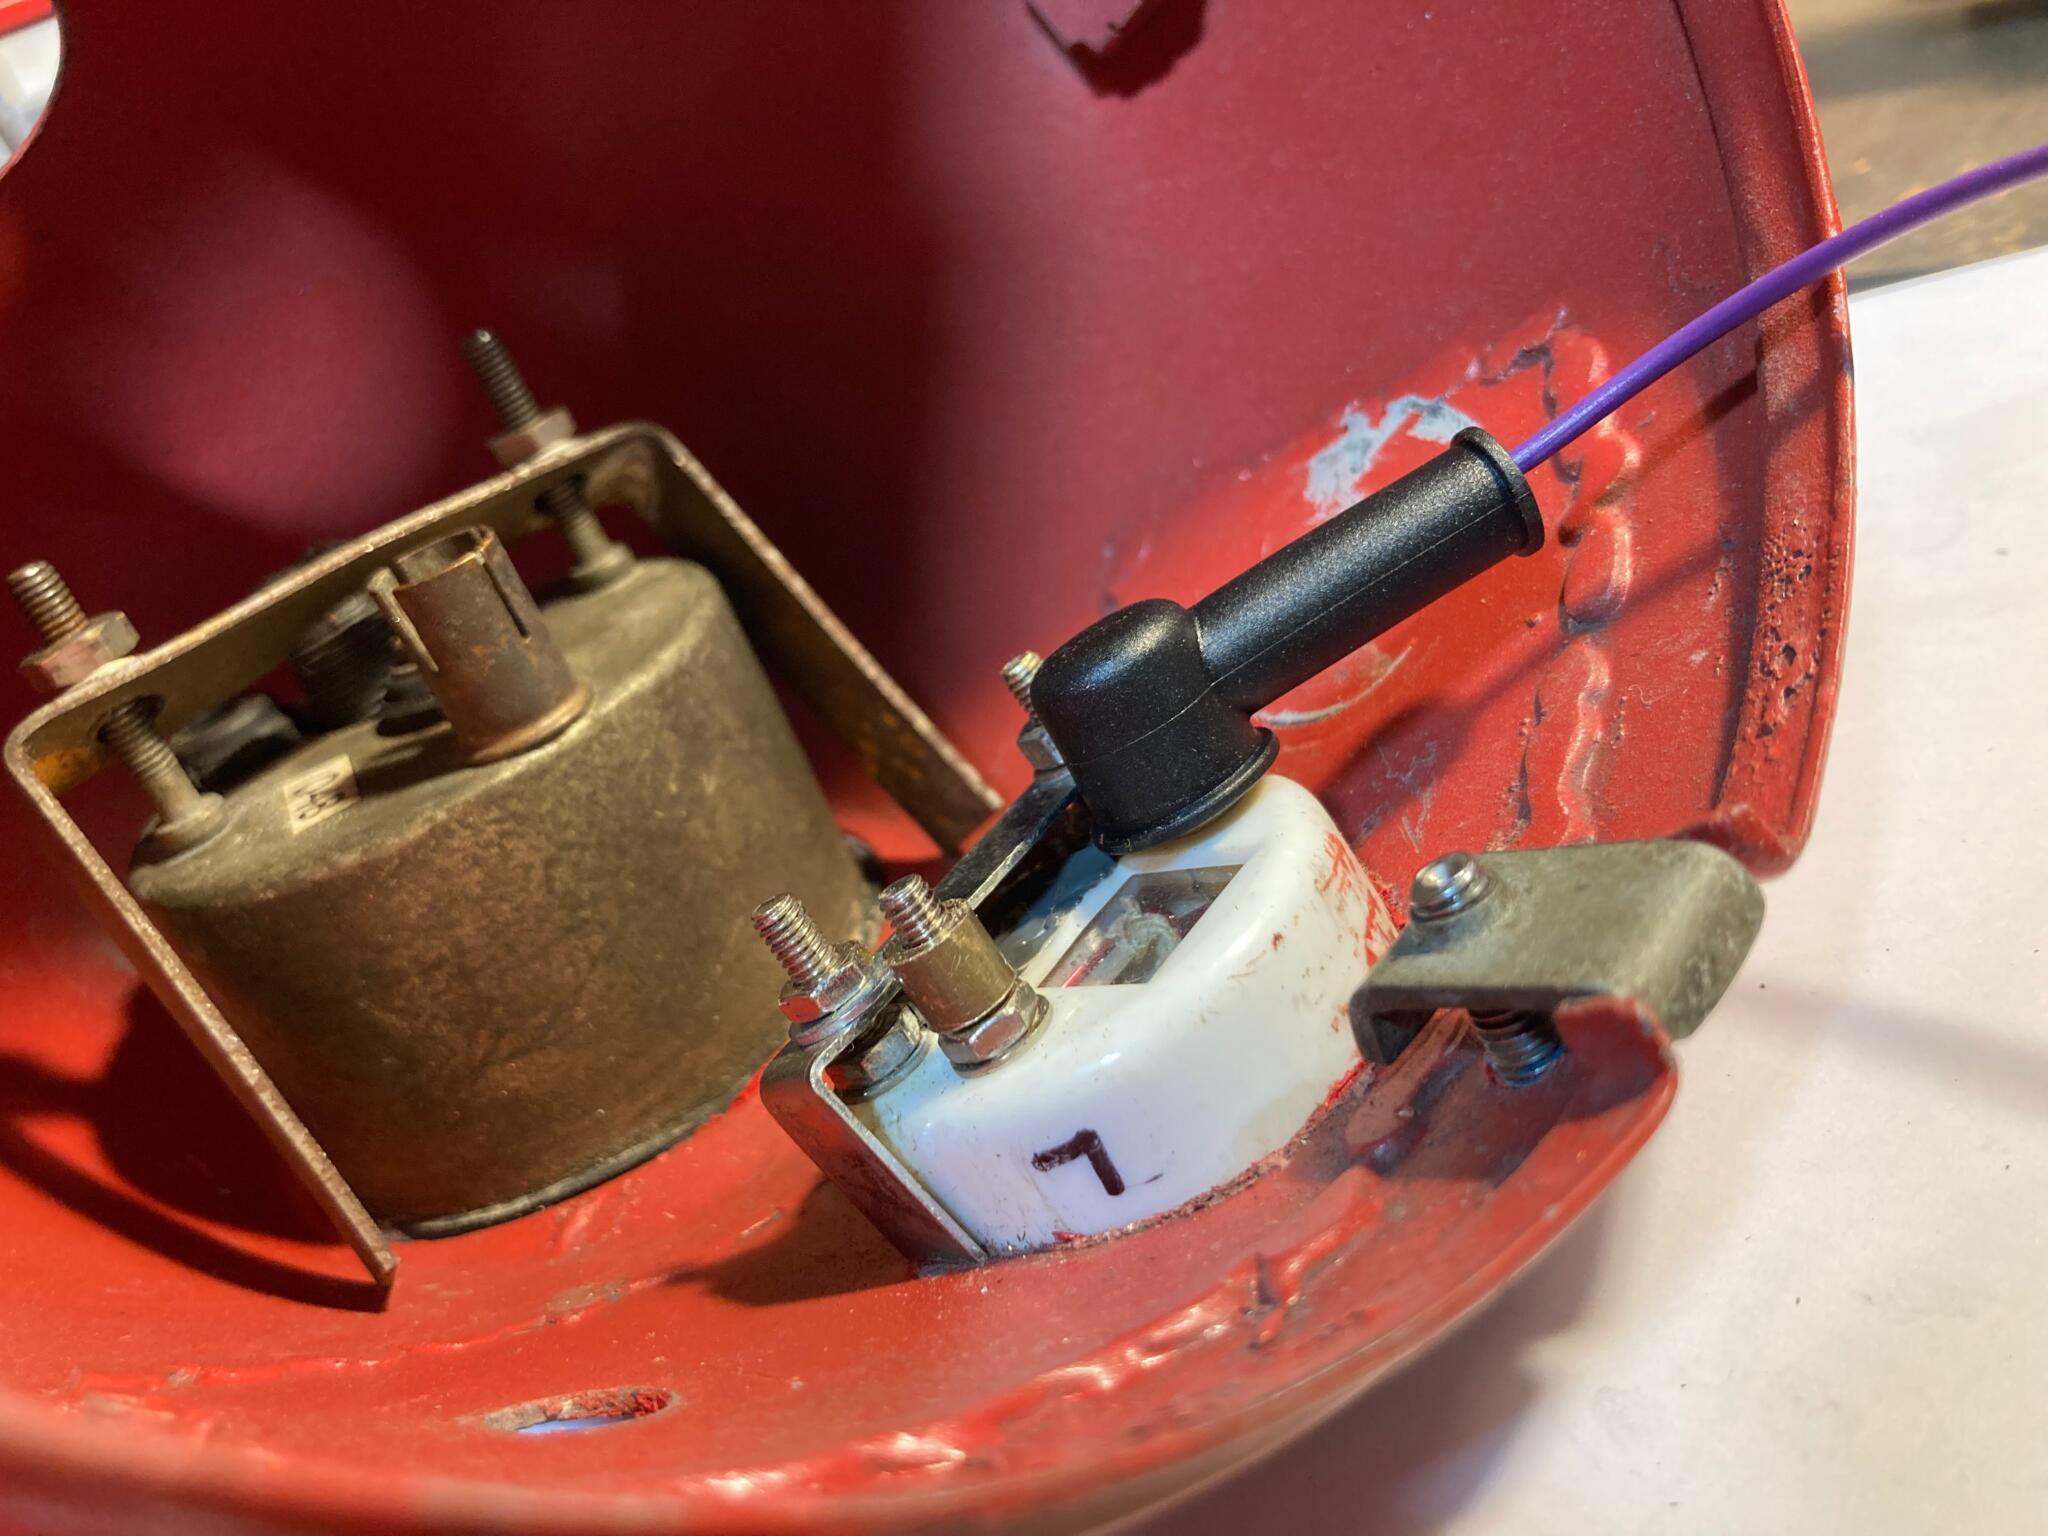
The headlamp light and ignition switches originally connected to bakelite terminal housings. These had long since crumbled, so the best solution is to solder new cable directly to the pins – then insulate them
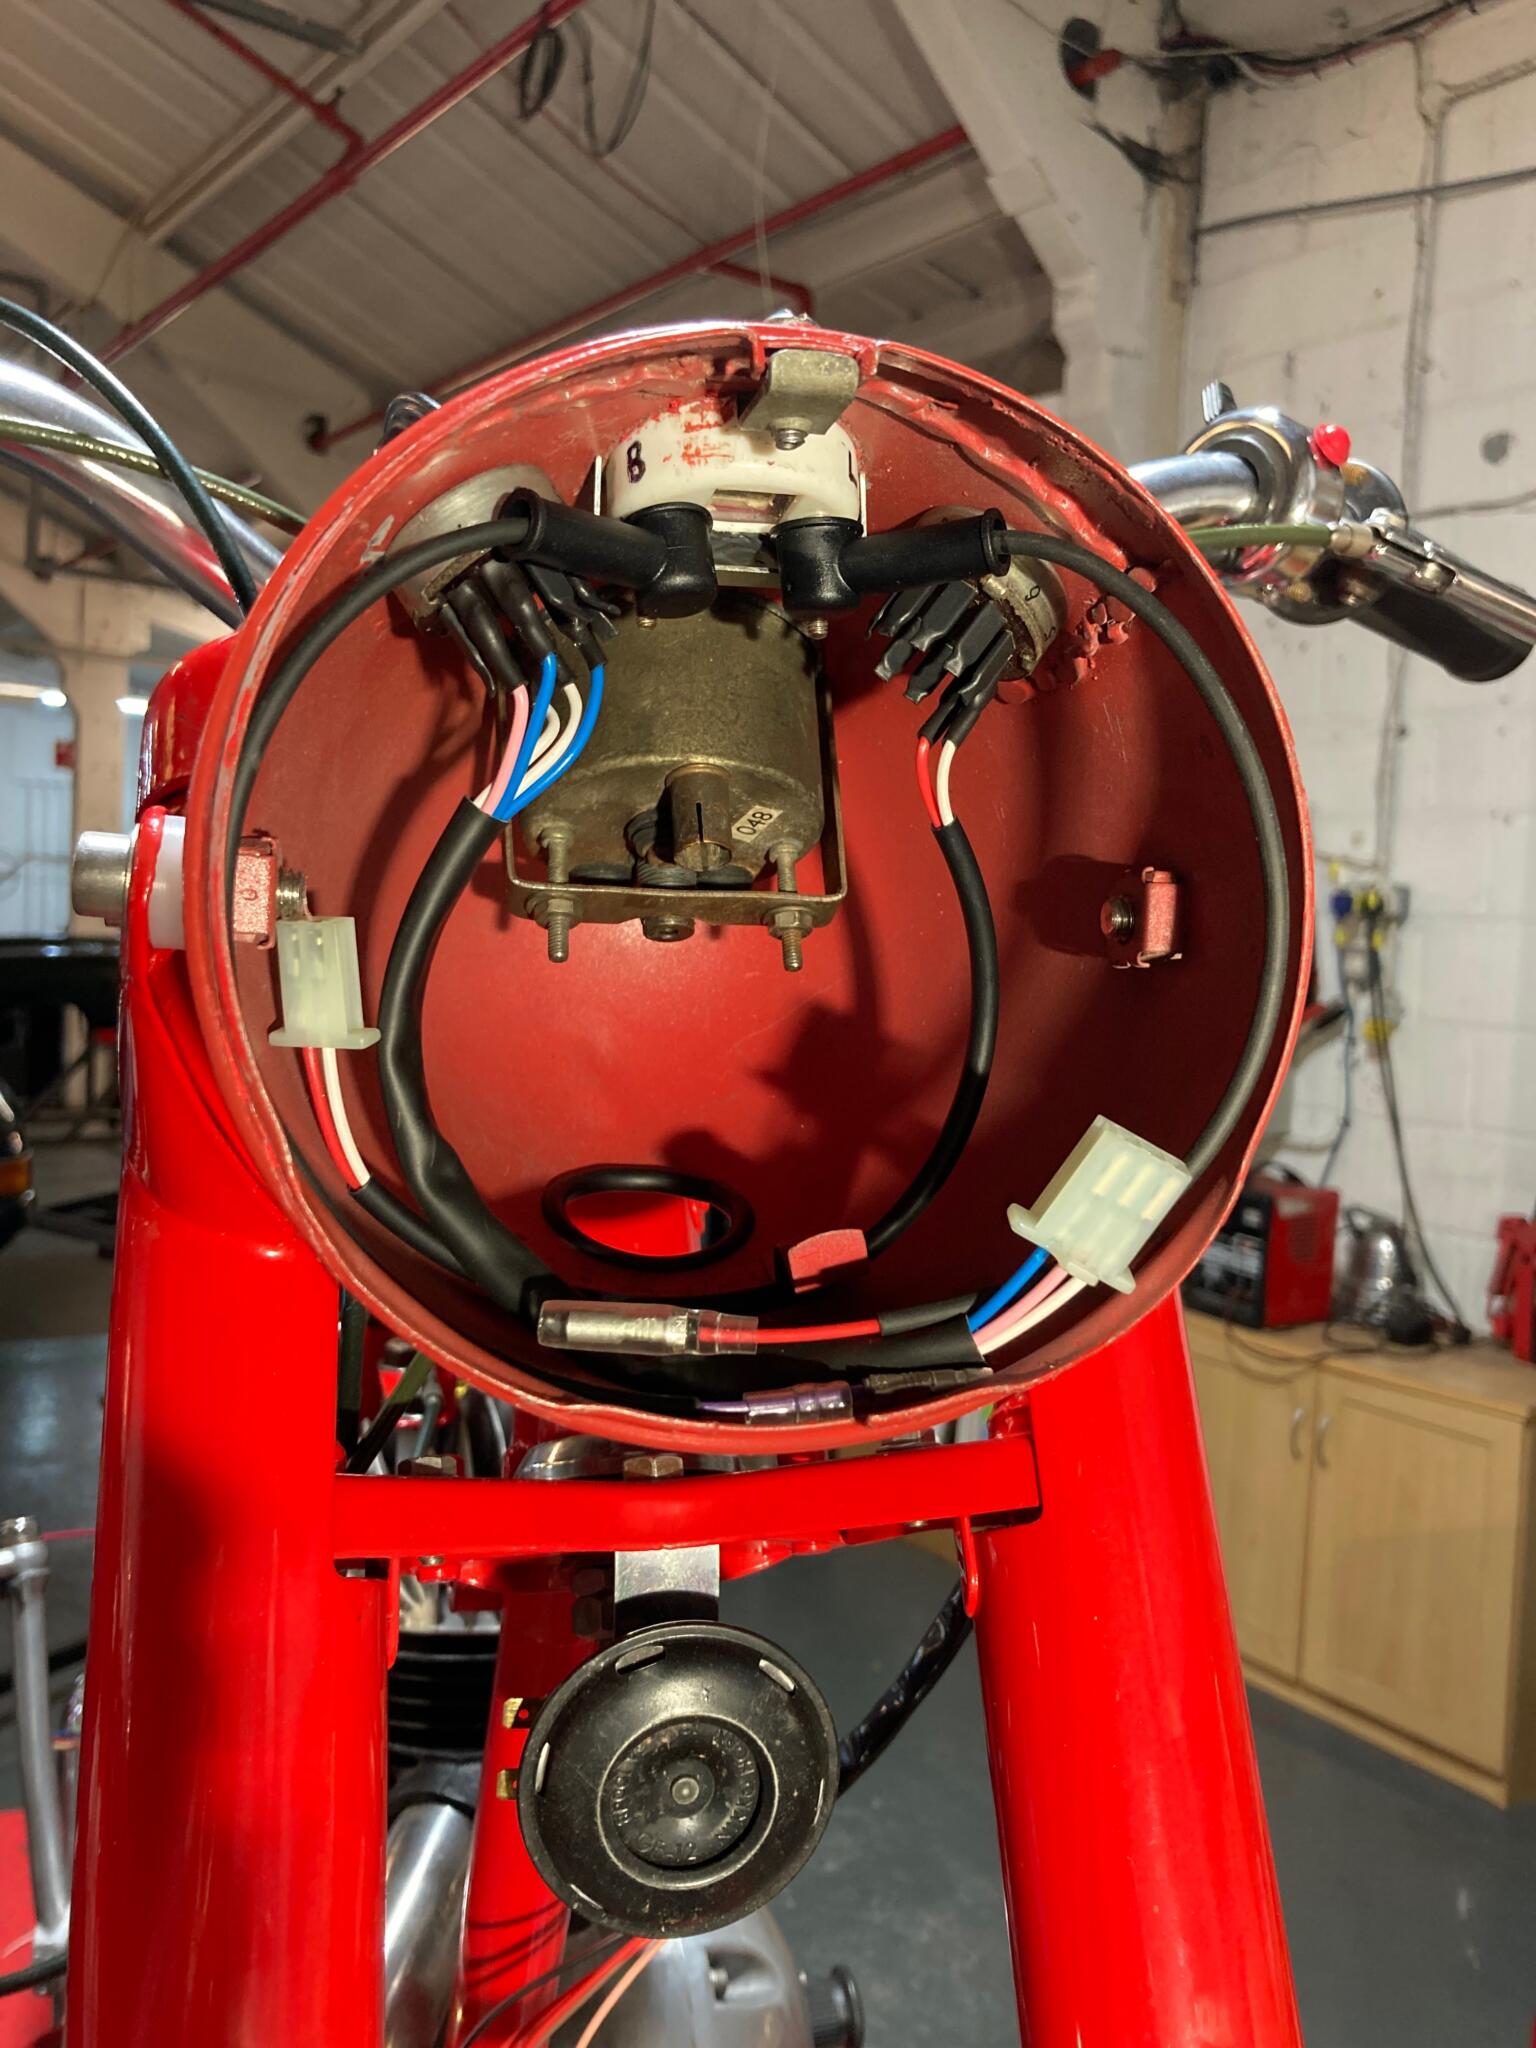
Here’s the result: neater, better connected and safer than the original setup
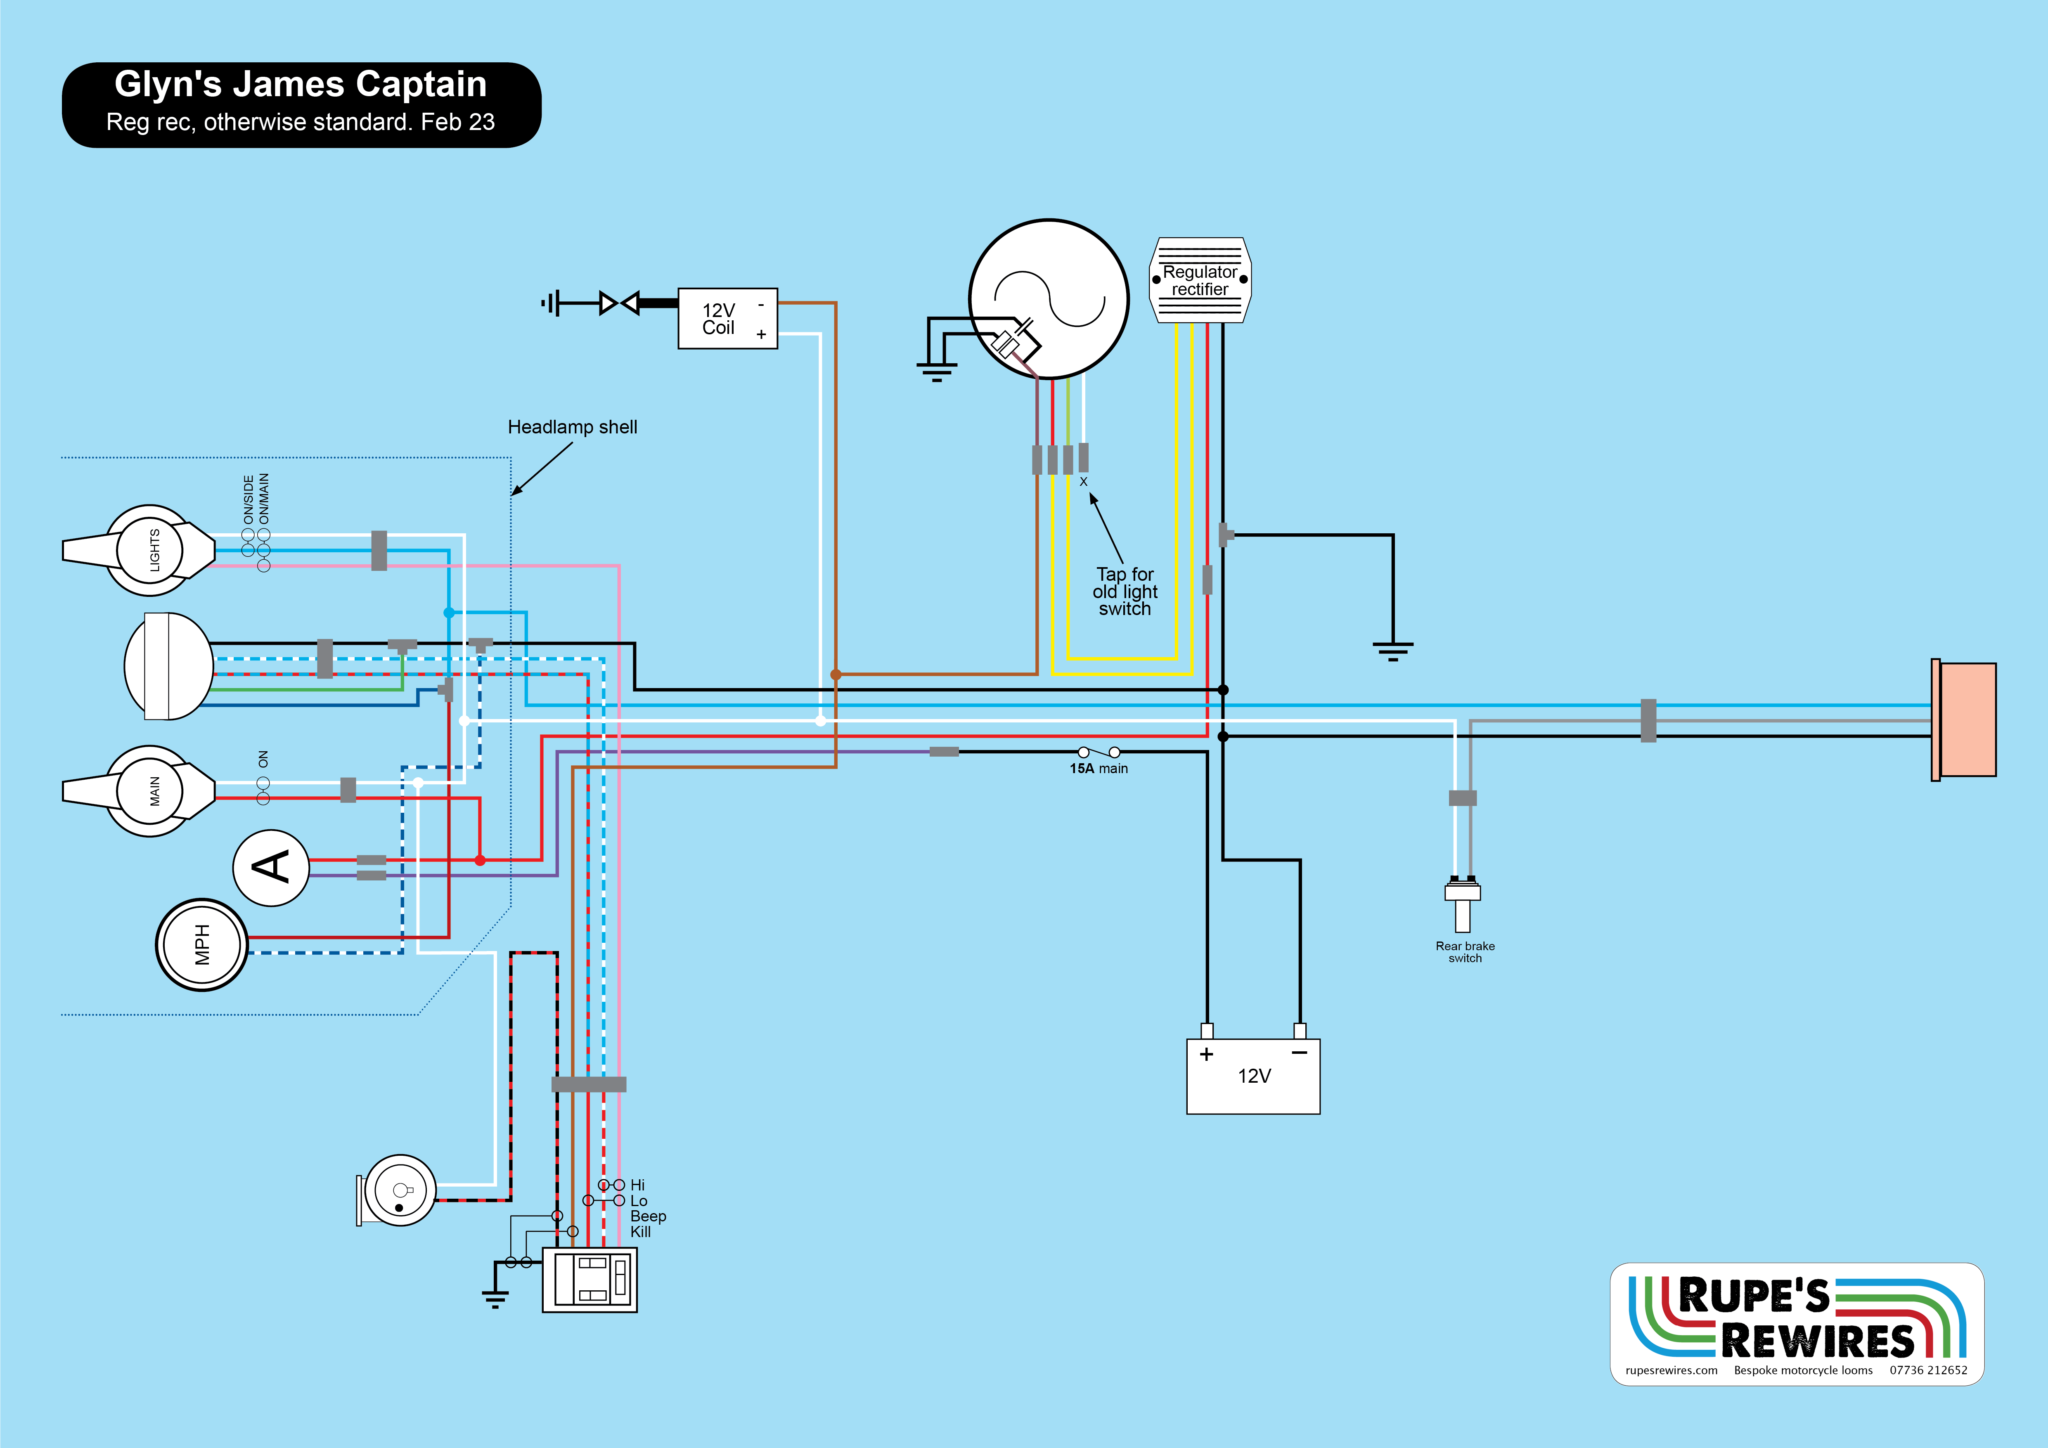
Glyn’s 1964 James Captain
Glyn bought the James almost completely restored. He fancied something light and easy to haul around. The only thing left was the electrics, which is how it ended up at the RR shop.
These bikes are small and simple, but the original electrics aren’t. They use a Wipac system that switches on an extra coil in the alternator to balance the supply and demand when the lights get turned on. That means the nine-pin headlamp switch is really complicated. So is the ignition switch – it’s basically the same item, and operates an ’emergency’ option to start the engine even when the battery is flat.
These days you can buy a proper voltage regulator for 30 quid, and run the alternator flat out all the time. And not many people need the emergency option. So you can redesign the wiring scheme to make it as simple and efficient as possible.
That’s the easy bit. Because before you can start you have to mount the new pieces (in this case an ignition coil and Goffy regulator rectifier). You then have to check and repair the lights, speedo and switches. So the pics here show some of that. If you don’t bother, and just wang on a new pattern loom, the bike will have almost as many issues as before.
So, small Brit bike wiring prep, in 75 words:
If it’s 6V, convert to 12V. It’s a no brainer.
Fire up the lathe and make spacers for the ammeter terminals so that you can fit insulators. For obvious reasons.
Forget about through-the-frame earths. Make up earth cables for every component. Electrons hate squeezing through old corrosion and new powder coating.
Mount any new components properly, so that they won’t vibrate loose, or chafe against a pressed steel edge. Again, for obvious reasons.
Usually this work will take longer than building the loom. If it doesn’t, you’re probably doing it wrong!
The bike fired up after a push start, and the lights looked nice and bright. And despite being a non-standard colour, red really suits the bike.
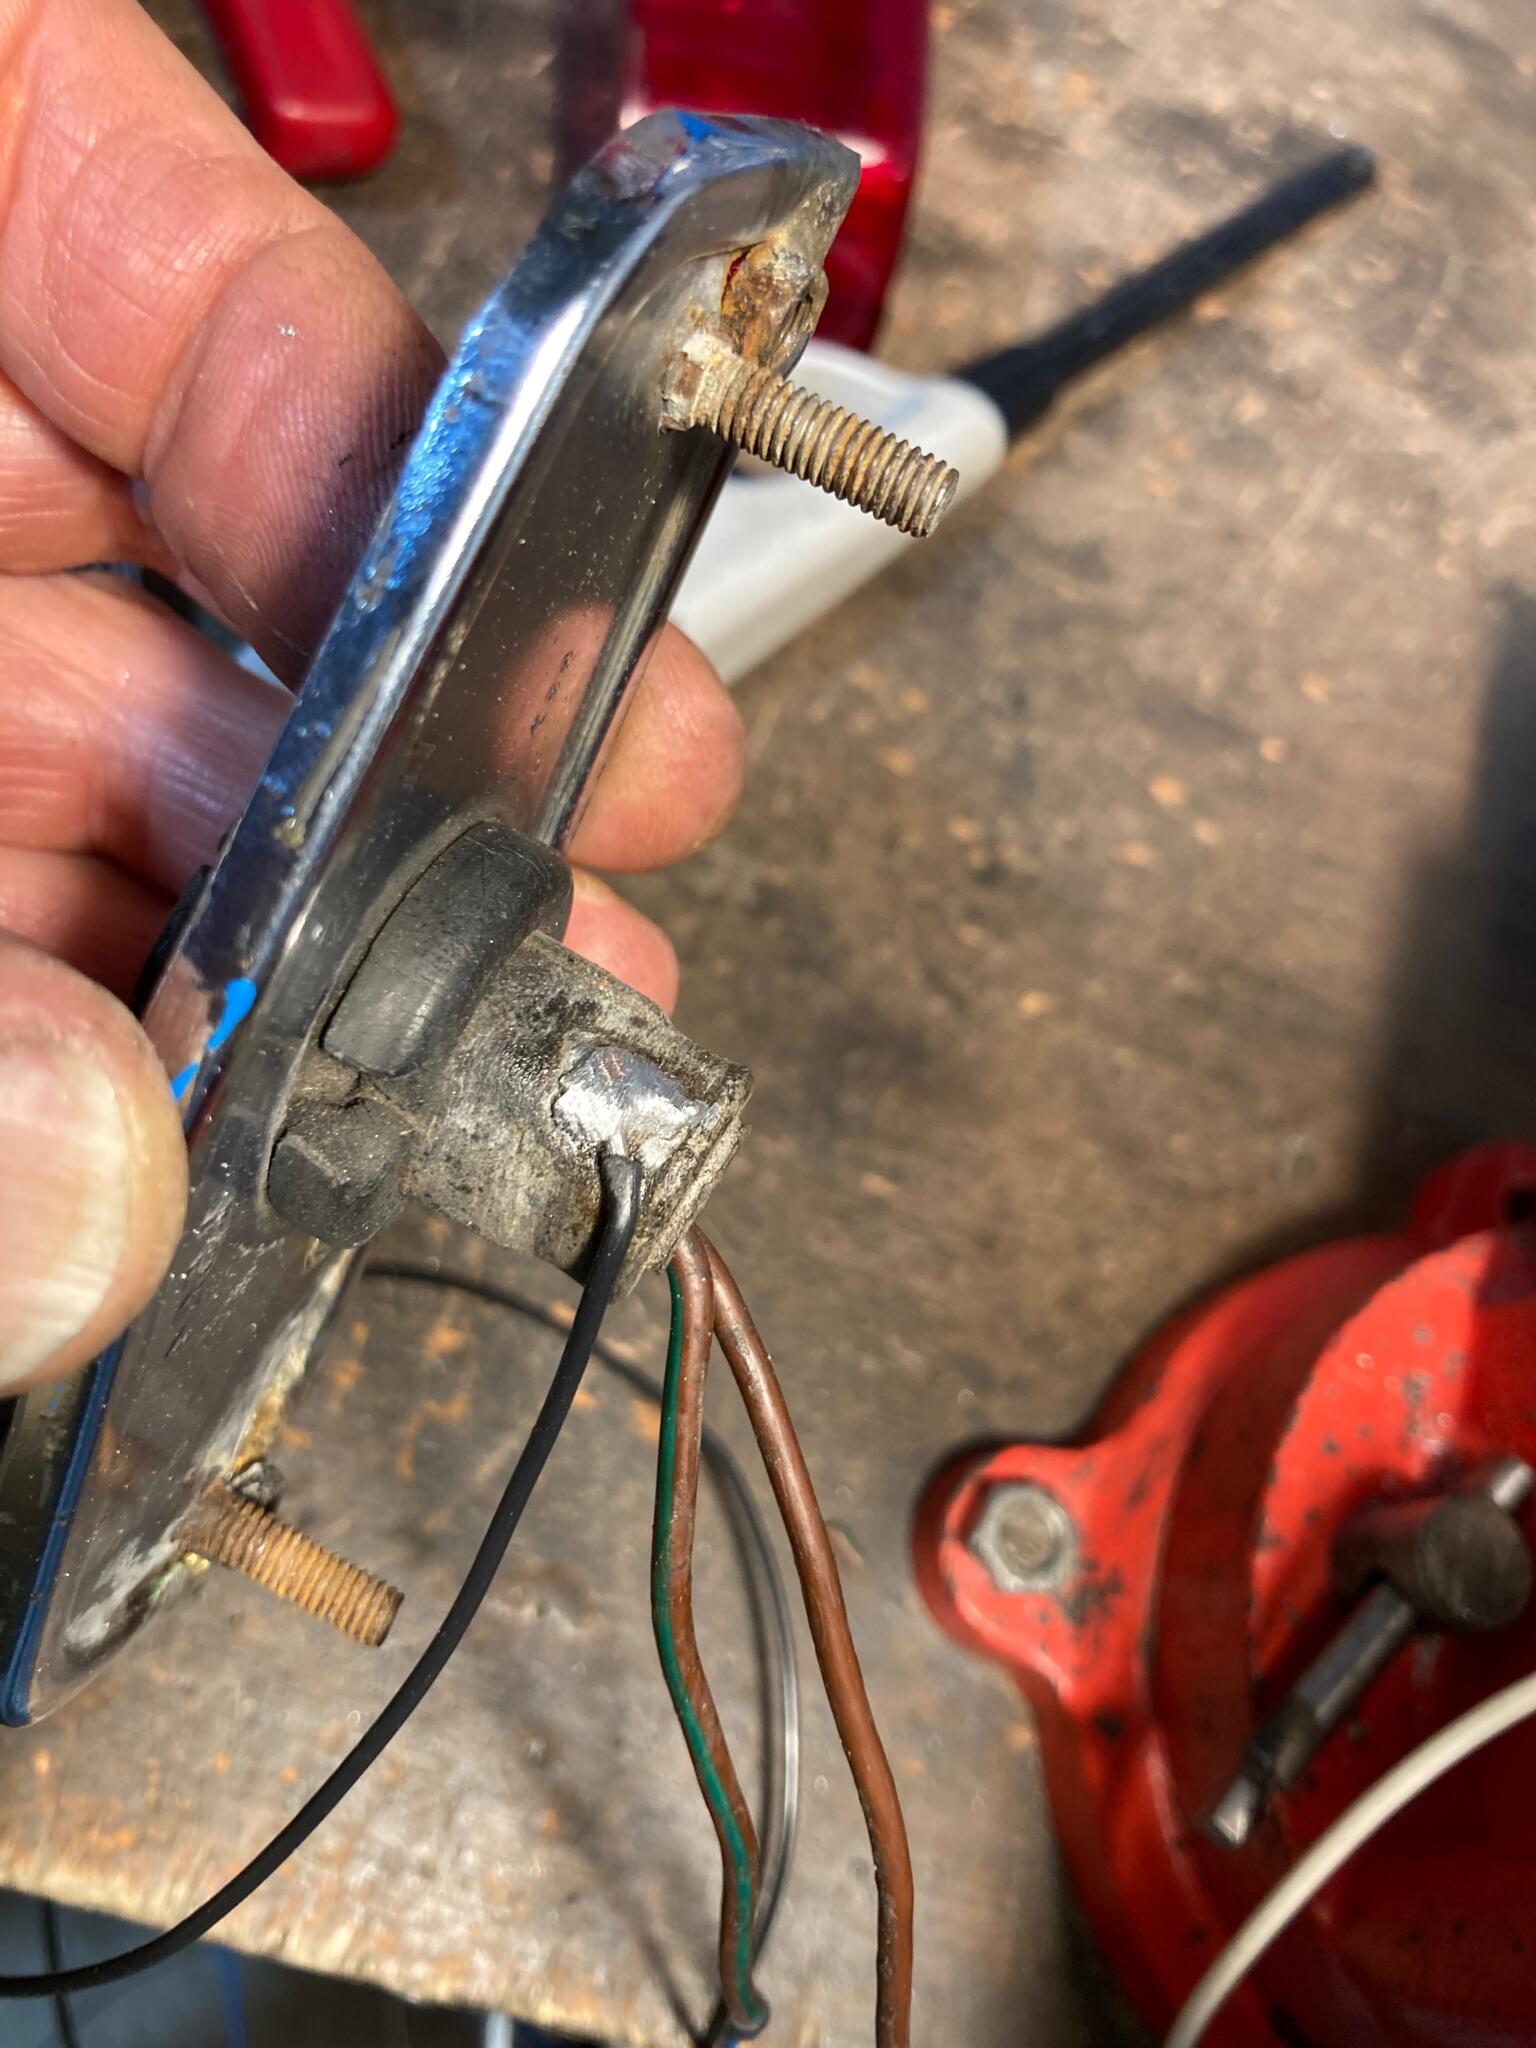
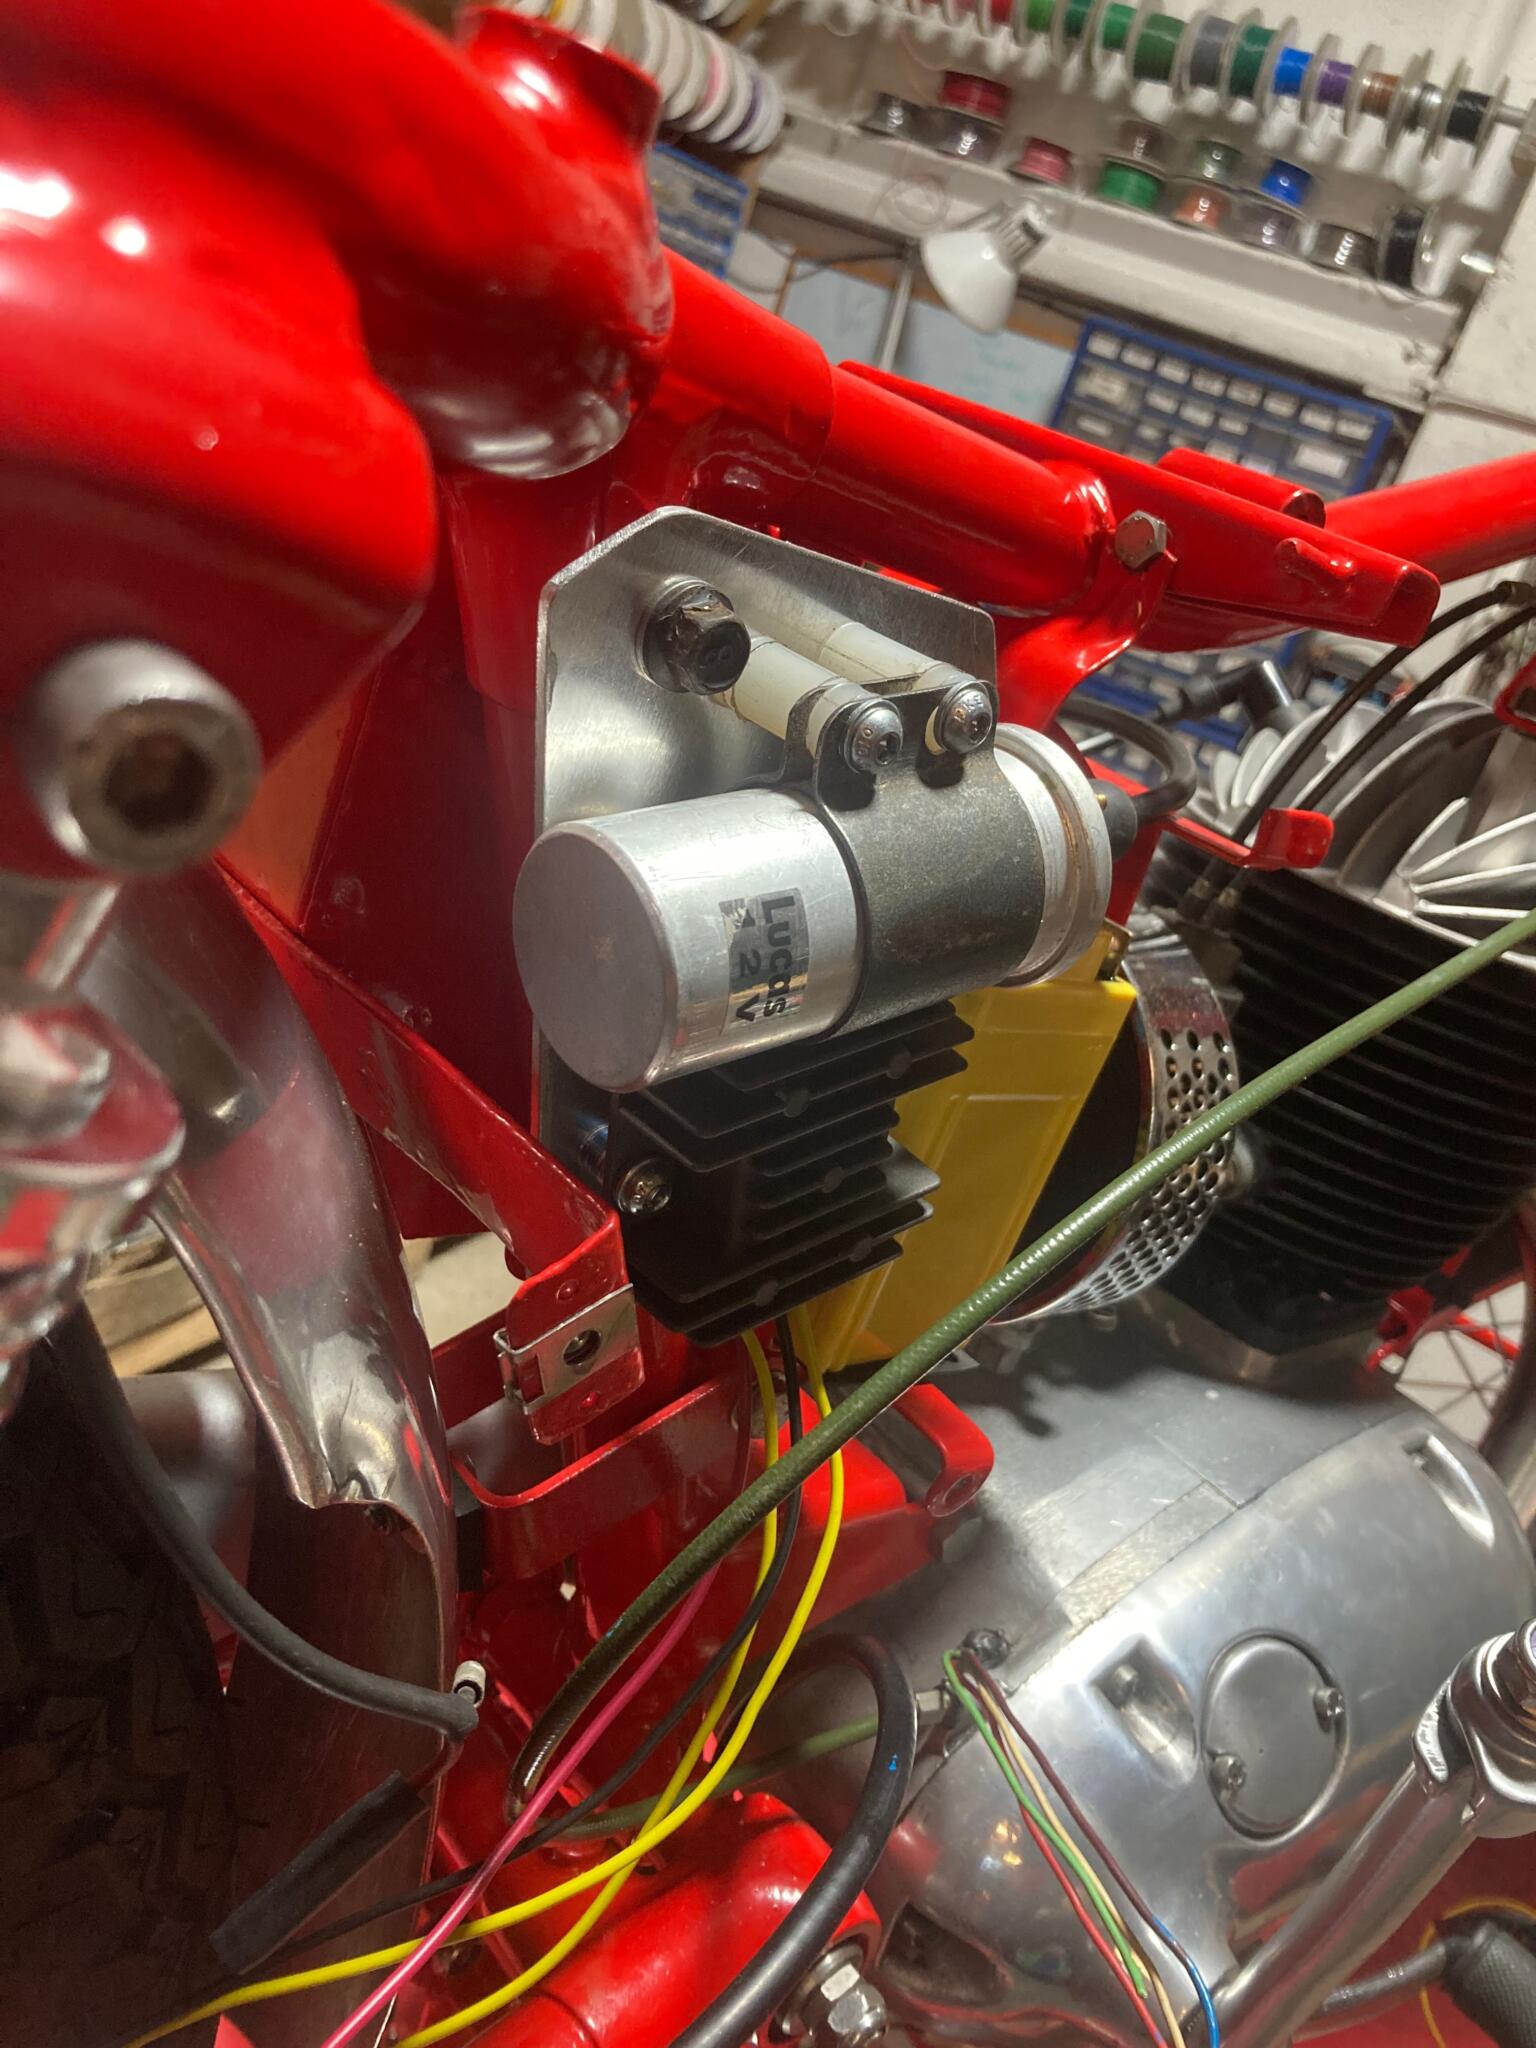
Lucas tail lights rely on through-the-frame earthing, but you can improve on that with a bespoke earth soldered to the bulb housing…
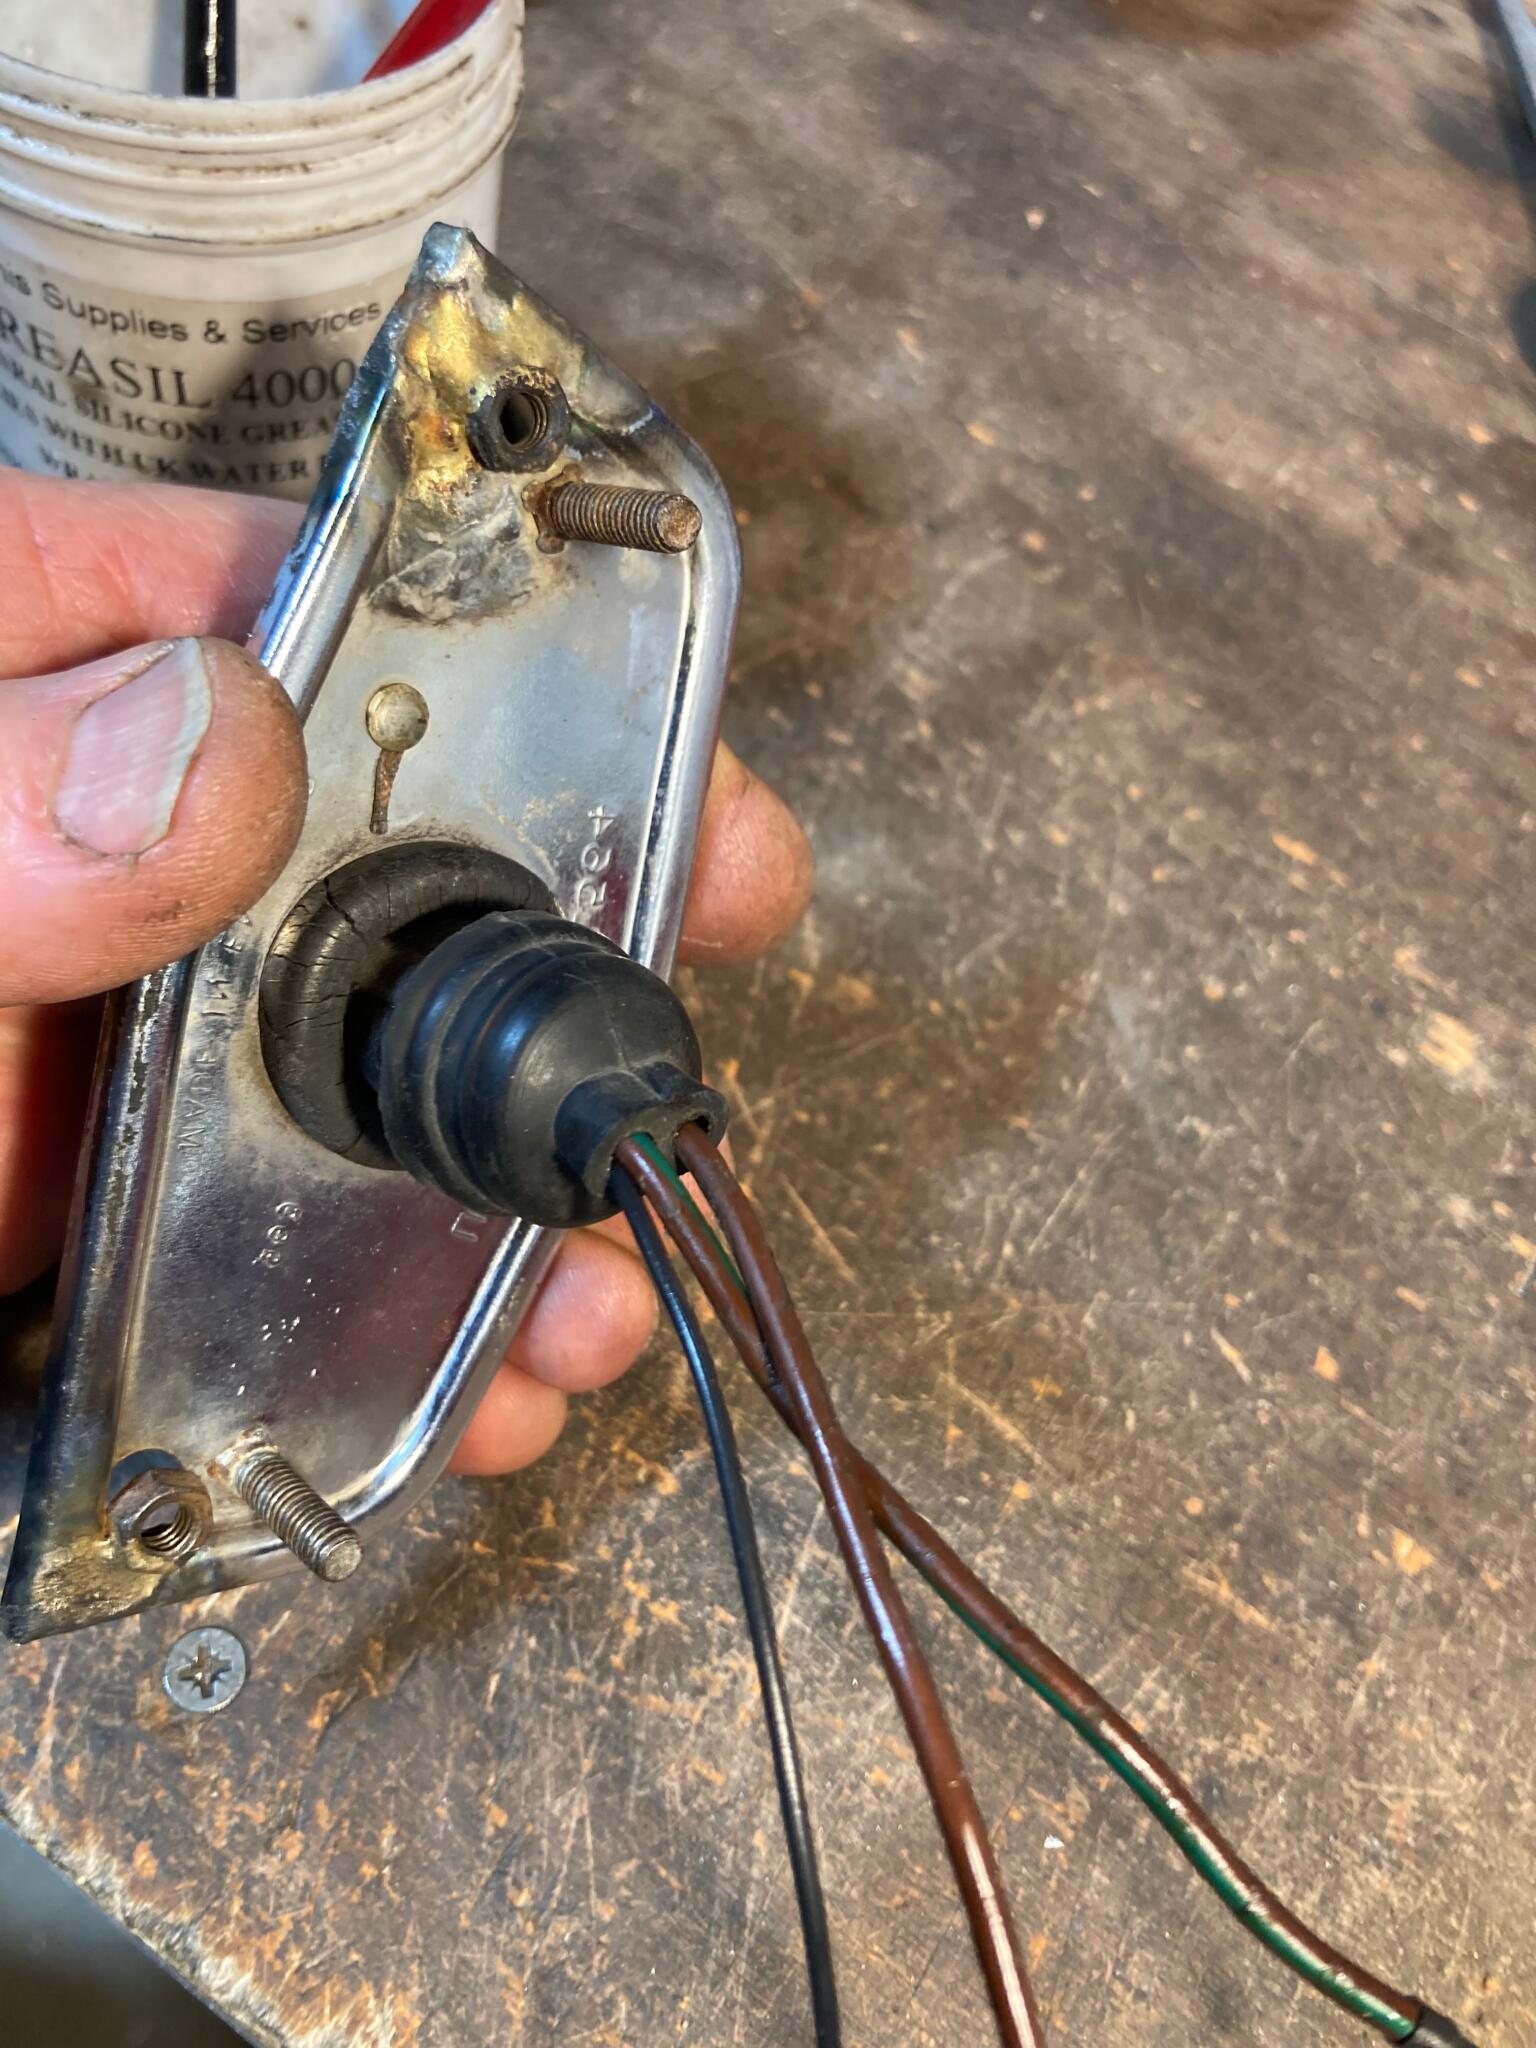
It’s only 11 amp cable so it’s thin enough to use one of the holes in the rubber cover

The other end is all new cable: grey for brake, blue for tail light, black for earth. A 2mm slice of PVC and doubled-up copper strands help bulk out 11 amp cable so it fits the terminal tightly

Grey terminal done, blue terminal ready to crimp