If you think it looks nine and a half feet long, you’d be right
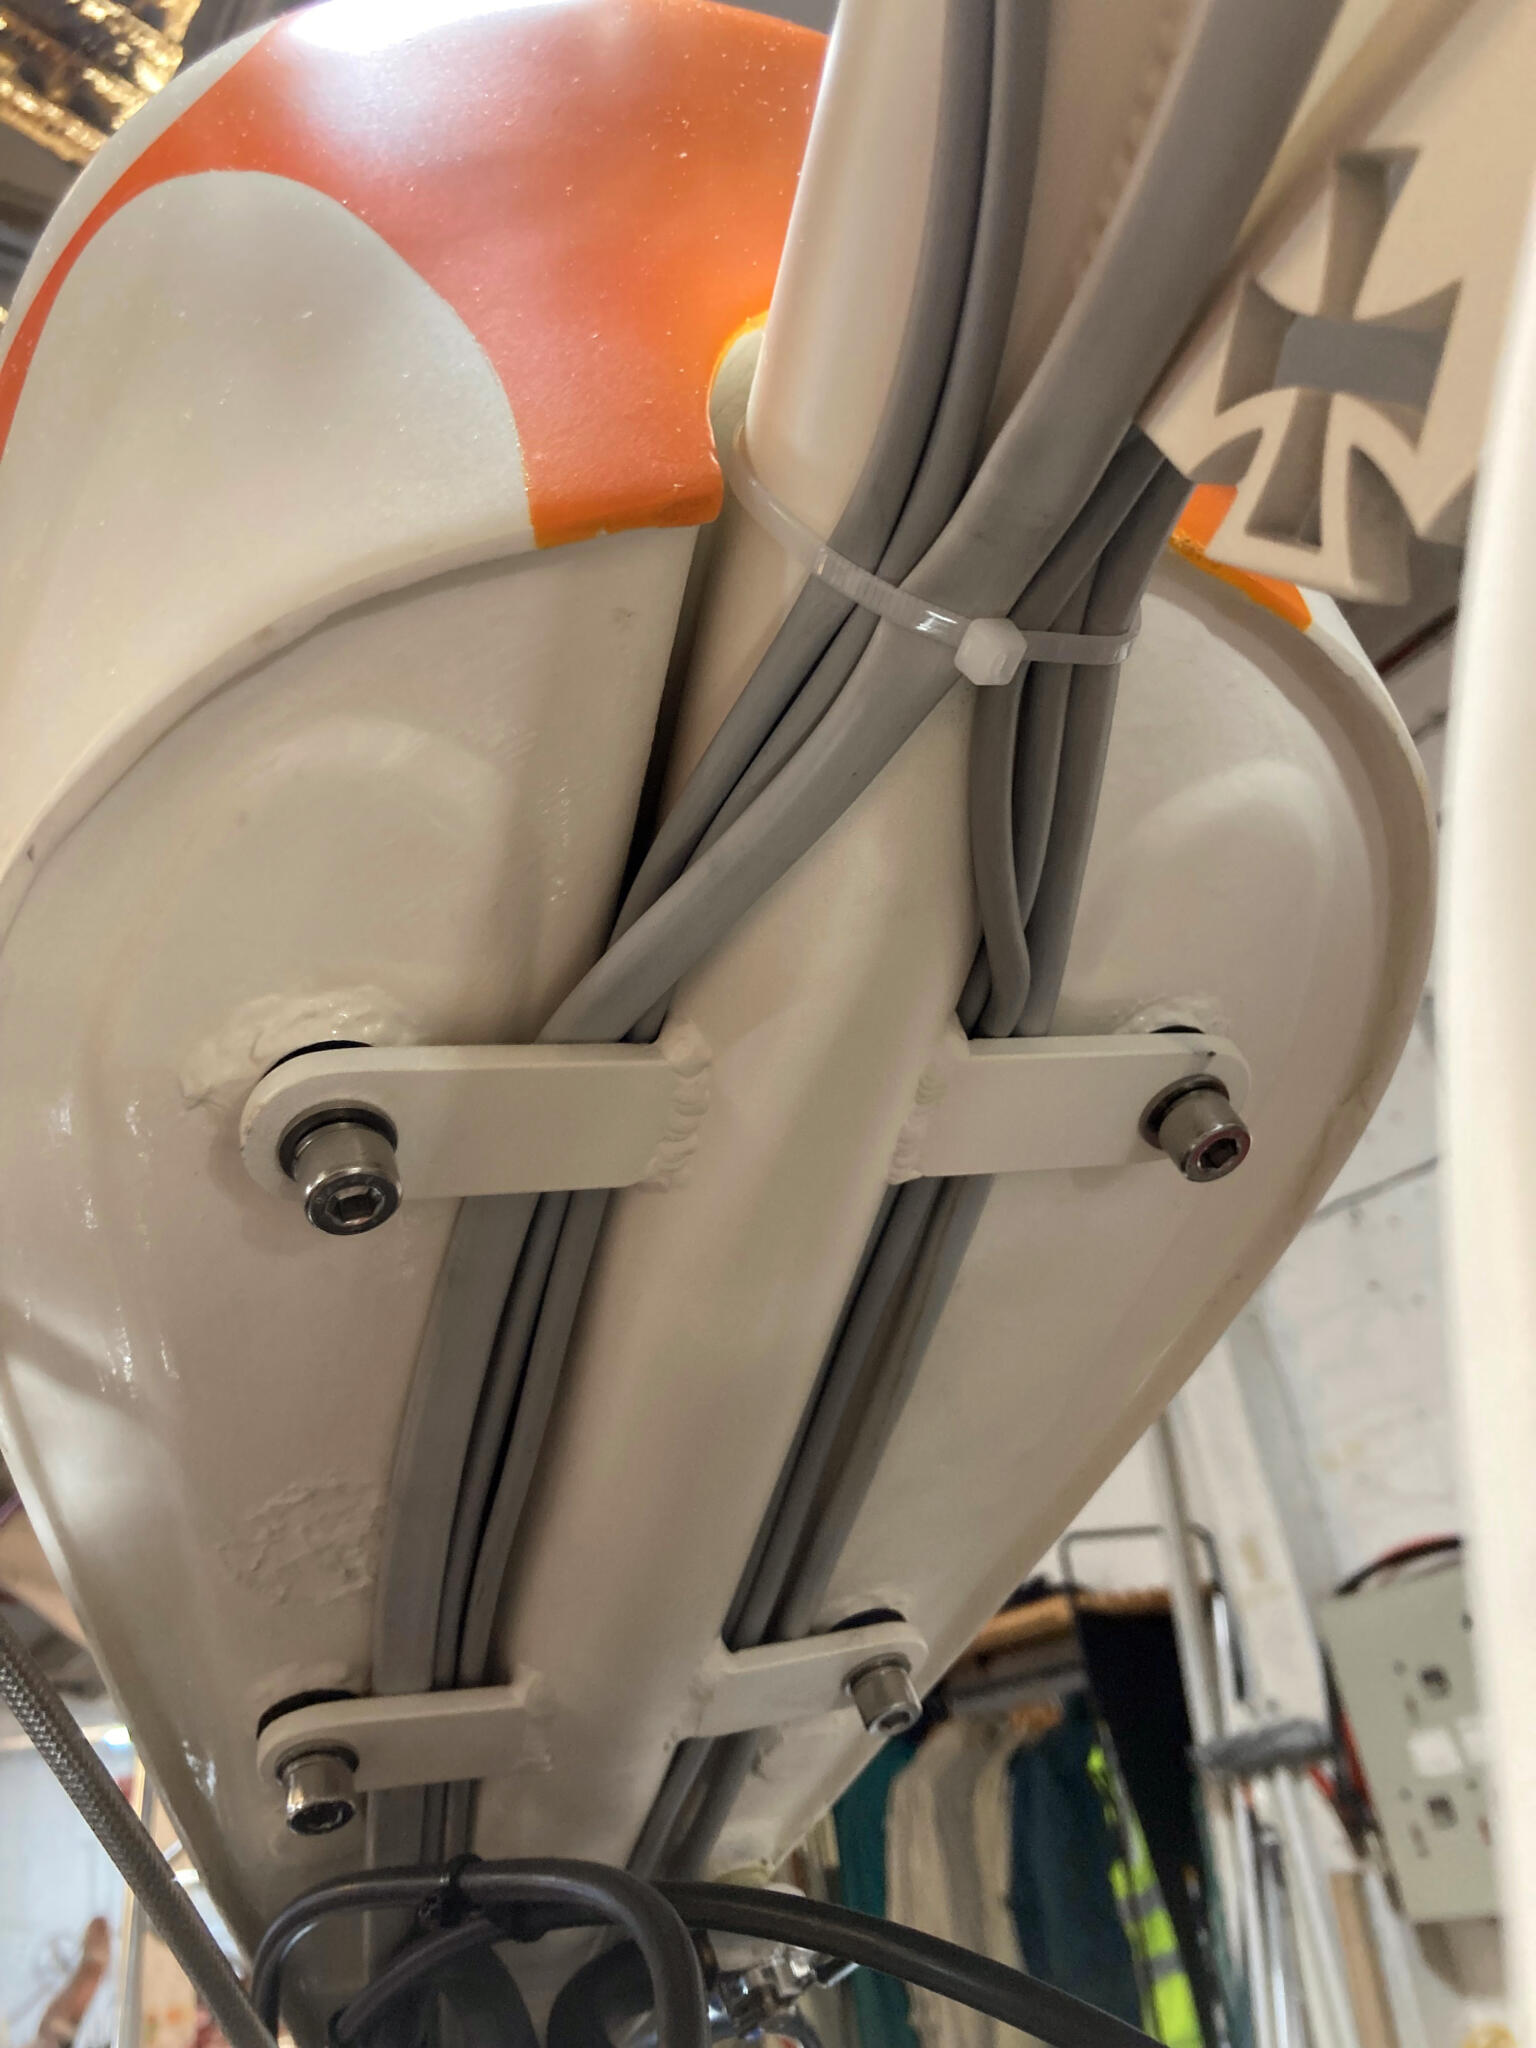
We reckoned pale grey was the best available colour for the sleeving. Hilltop Products do the best range

Custom fuse installation, with bullet connections for the various relays and front end gubbins
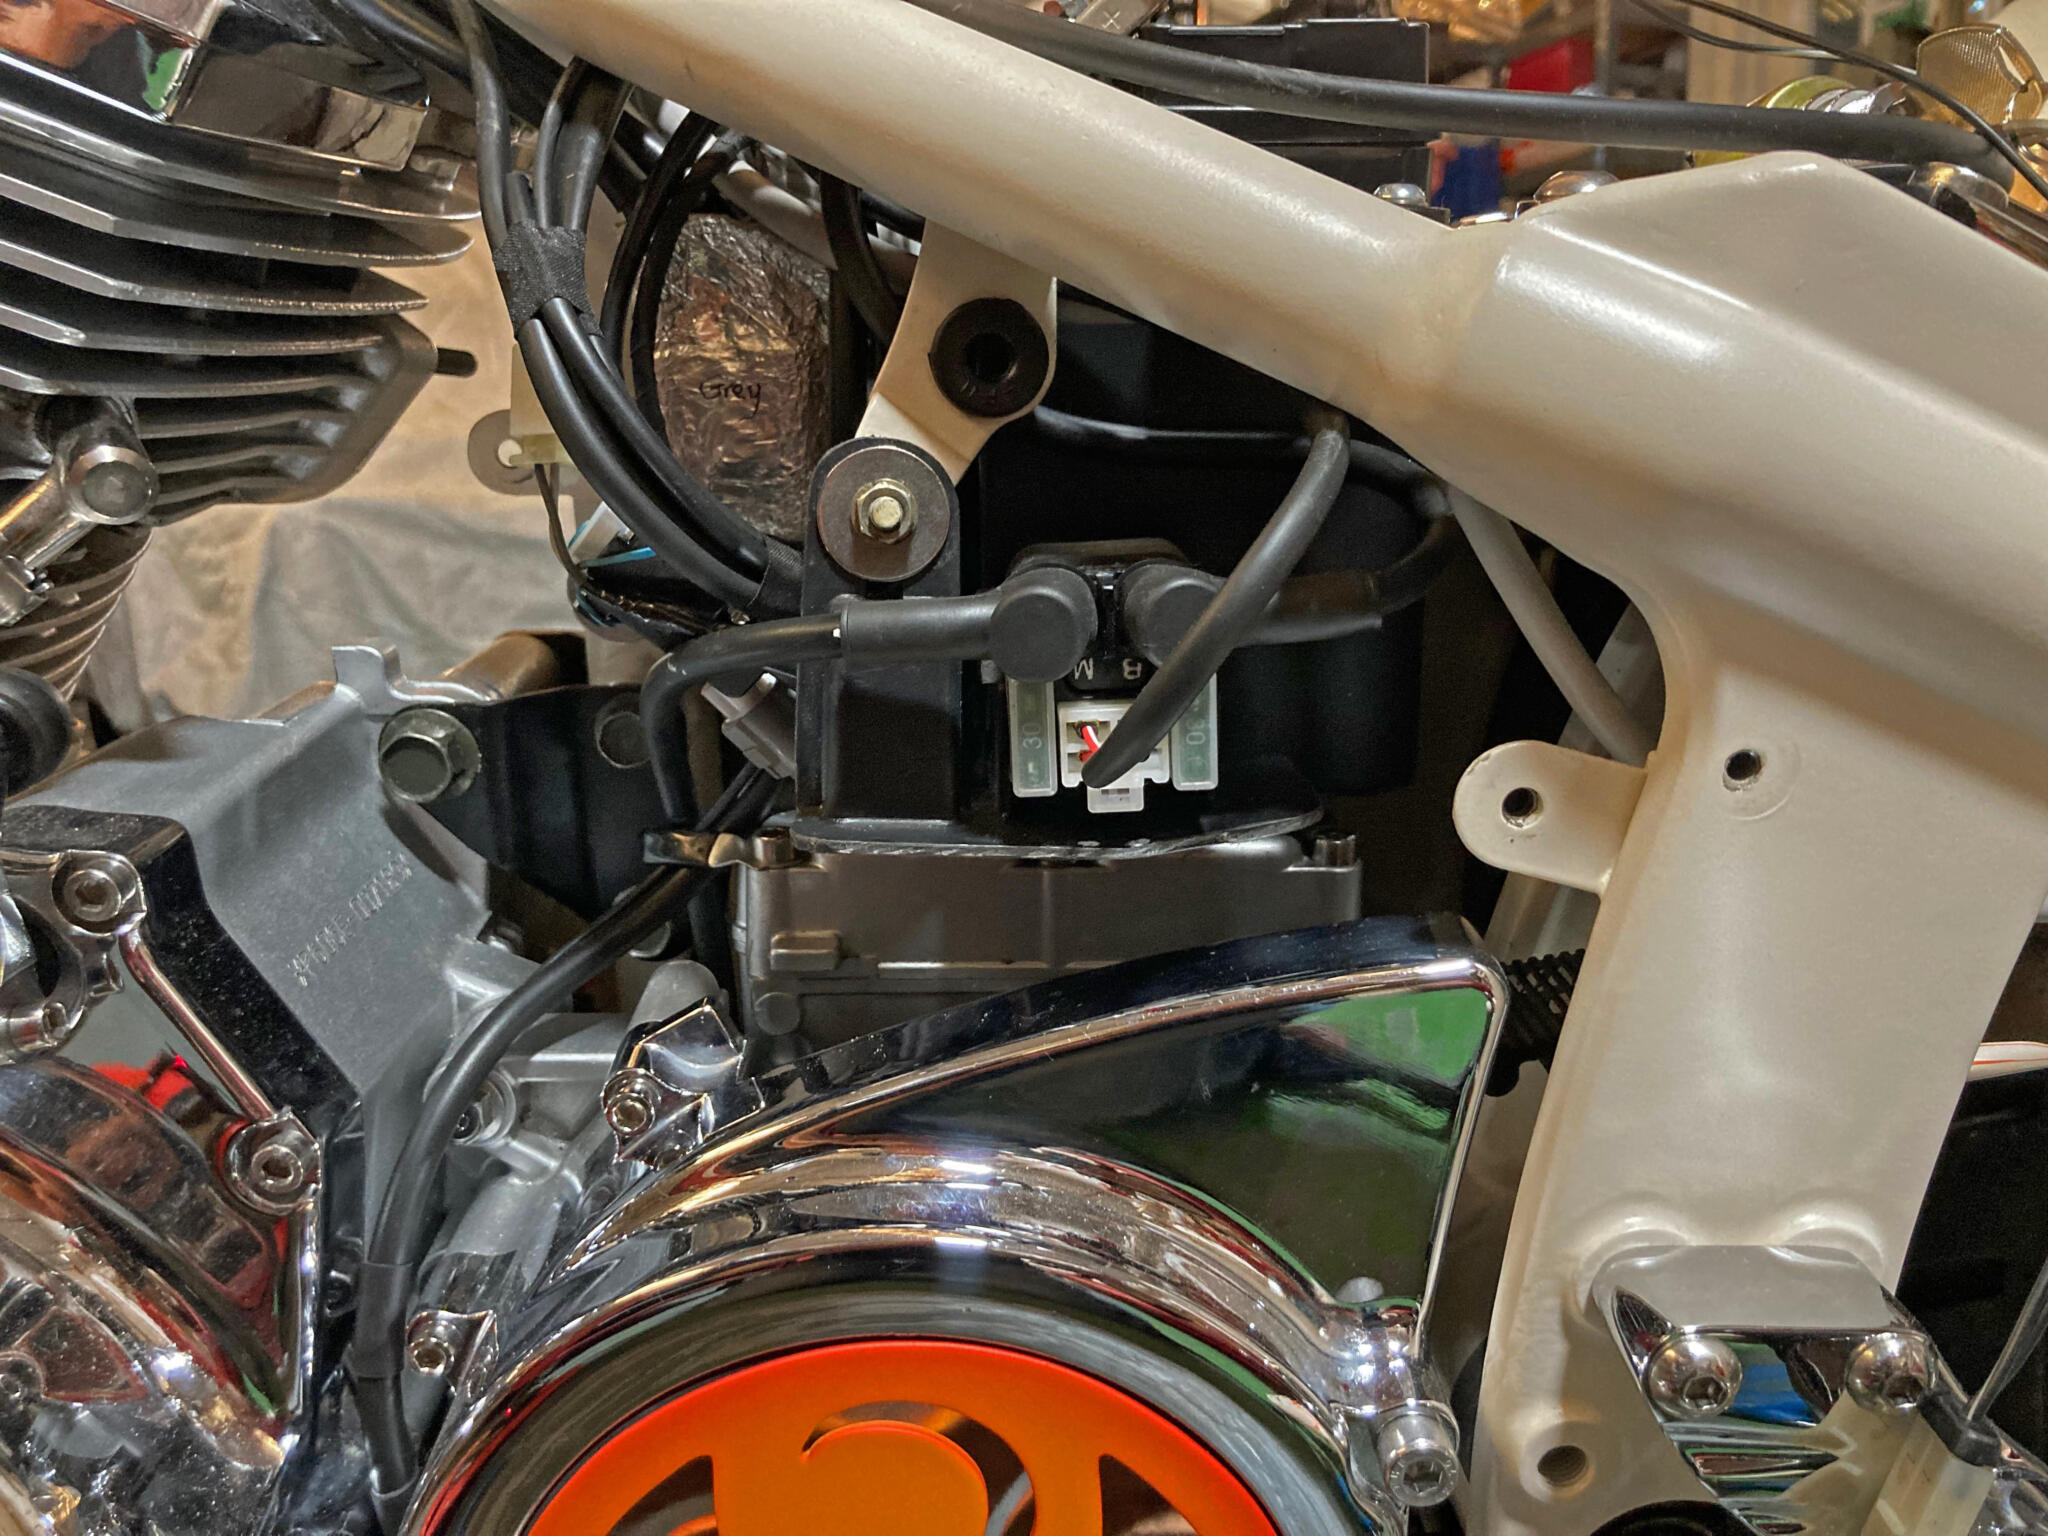
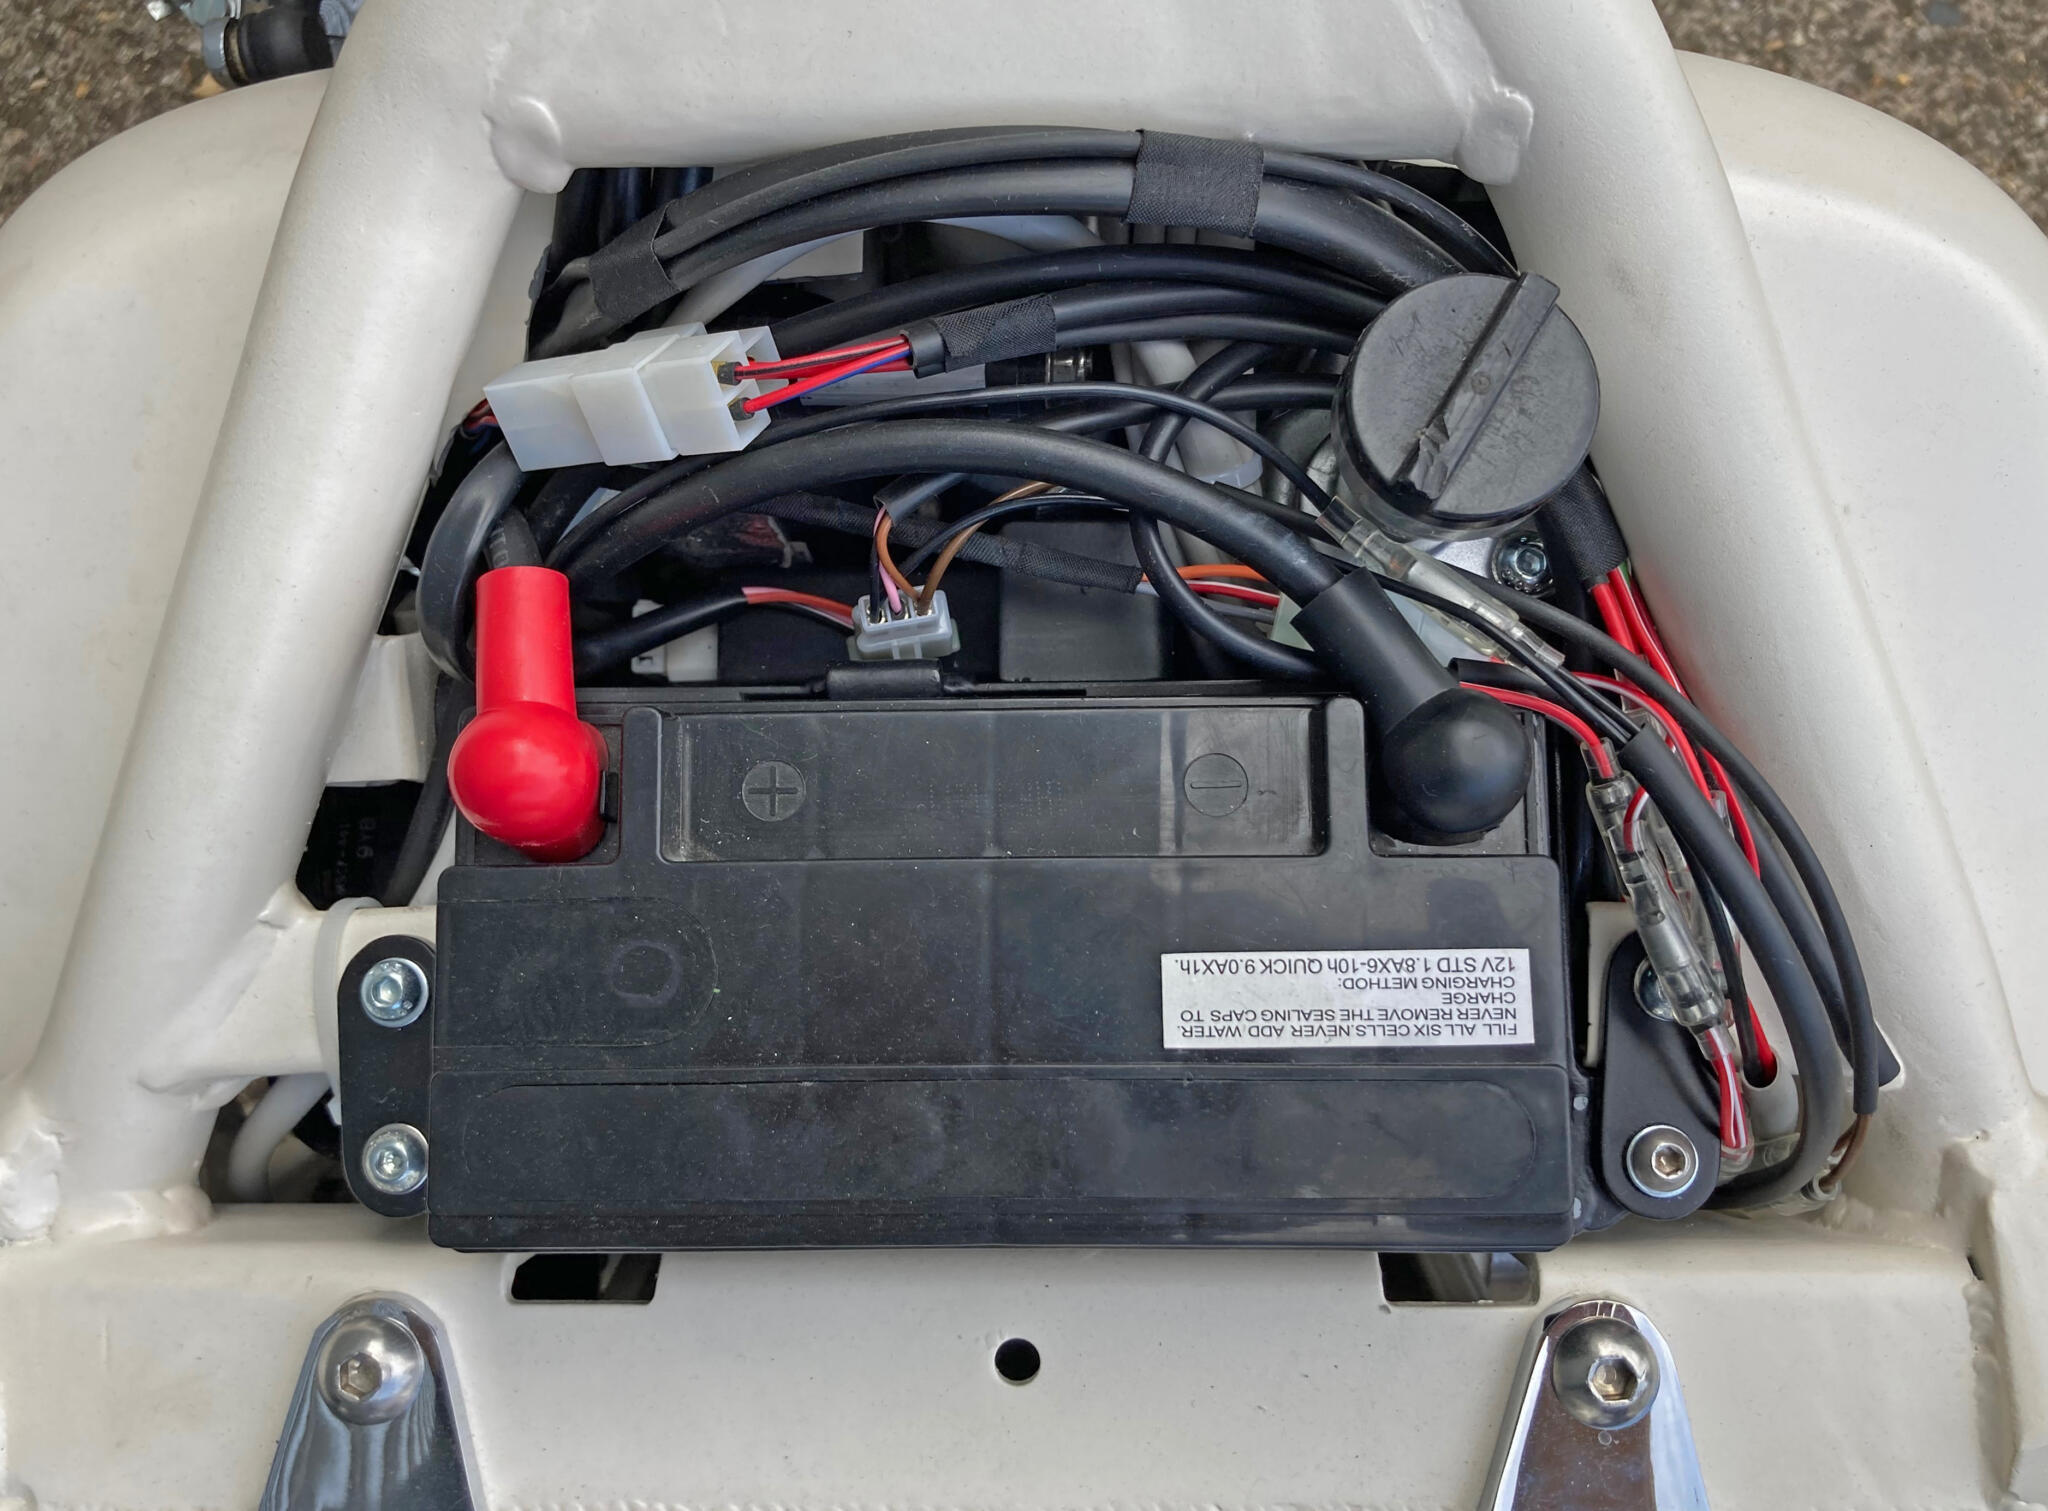
You possibly can’t make them out, but crammed in here are the coils, starter solenoid, main fuse and battery. The ignition switch tucks in on the right, but it is fixed the the side panel
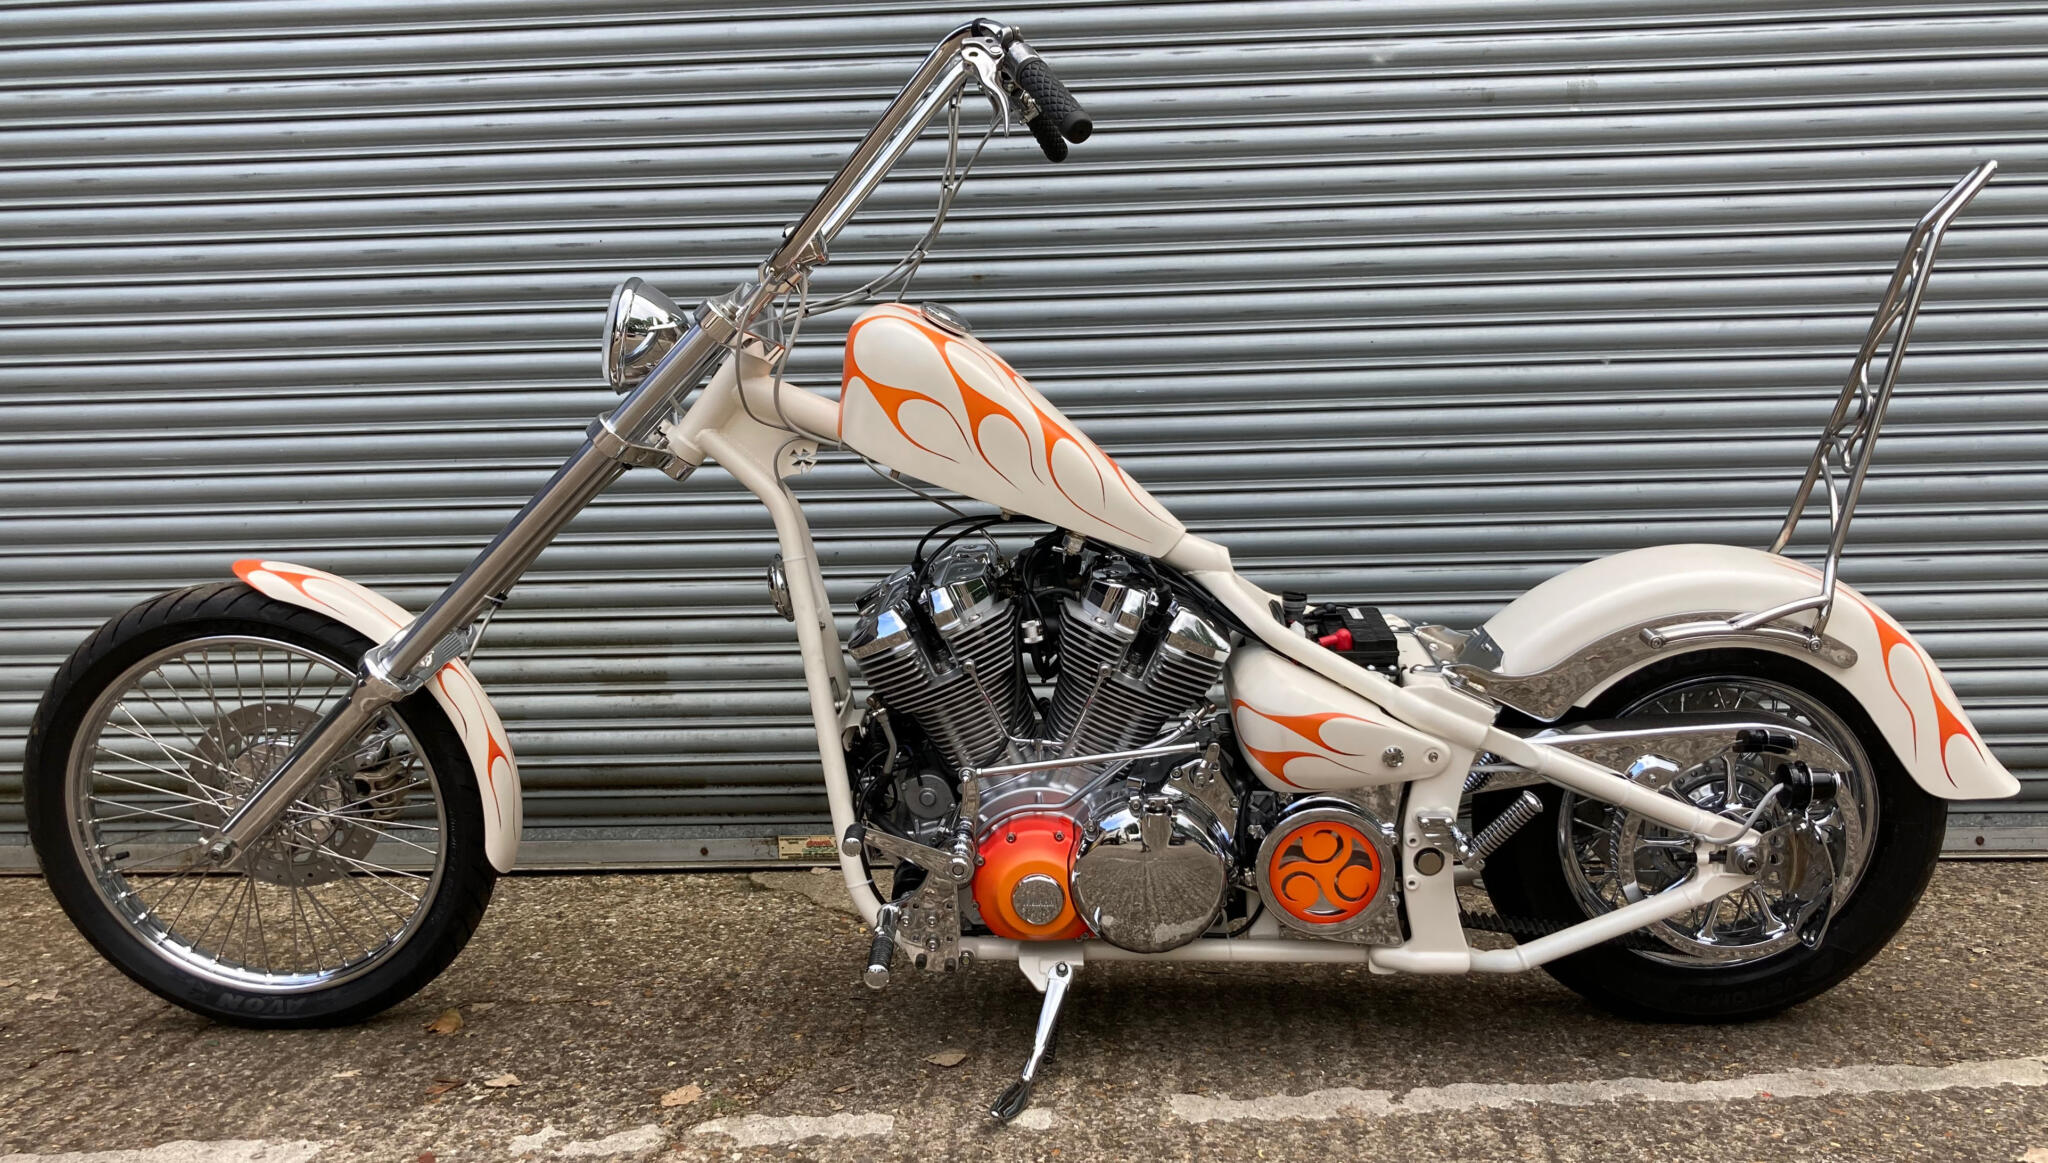
Alastair’s Yamaha XV1600 chop
Alastair had spent years planning this bike, and more still building it. The motor is from a big old US cruiser, the XV1600 Road Star. The back end is more or less standard; the front very highly modified as you can see.
We had a rotten run of luck with this bike. The wiring isn’t too tricky, but the installation and details became quite a headache. The original ignition unit just fitted in the space, but the plugs it needed had no room. So we had to resort to a smaller Ignitech unit, which came with some special programming to get it to operate the solenoids that lift the valves on cranking. (This is a must with a big twin, to save the battery.)
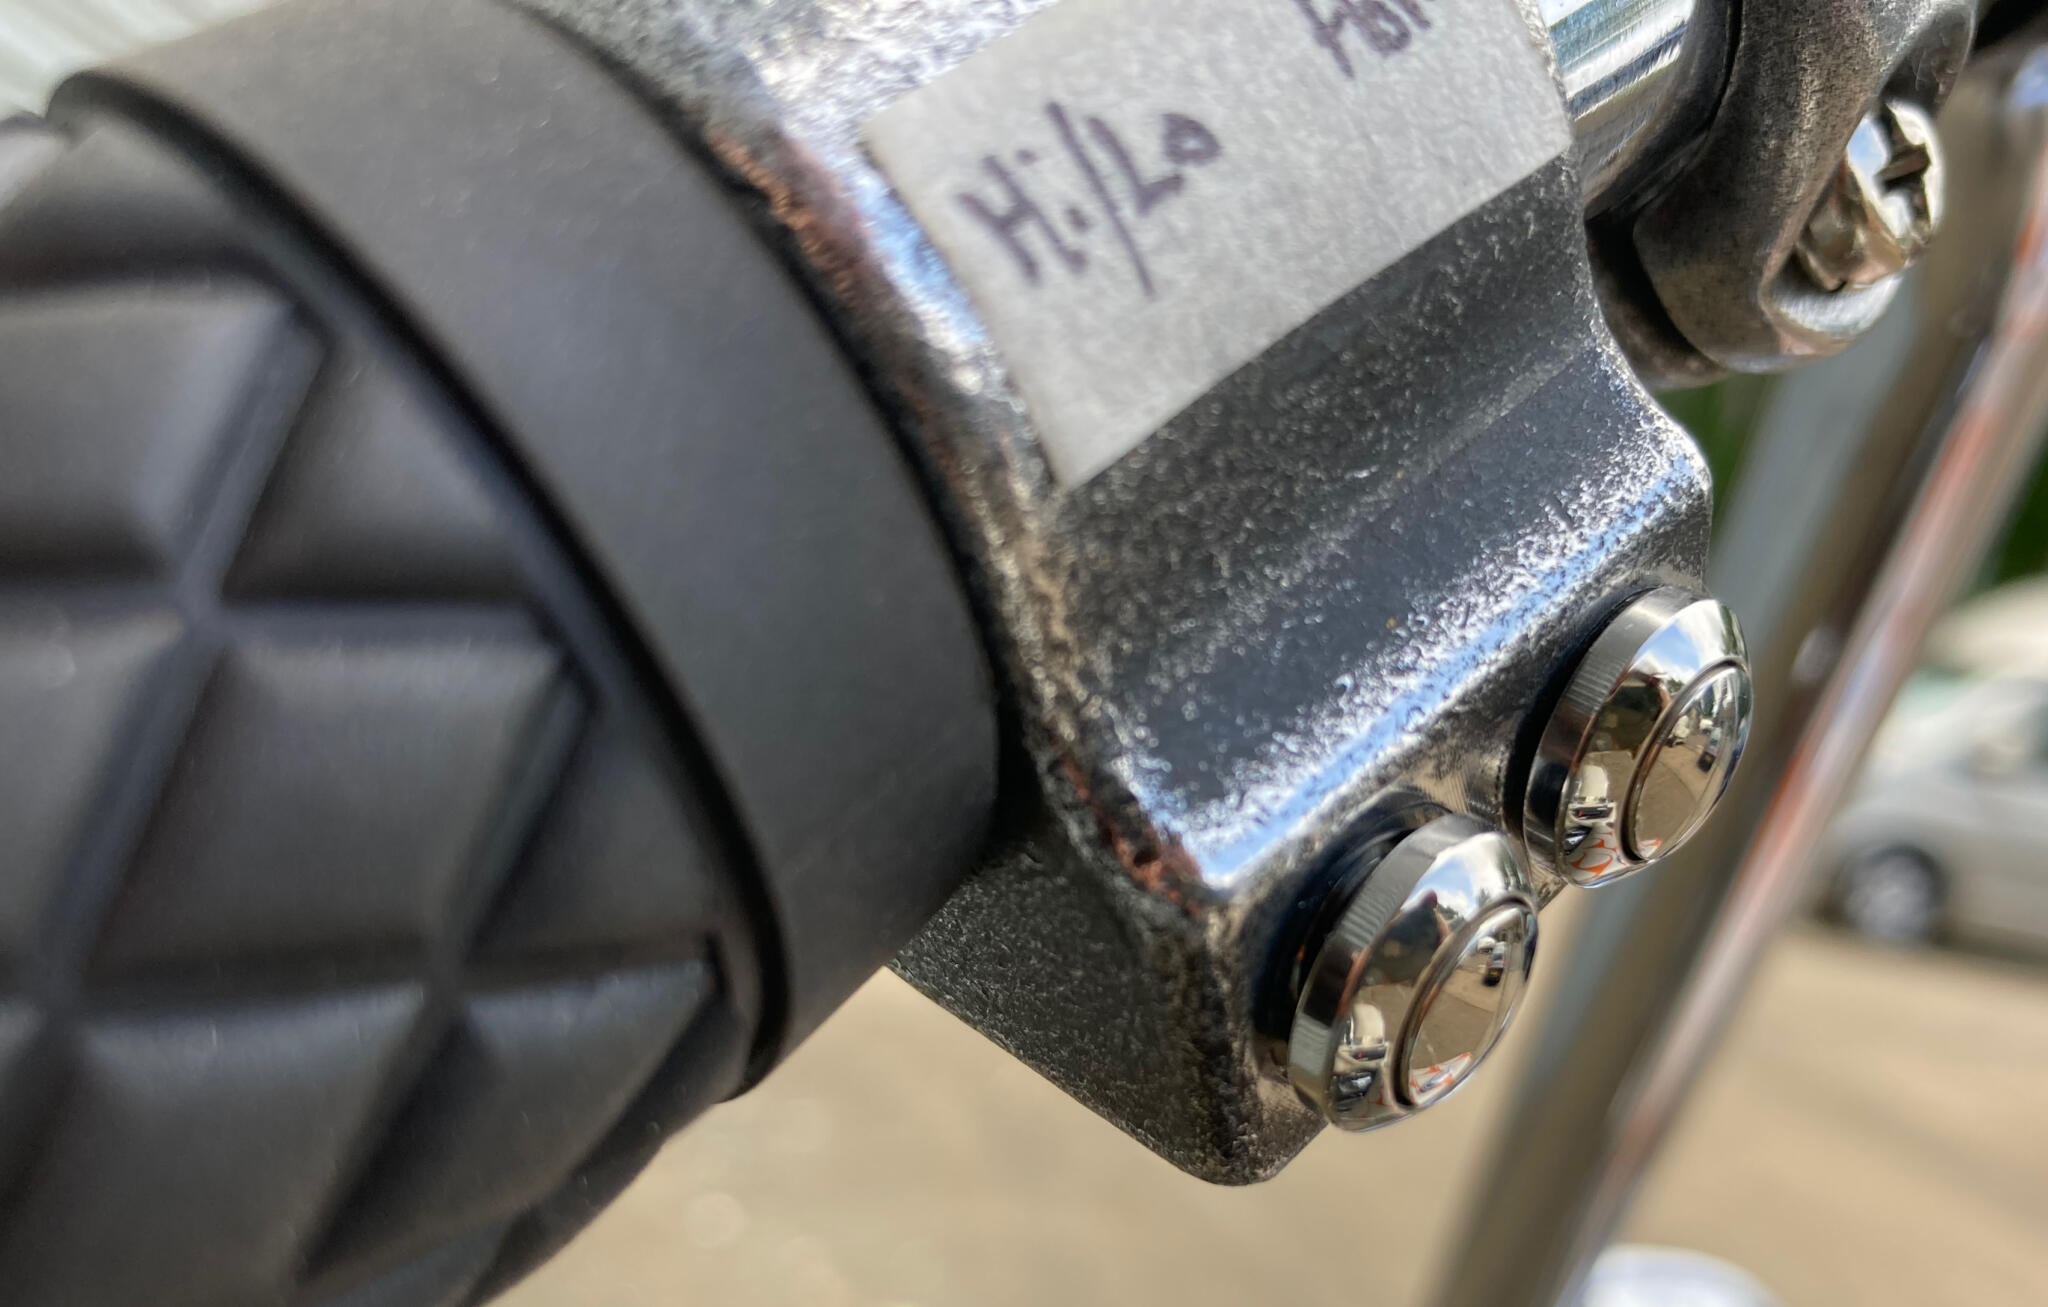
The Wannabe Chopper handlebar switches ran through-the-bars wires. They also used momentary push-button switches, so Alastair had to get separate transistorised relays to interpret the signals to operate the hi/lo beam, and left/right. These products are nothing special, but tend to be sold with imprecise descriptions which makes it very hard to get the right thing first time.
The regulator rectifier is a special one to handle the 280W alternator output. But you can’t get the Furukawa pins for the plug, so we ended up getting a whole new rectifier from ElectrexWorld.
The Ignitech can do a push-button kill switch, but unfortunately we had already used the same pins to run the start-up decompressor solenoids, so we had to cobble up a conventional relay to achieve the same effect.
Such are the agonies of building a custom bike. On top of this came the usual brain fry of fitting all the electricals into the space under the sidepanels: fuse box, relays, coils, ignition, battery, solenoid, ignition switch and all their various plugs and connectors. We had a long chat about colours for the cable sleeving and ended up with pale grey, as with vintage Japanese and 1970s BSA/Triumph.
Getting the ignition to work properly was a final headache, but it finally fired up like a baby, and ticked over happily once warm. Alastair now has a few snag list jobs to complete before it gets its first run out.


The classic low-slung look has barely changed since Hopper and Fonda in the 1960s
It just about fits. Three-way connector in the middle will allow pin swapping if needed to run the electronic speedo pickup. With the Daytona speedo you just have to arrive at the right connections by experiment
Push-button switches by Wannabe Chopper, a Dutch outfit. You have to fix them with glue or sticky pads! (Why not grub screws?)
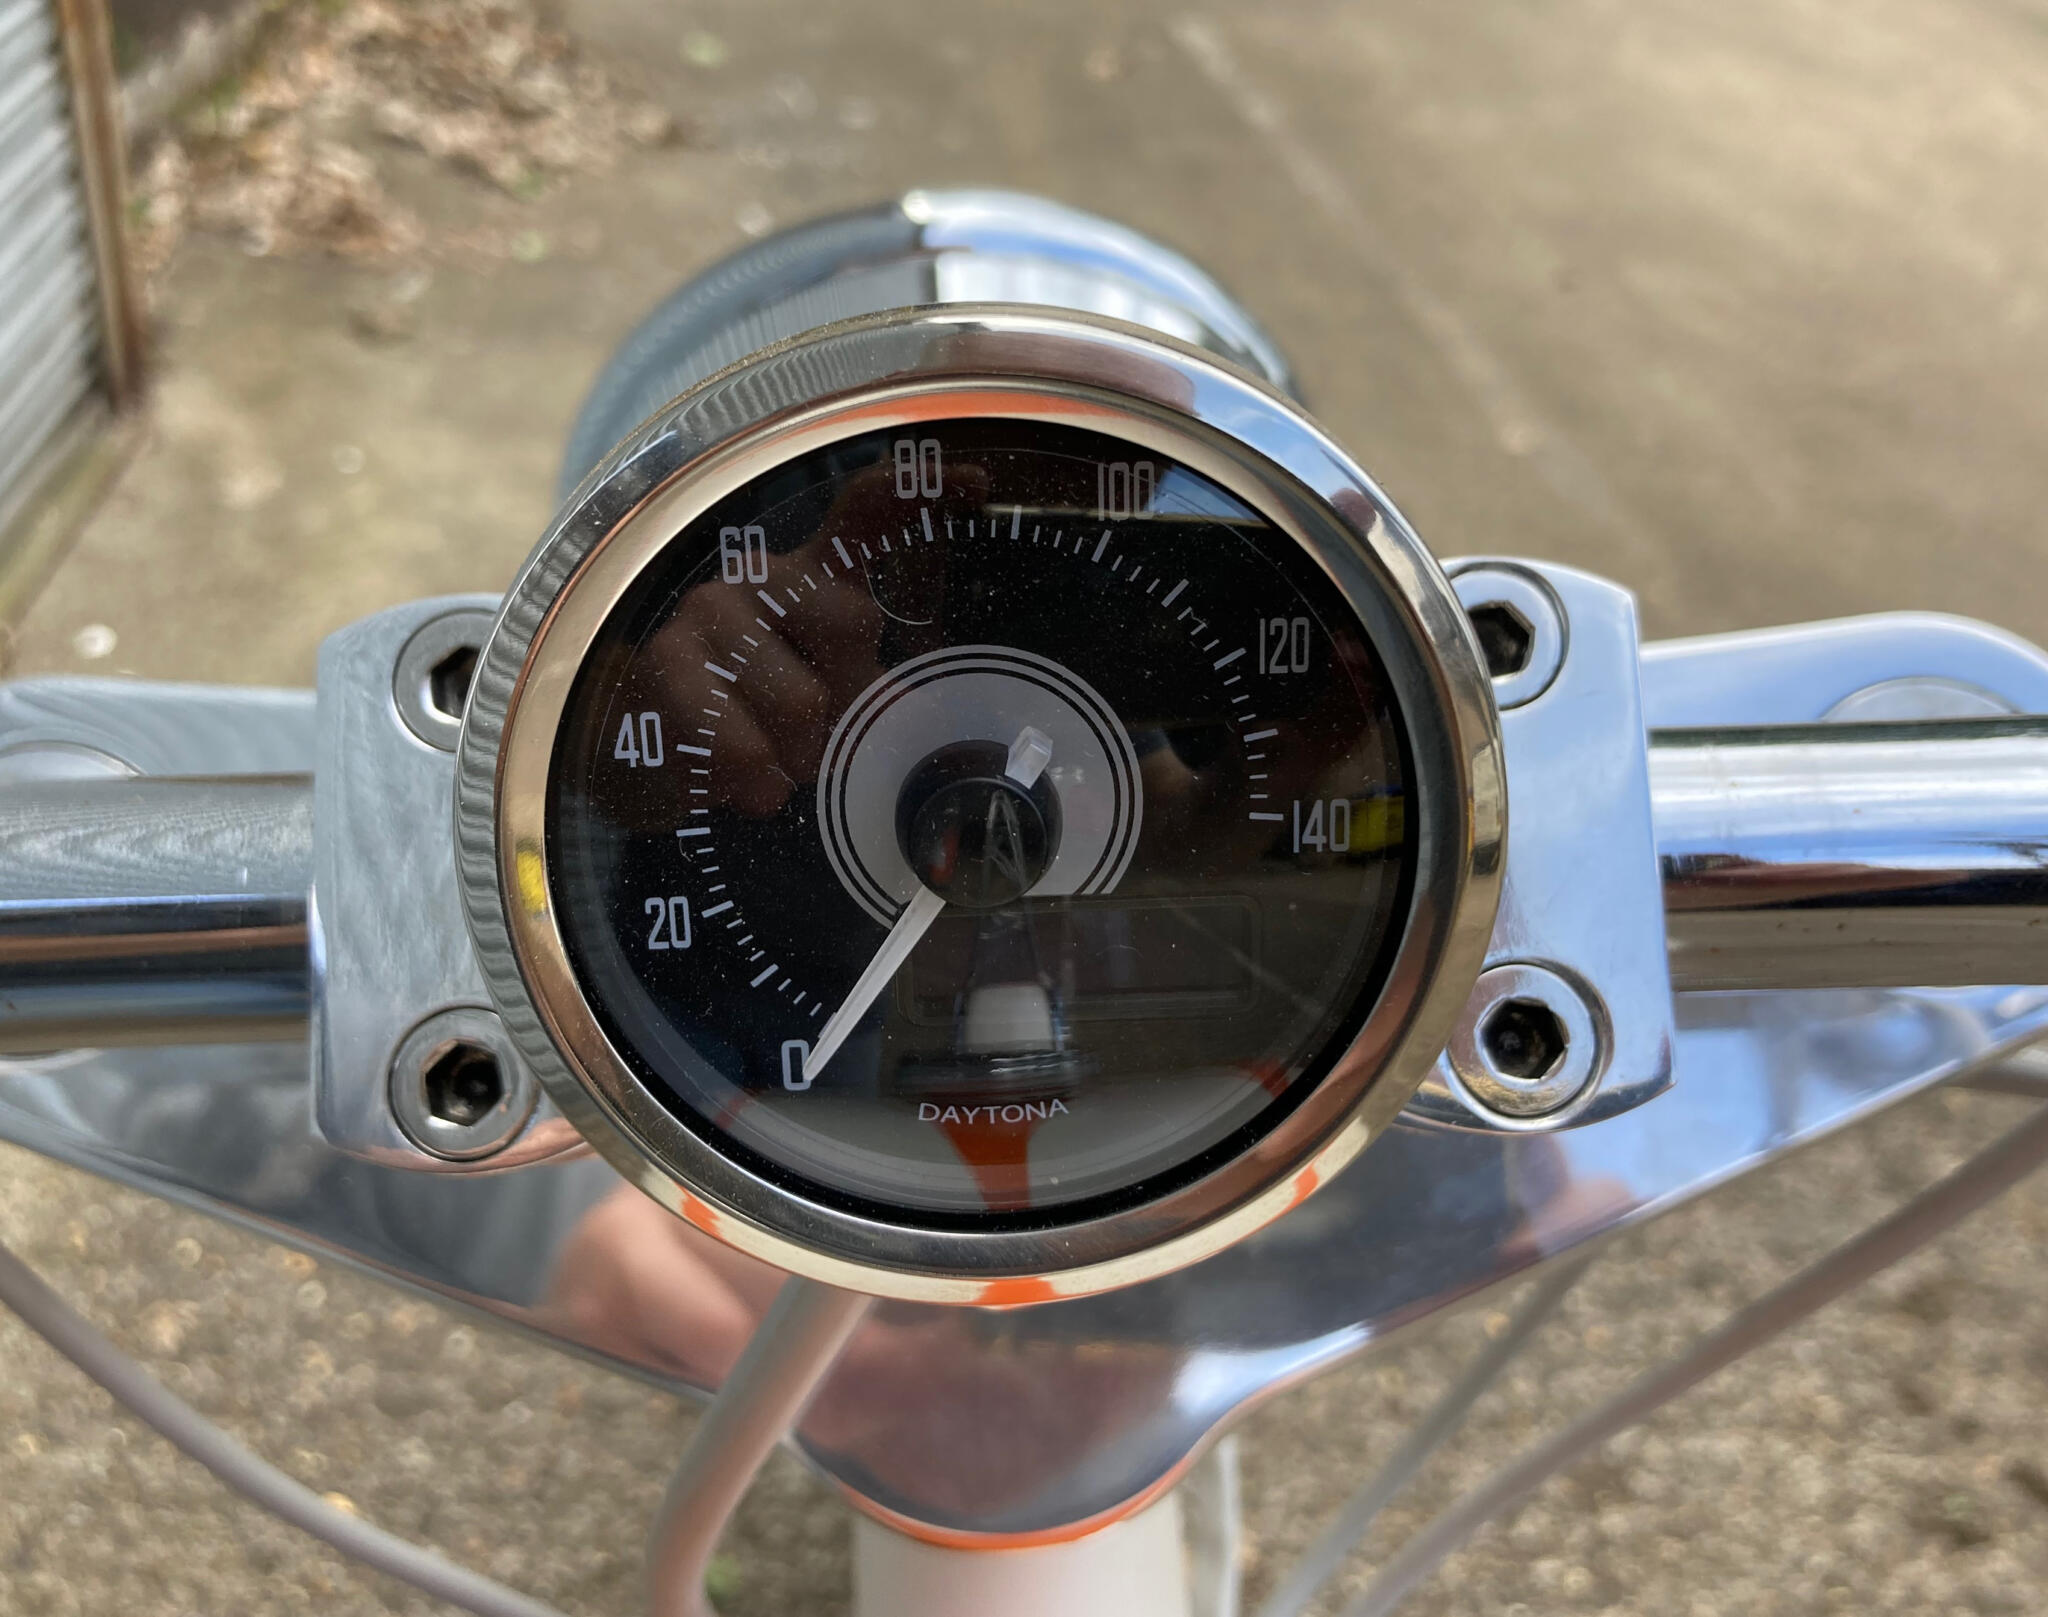
The bike originally had a conventional cable speedo, but Alastair liked the idea of an electronic one to clean up the front end