Rear indicators and tail light to be added
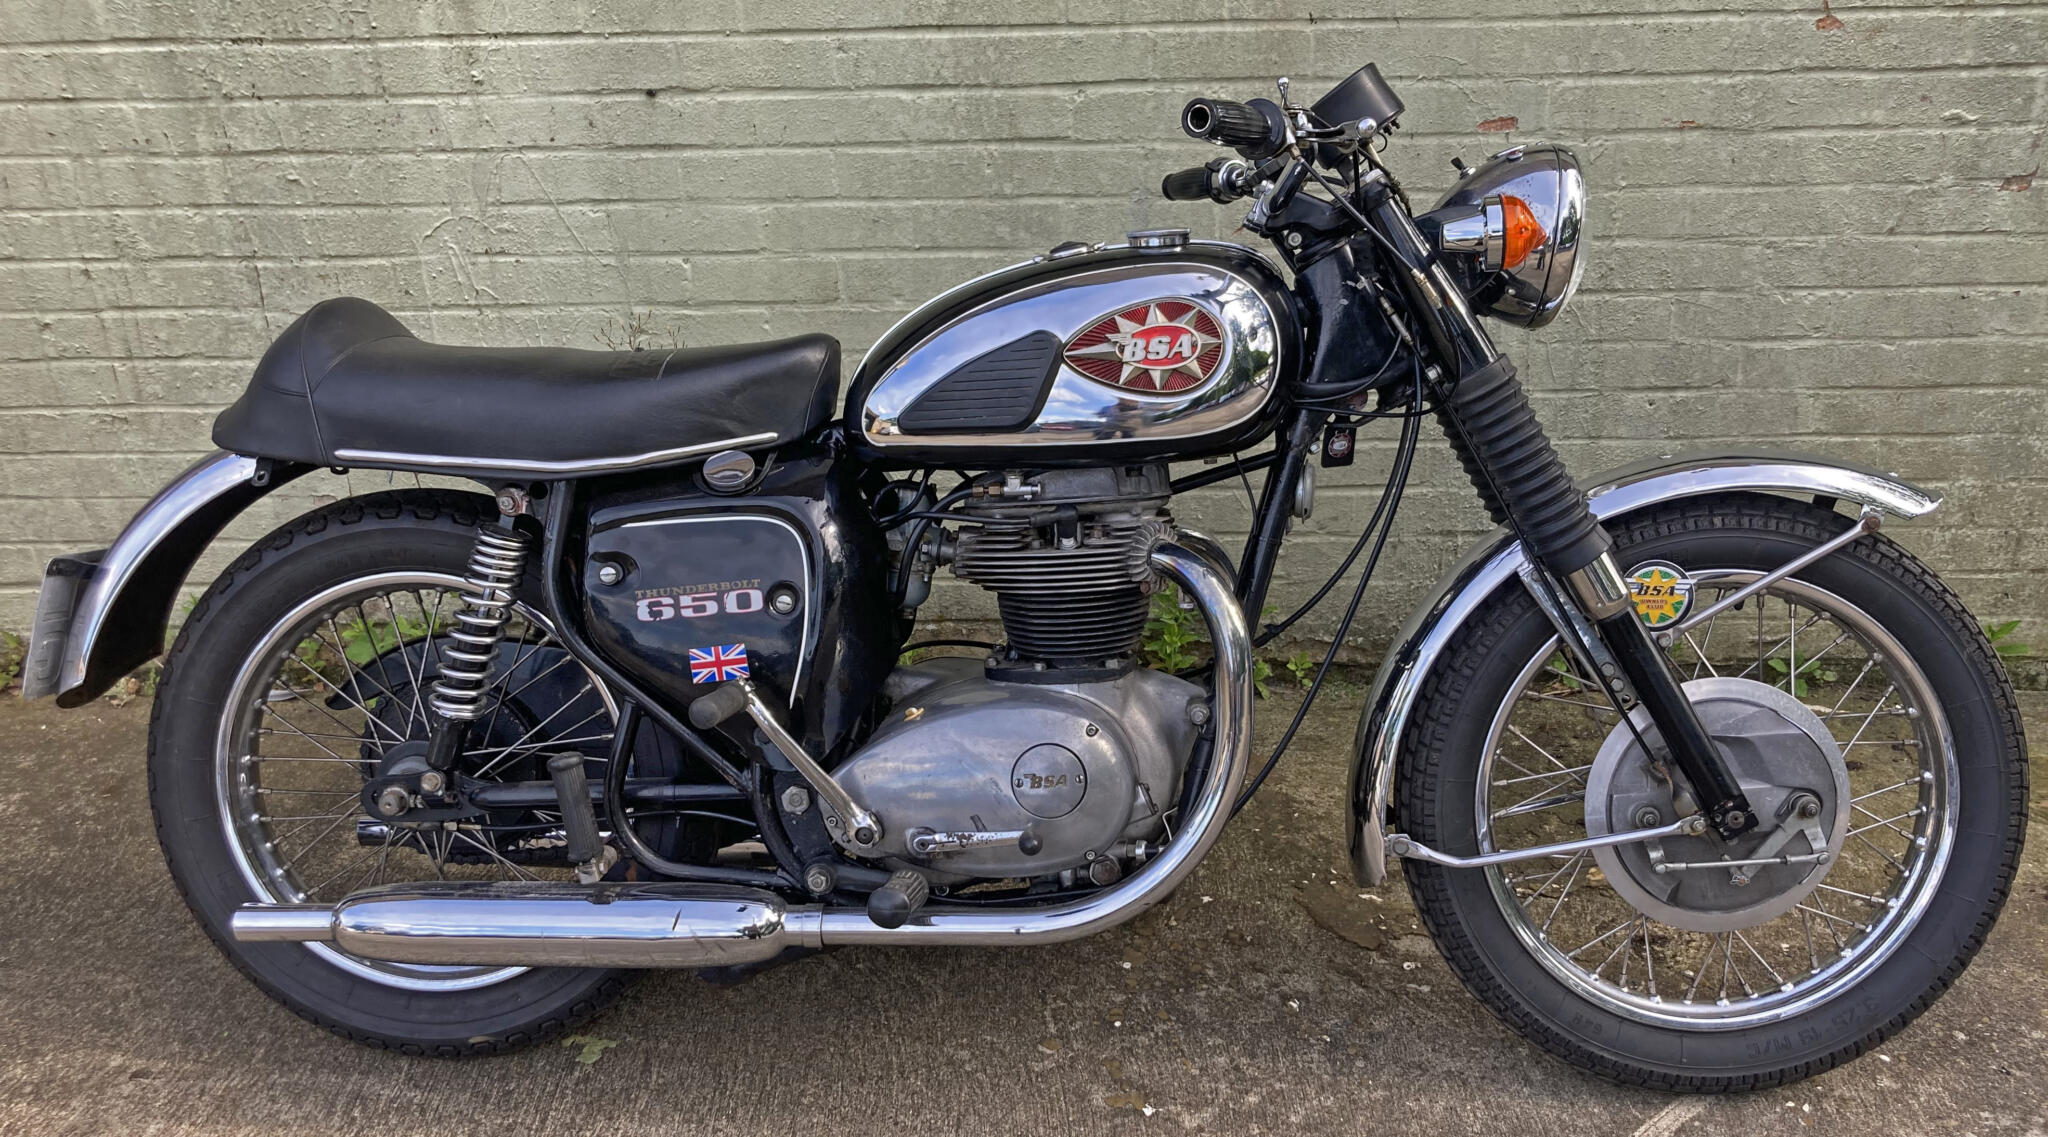
Exposed ammeter terminals are a health and safety nightmare, but thousands of bikes chug about regardless. I prefer to add insulators
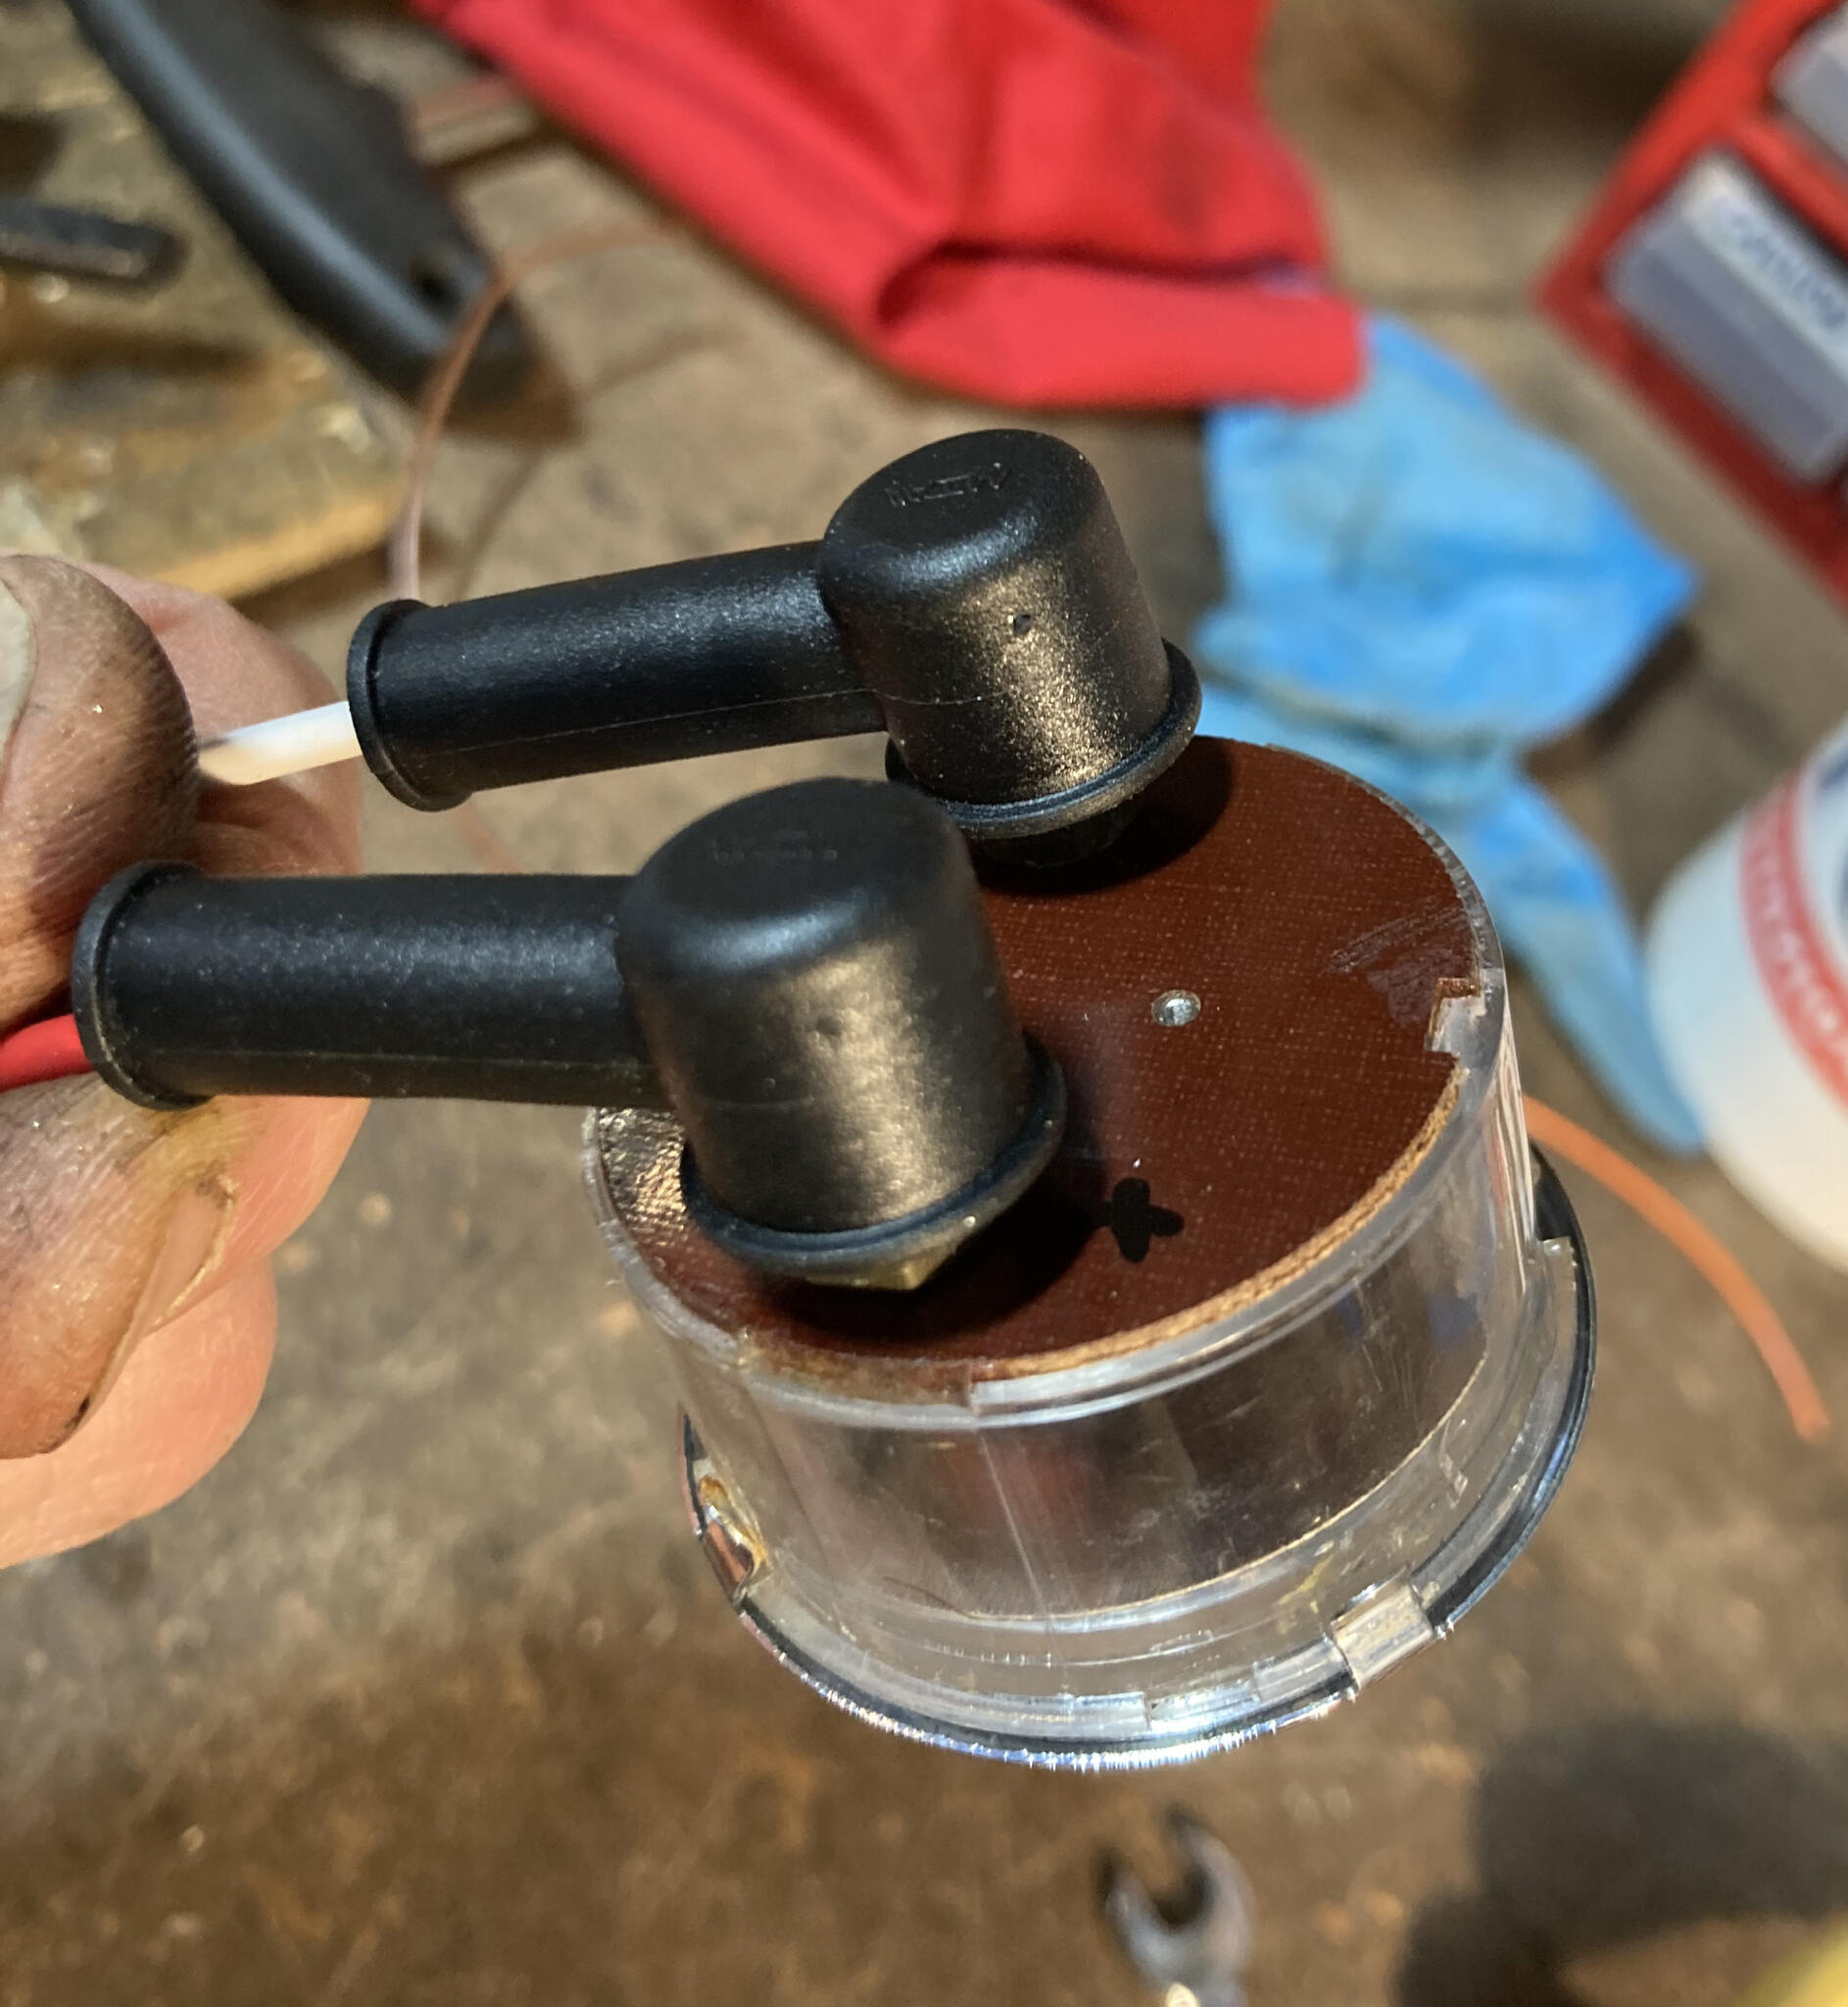
1971 indicators suit the mid-1960s styling pretty well
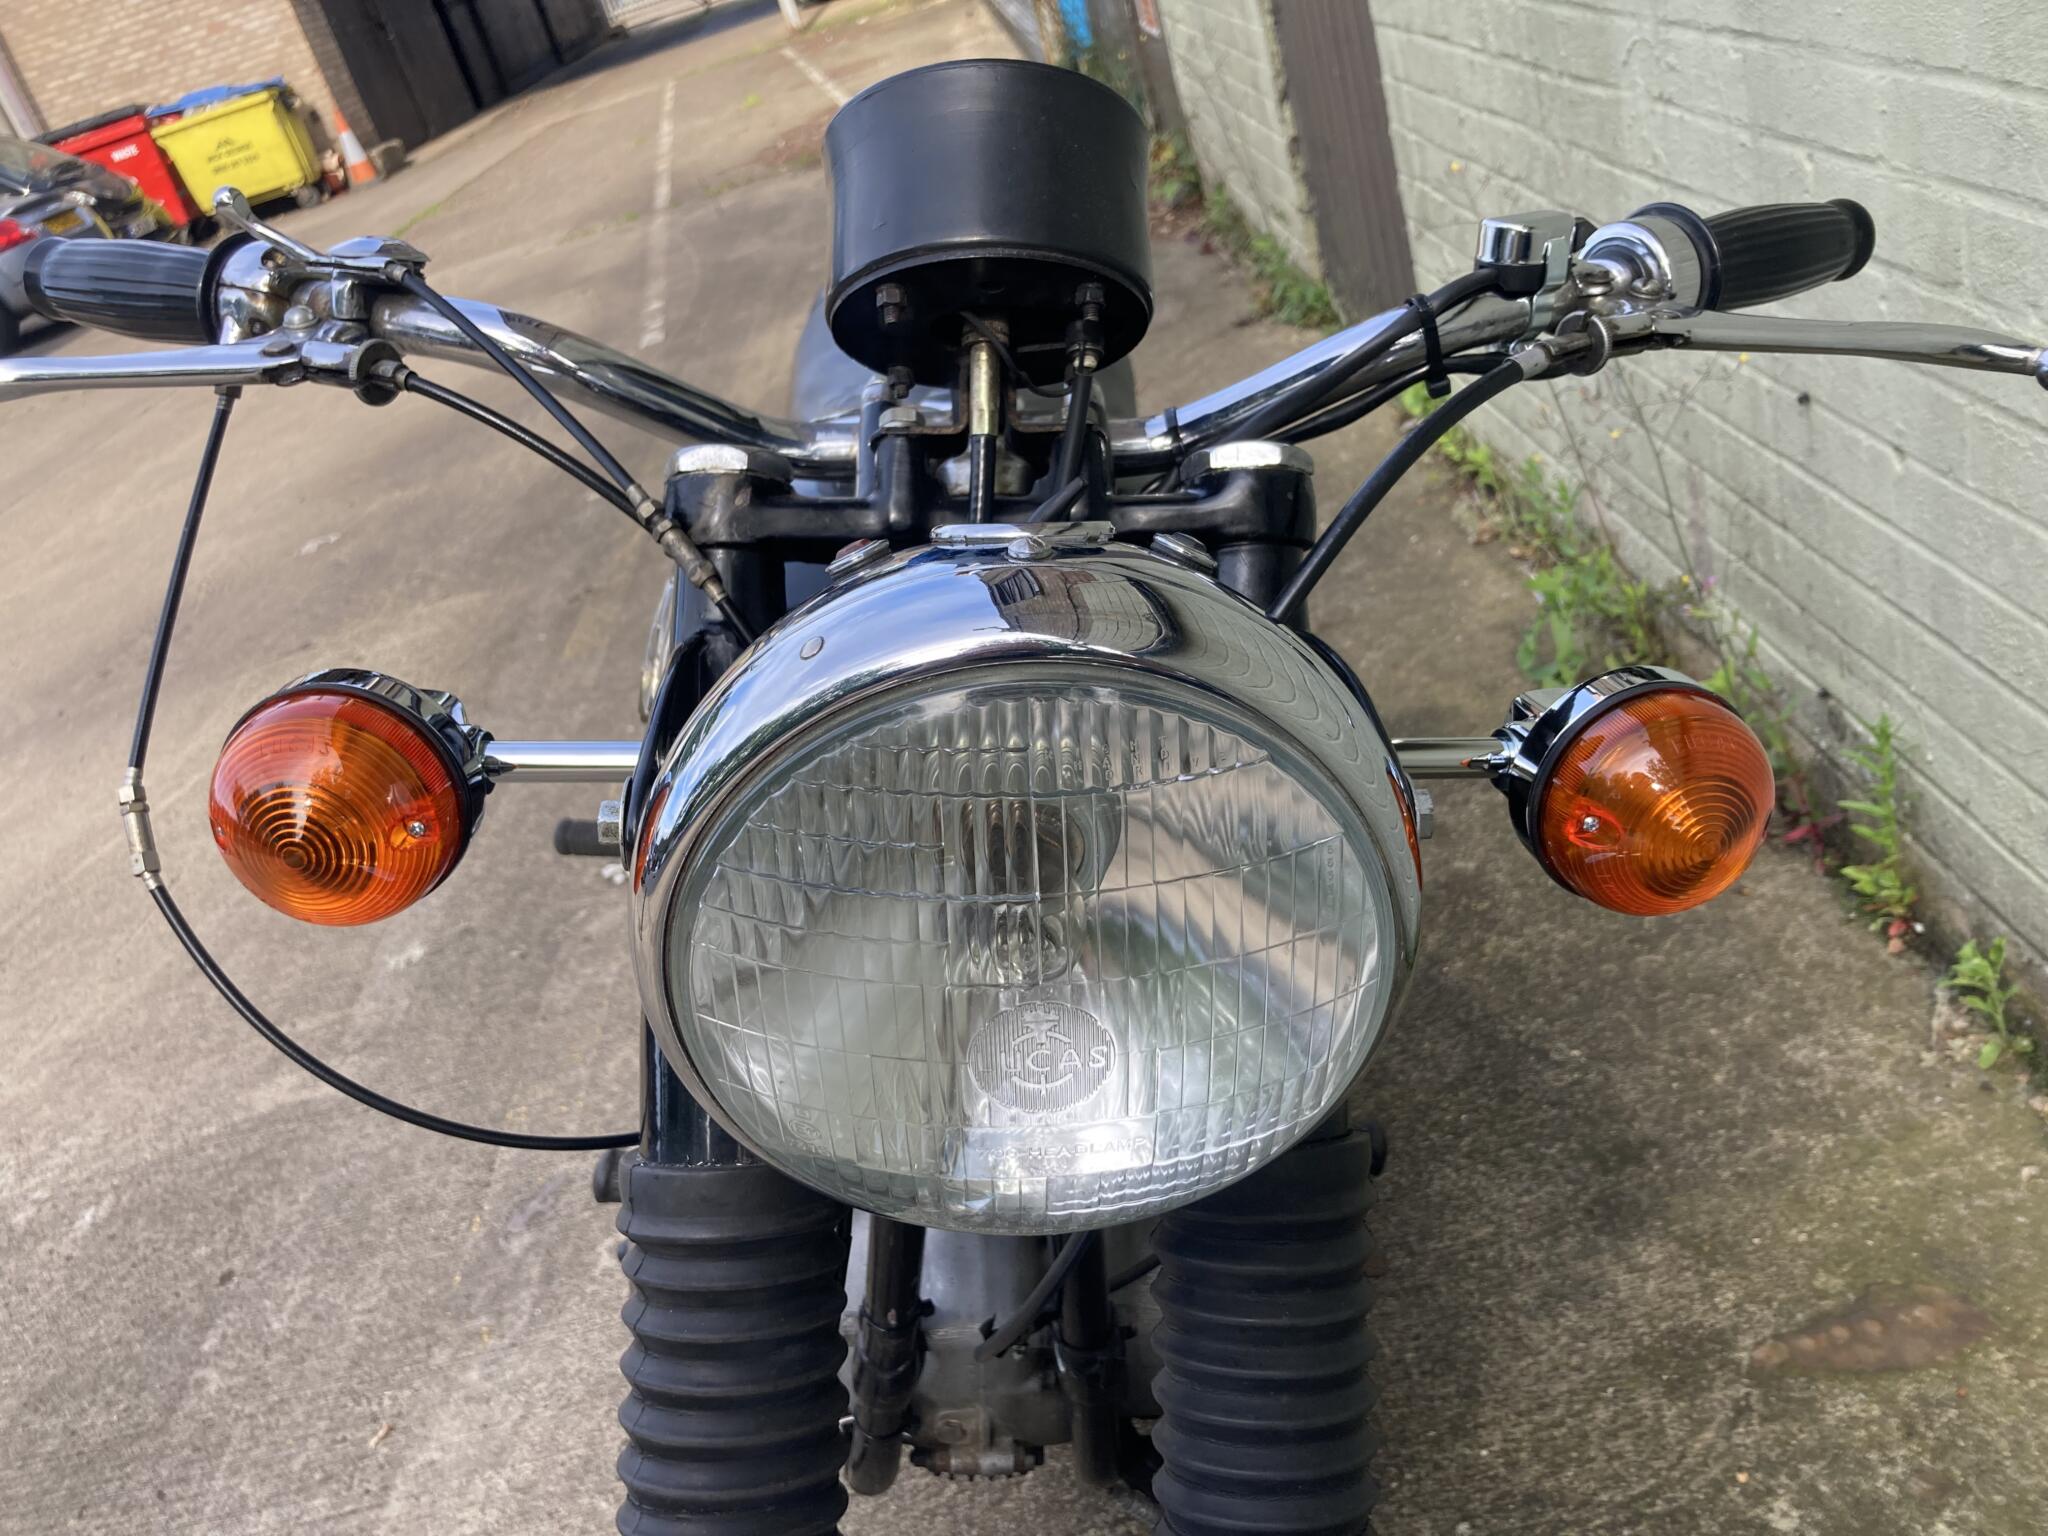
The design of the clutch and brake lever perches means the new indicator switch has to go a fair way inboard of your hands. Geoff and I agreed the left bar was easiest
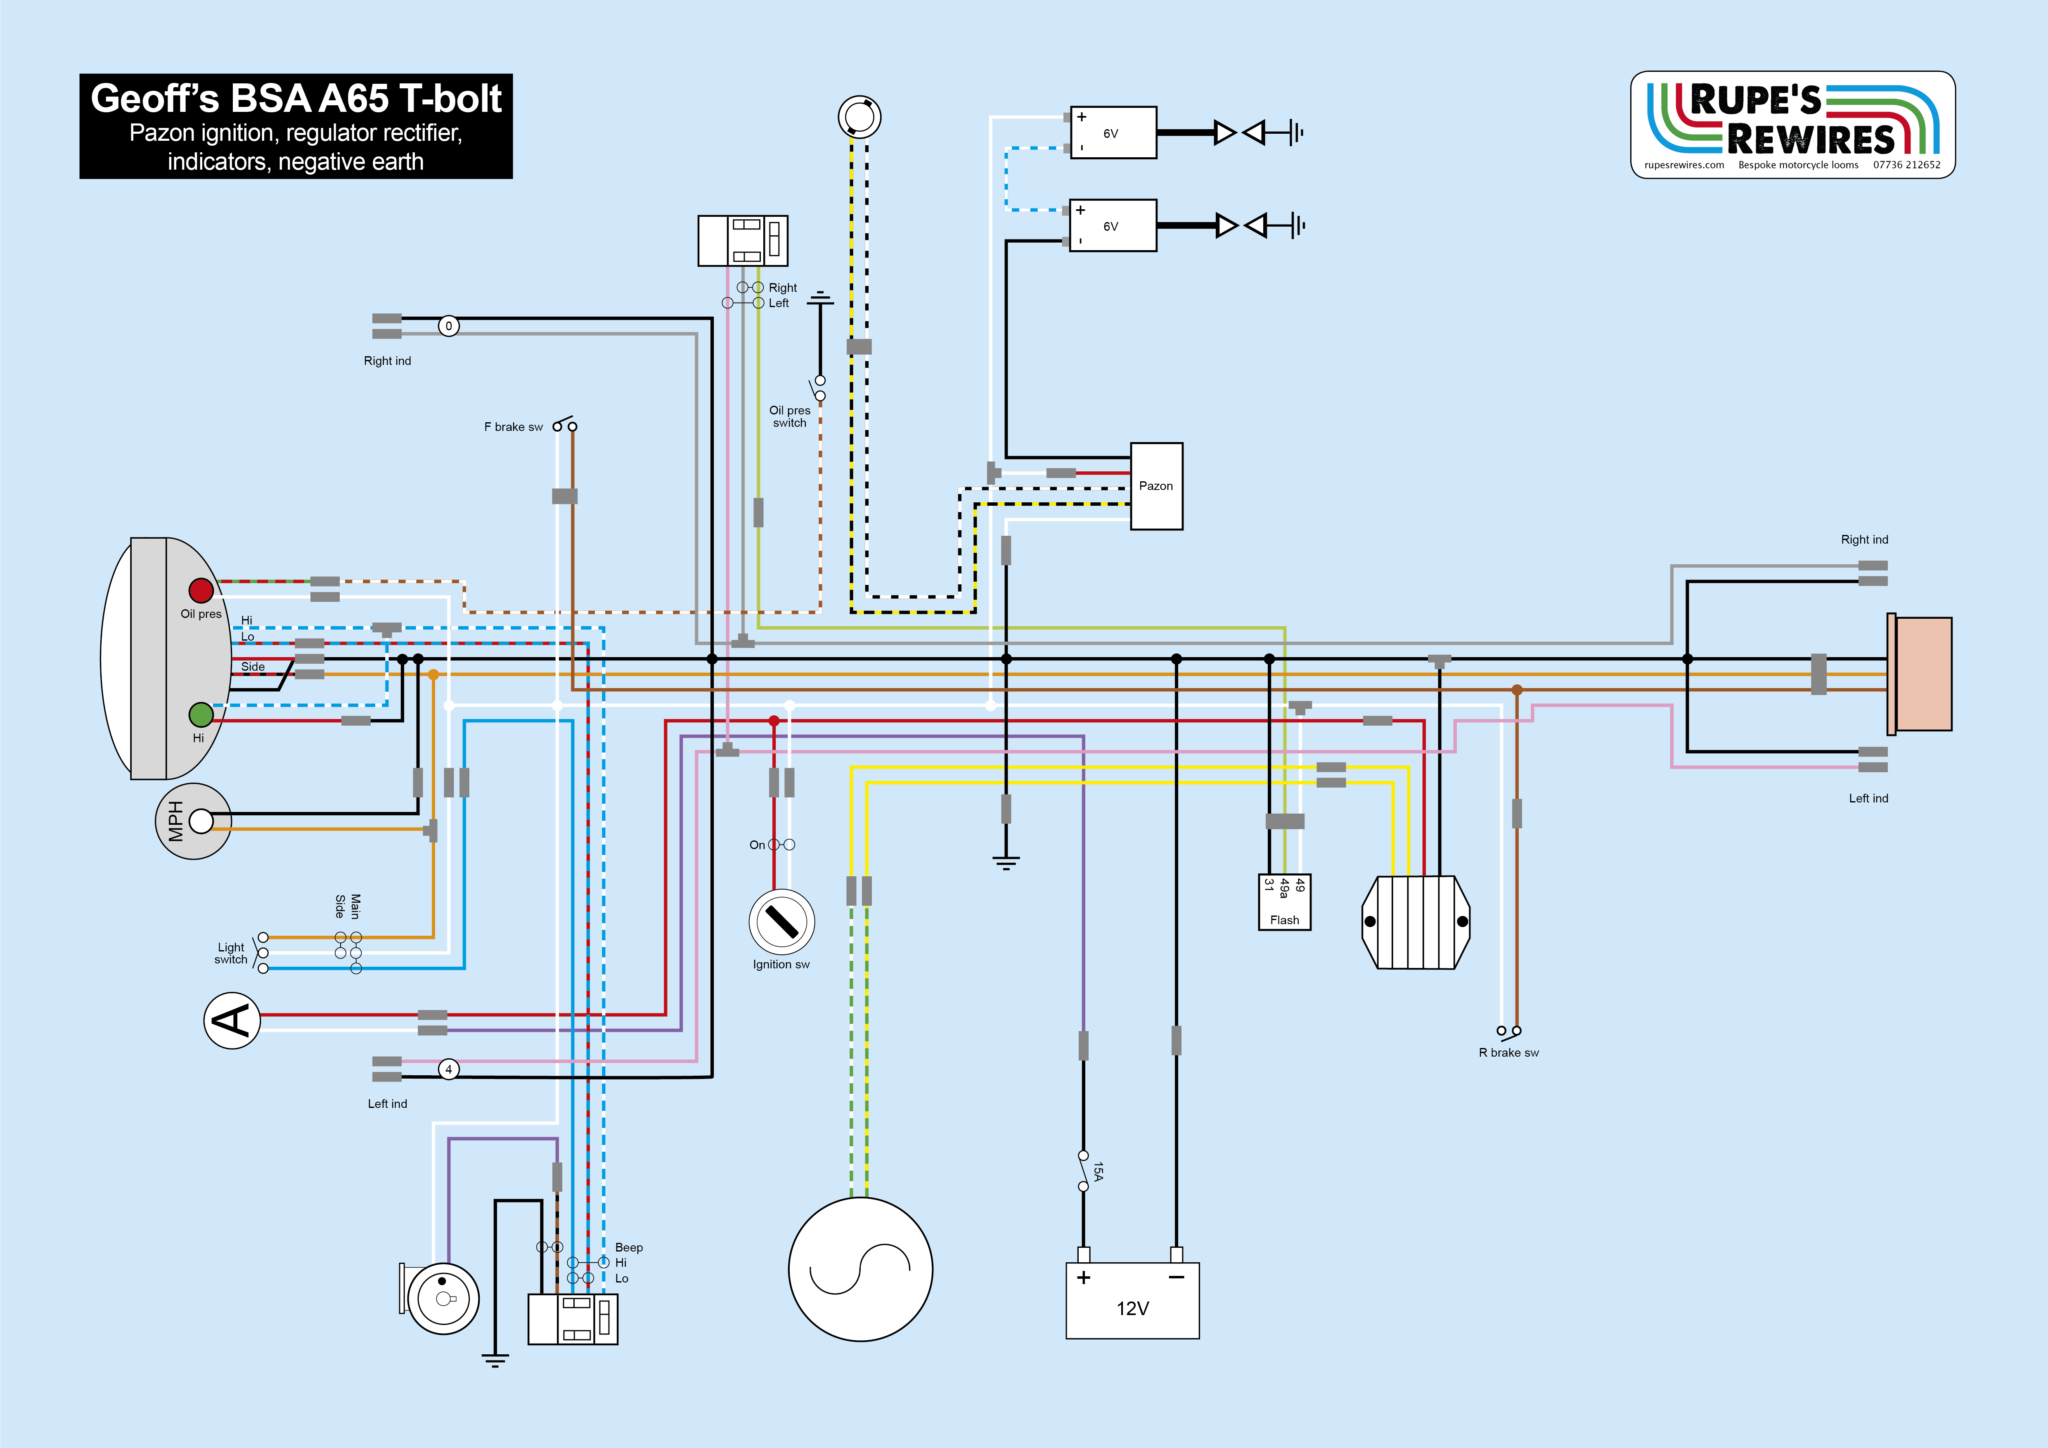
Geoff’s BSA A65
Old BSAs and Triumphs are my favourites to work on, because improving them is so easy. For example, you can put insulators on the ammeter connections. Or add earths to the tail light. Or put indicators on. It’s like shooting fish in a barrel!
Geoff has had the bike a long while and loves it. But it’s never been a reliable runner, and by the time he brought it along it wasn’t charging either. That was a 90-second fix – the alternator coils were wired together – but a discussion on the health of the wiring led to a decision by Geoff for a new electrical system.
We both thought indicators would be a good idea, and he chose the Lucas ones fitted to later A65 models. Fitting at the front was fairly simple; they can go on the headlamp ears. At the rear, the sub frame is the best mounting point, which means welding on some mounts. At the time of these pics, the bike was about to go off to my colleague Rupe Farnsworth’s shop for welding and an engine inspection, so I have left the back end unfinished.
The loom worked well, but in about ten days from Geoff bringing it in the carb pilot jet got blocked up, so starting was difficult. It’s such a big issue with E10 fuel and carbs, and it keeps catching me out. Use the bike regularly, or add fuel stabiliser. Farnsworth will sort it out.
Geoff was really pleased with the job. So was I.
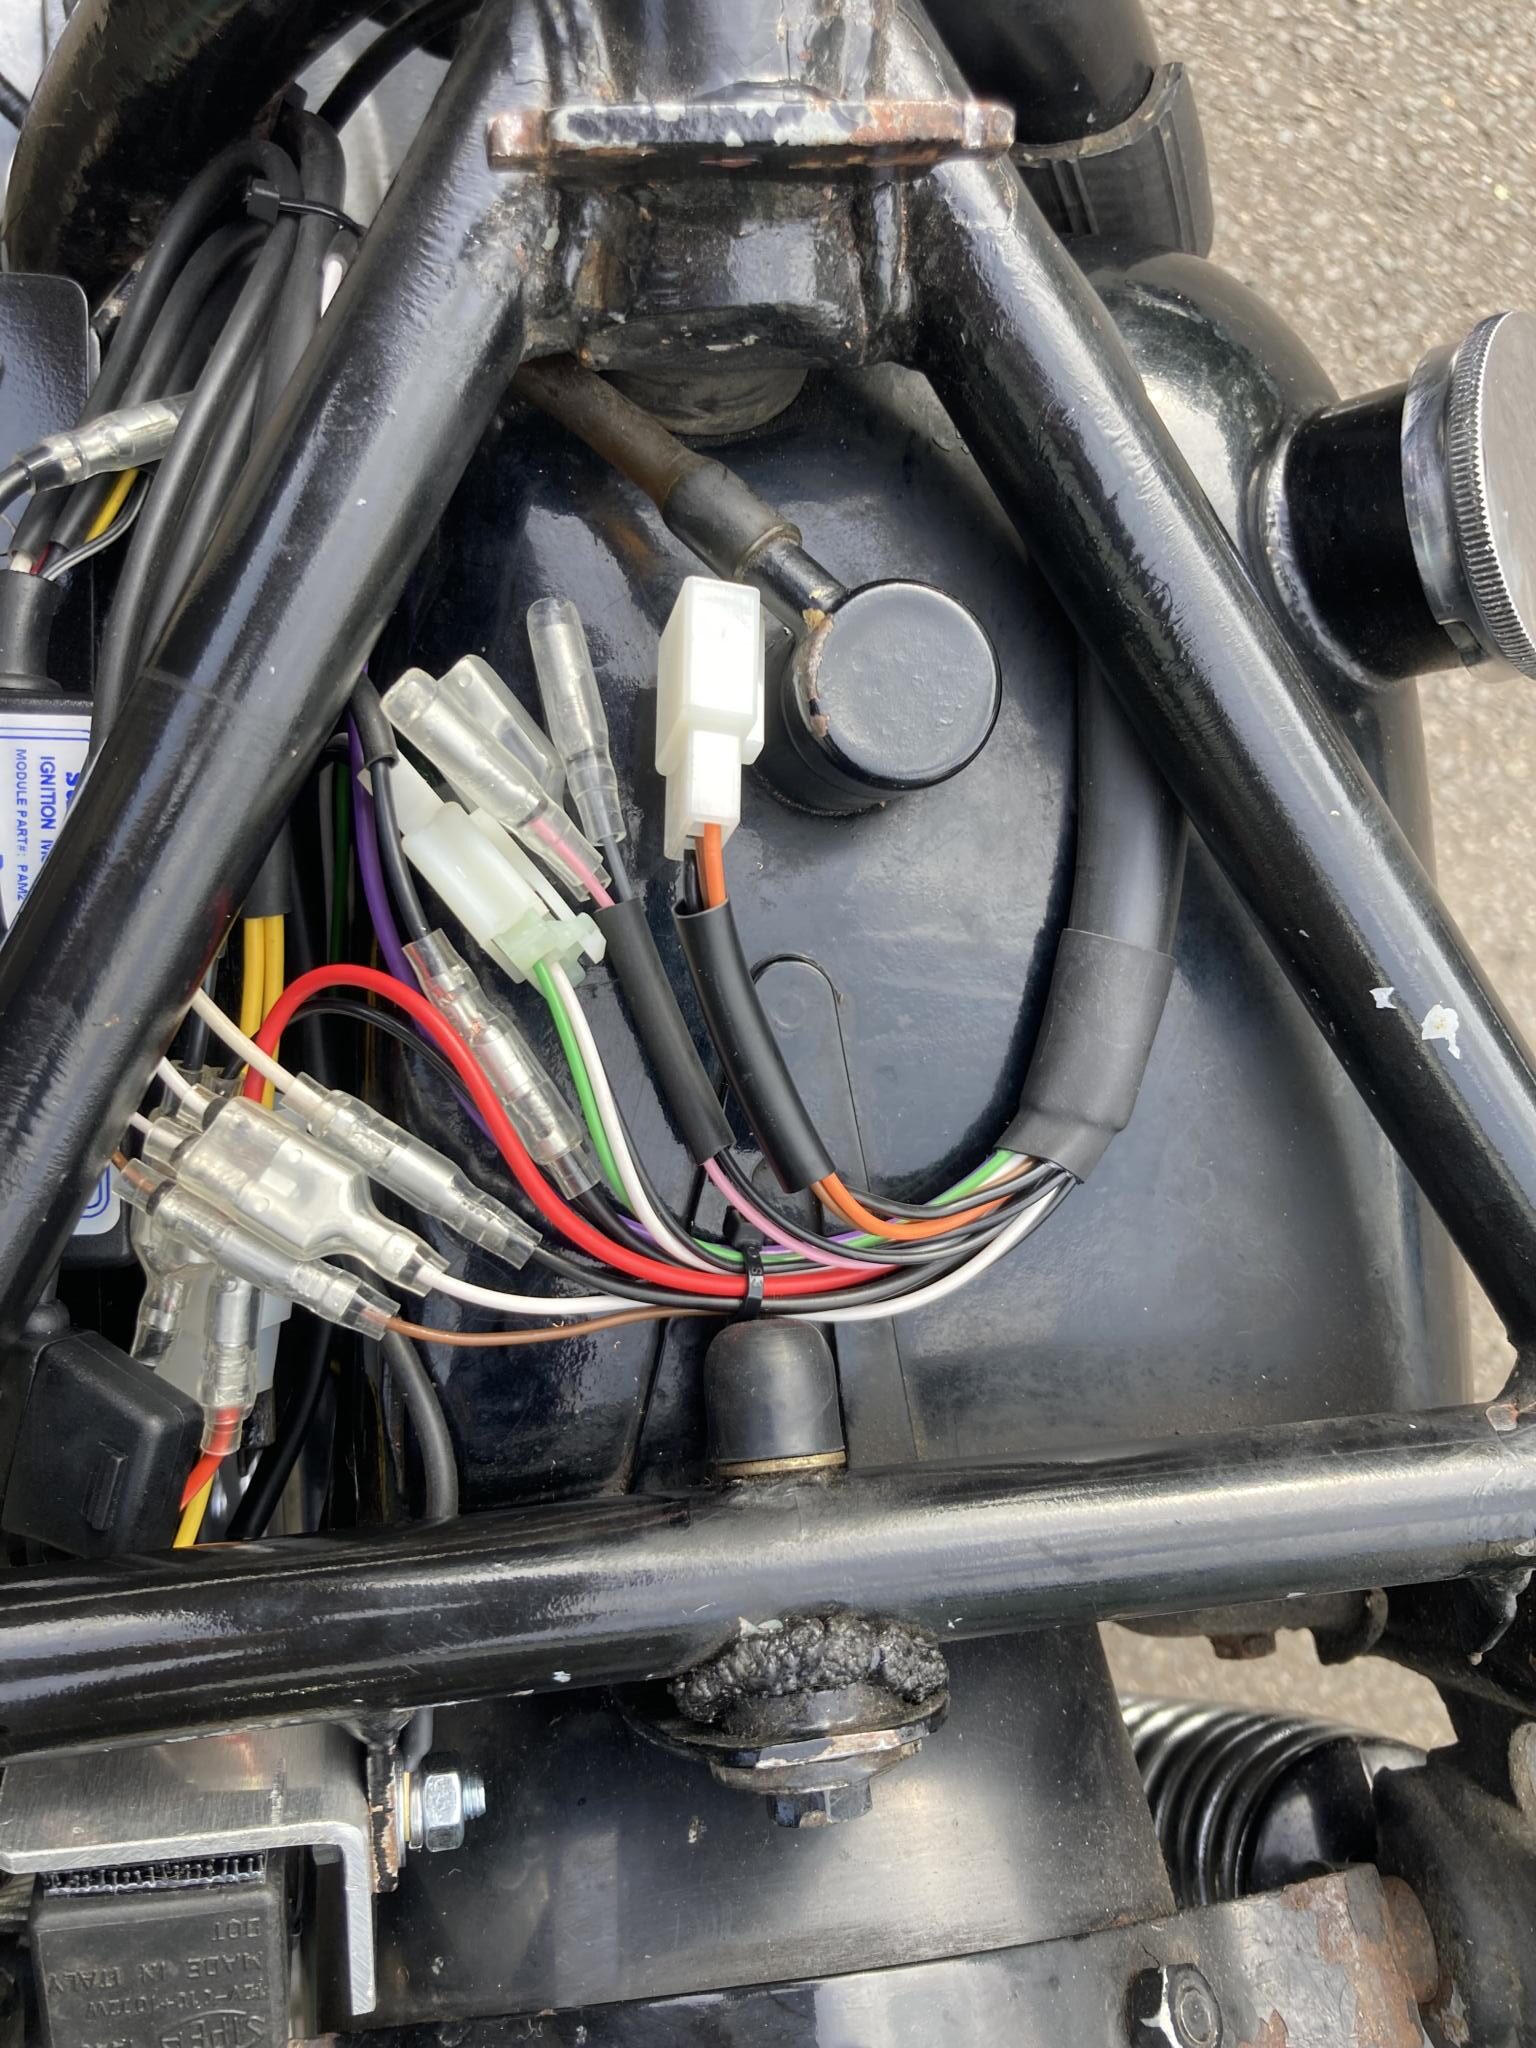
Tail light connections in the middle. Everything else on the left. New flasher unit bottom left
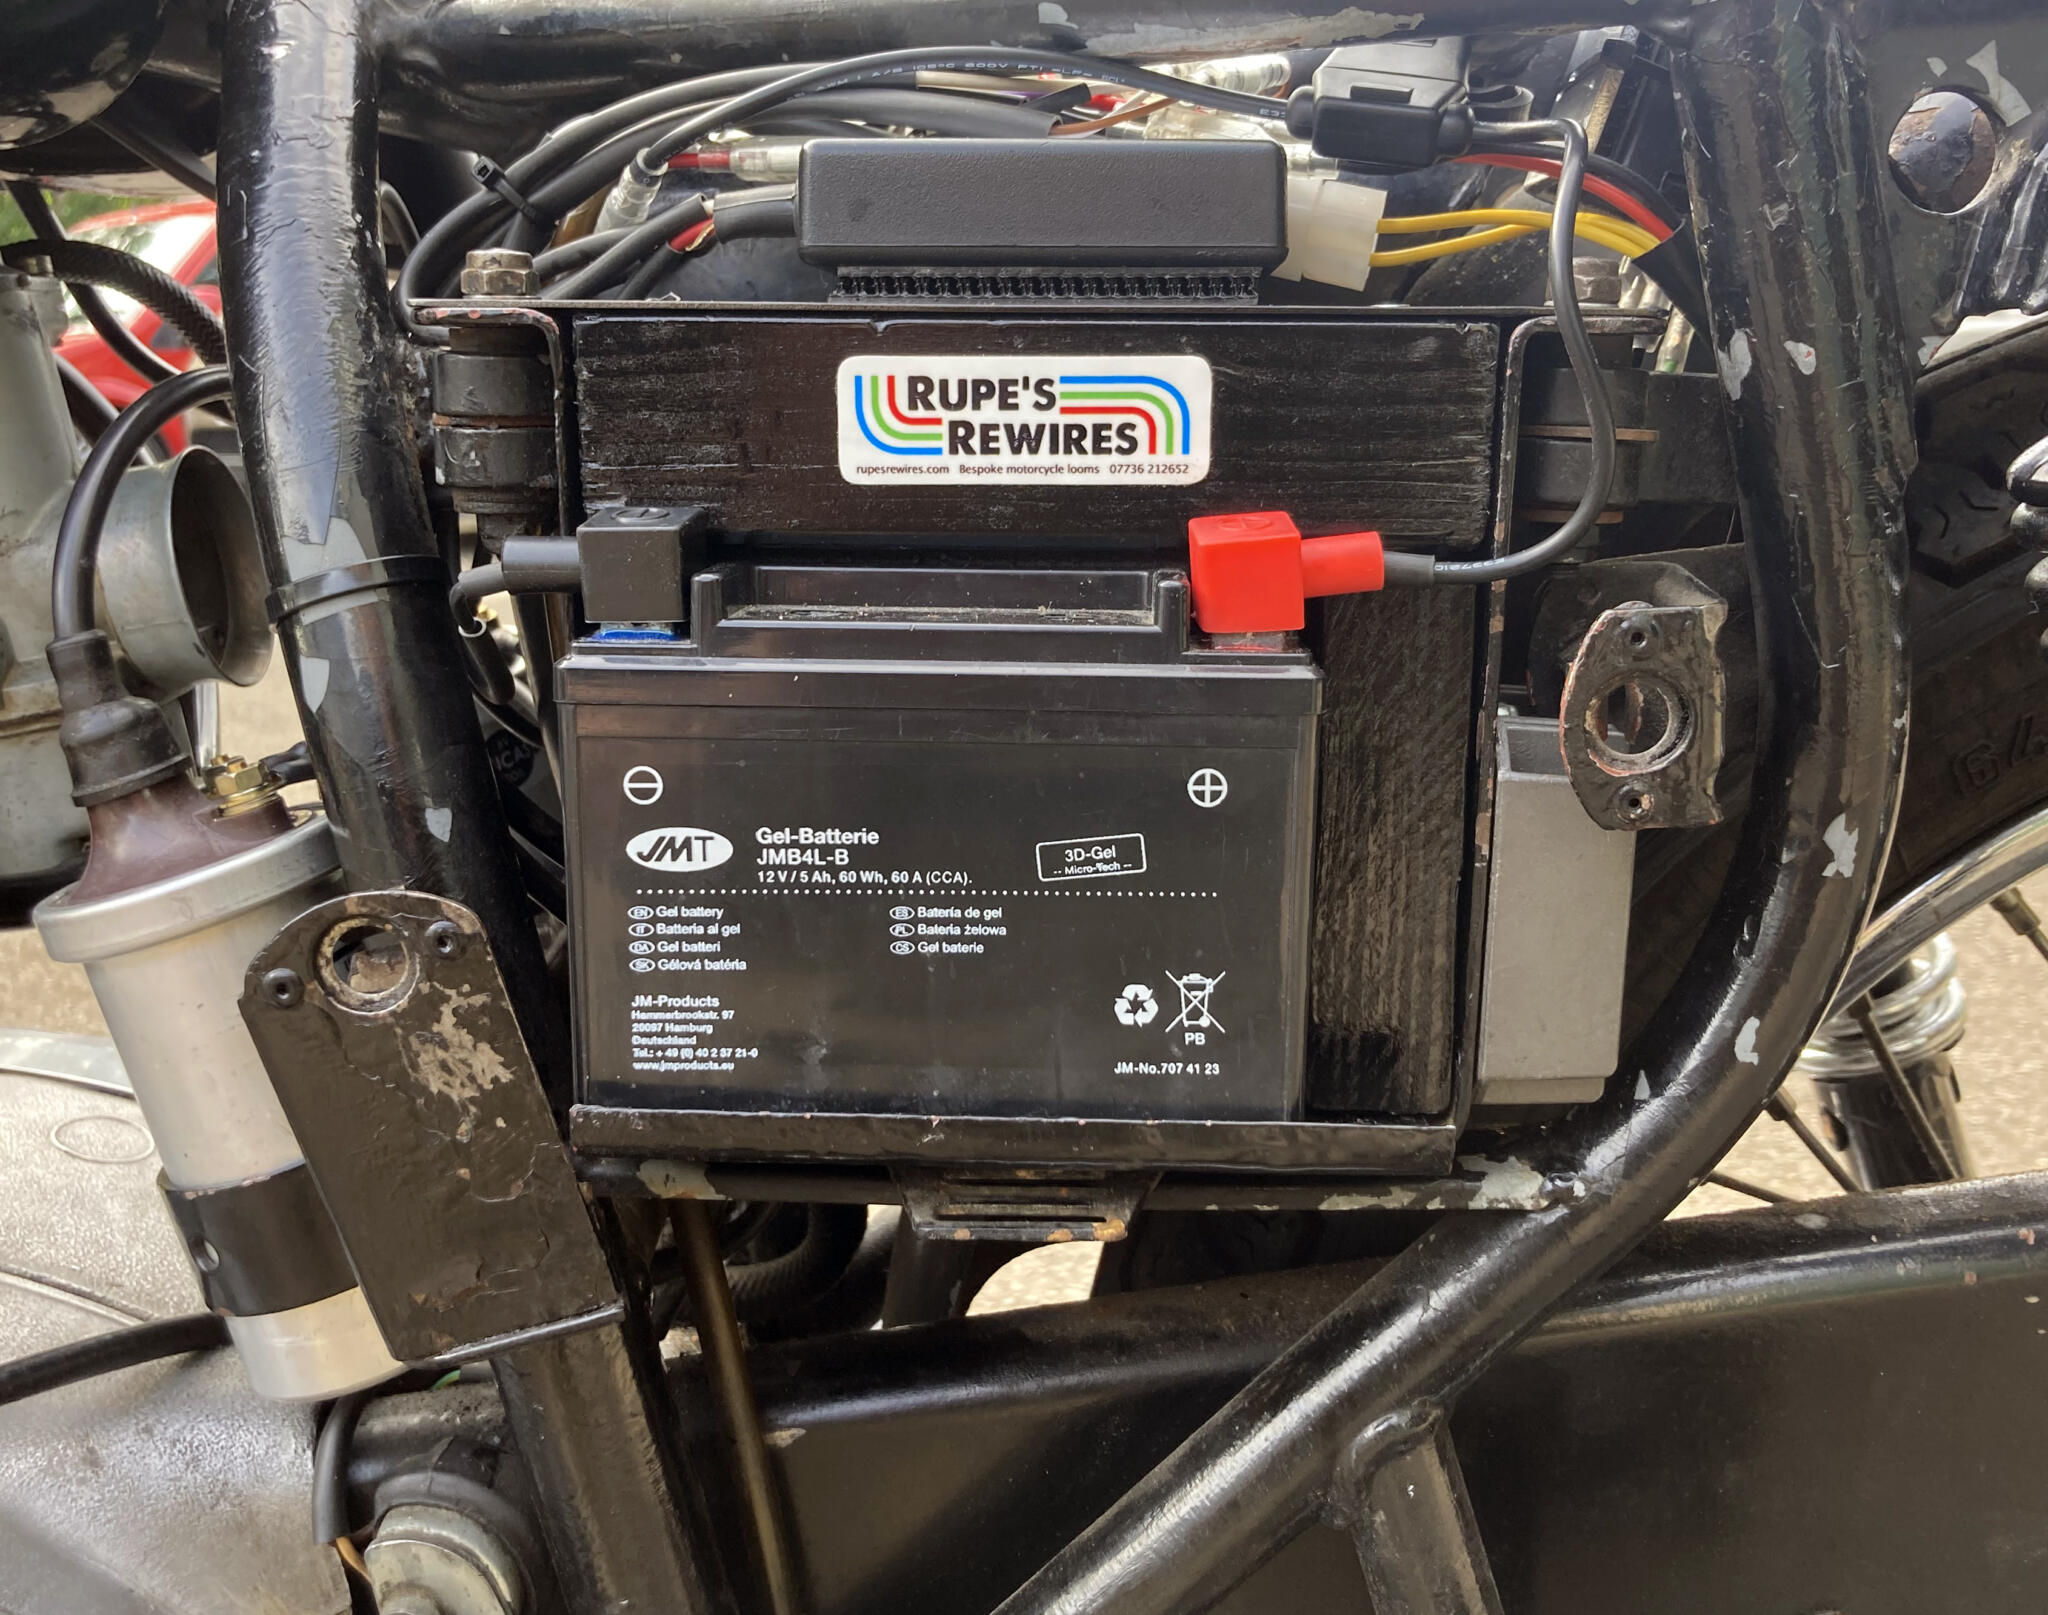
Wooden blocks and foam layers secure the battery. Steel plate at the top holds everything down. Reg rec on the right, Pazon ignition above