The built-up rear frame is really neat, and the tank is pretty cool too. First version Suzuki TS125 perhaps?
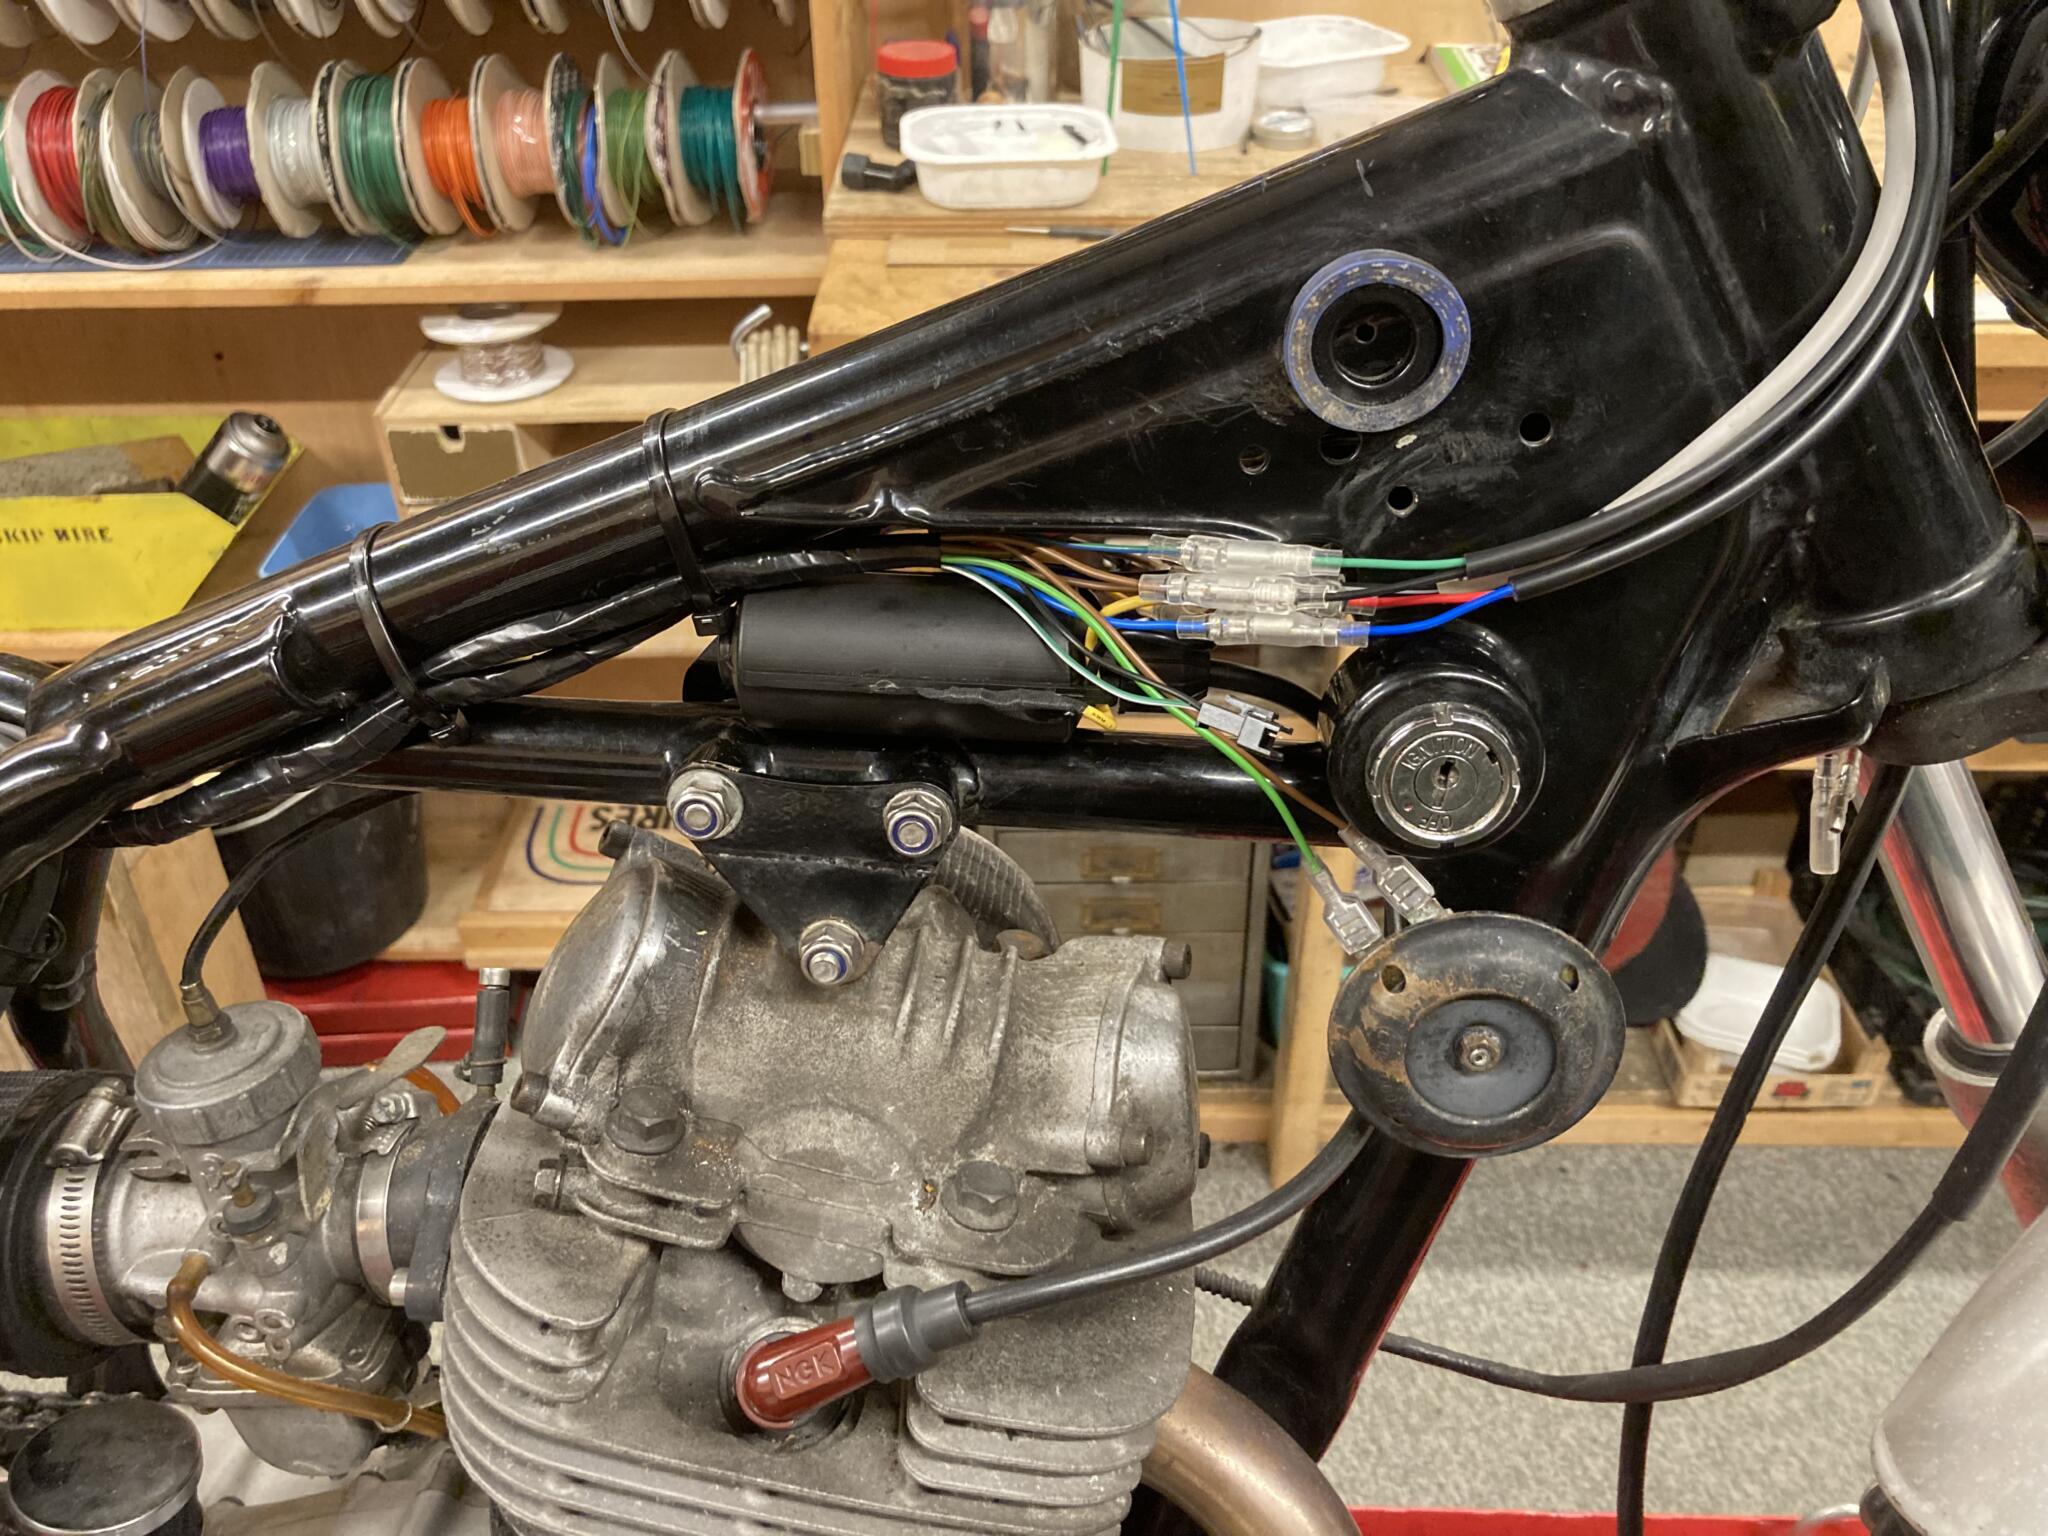
New coil and HT lead sits on a custom bracket. Connections to the switchgear fit nicely just in front
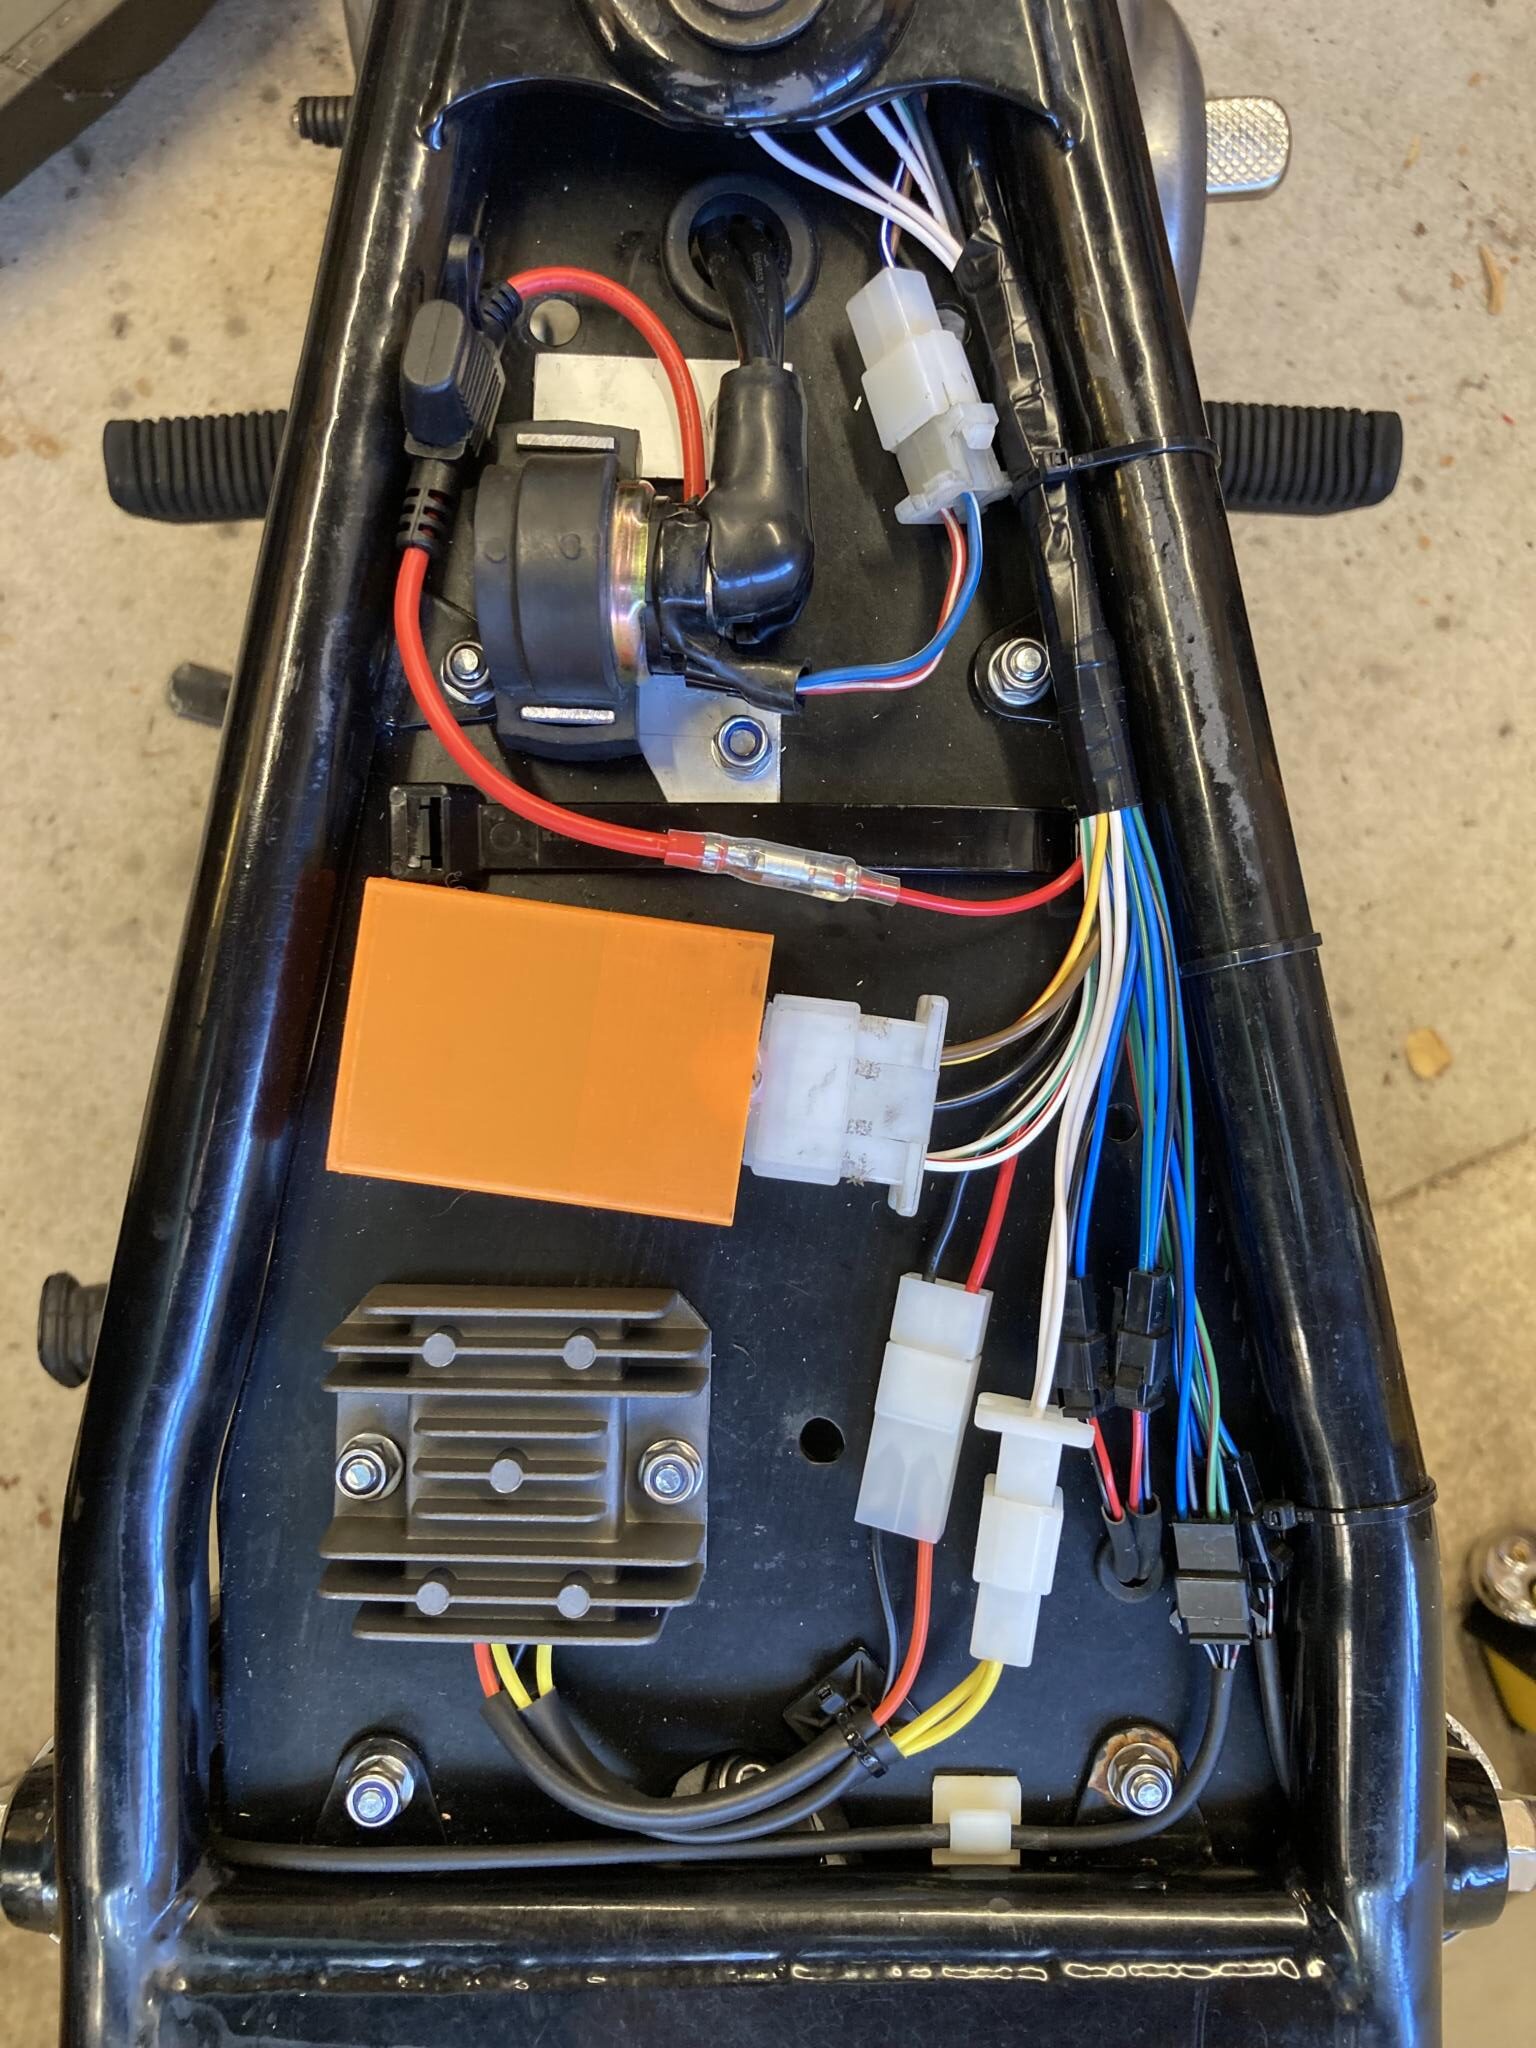
Solid and main fuse, ignition box, regulator rectifier. The whole lot fits nicely under the easily-removable seat
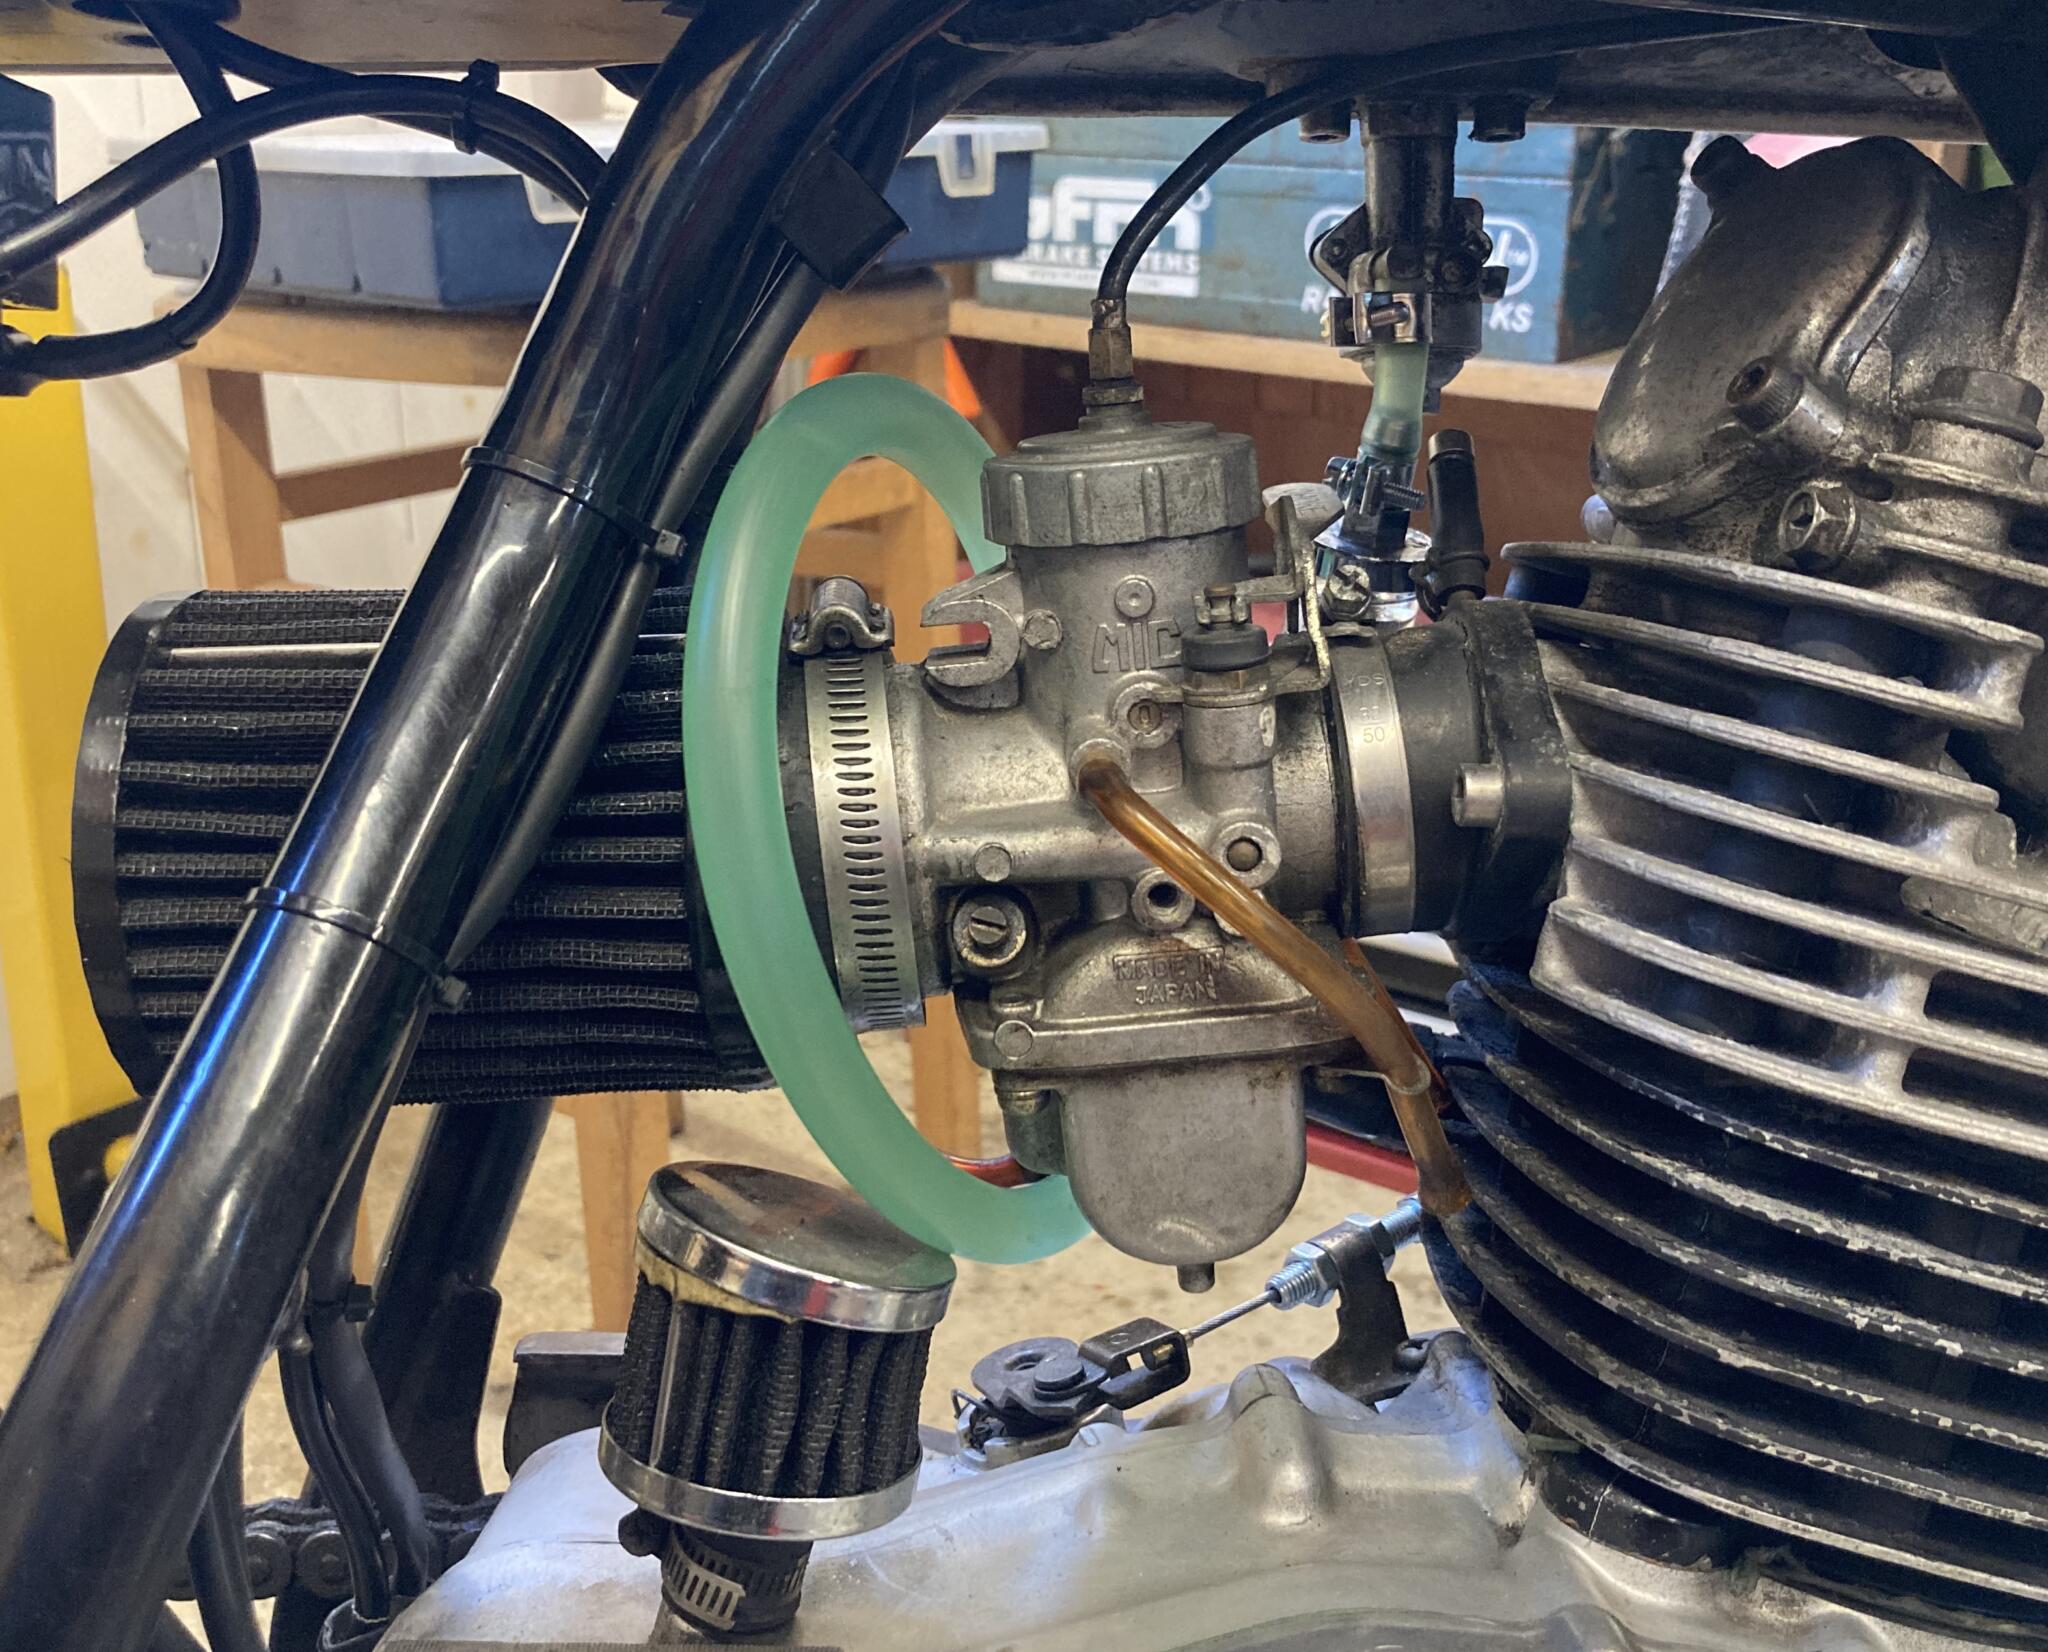
New green fuel line and clips. It goes round the carb to get a smooth run after the fuel filter. Dan’s going to replace the breather filter
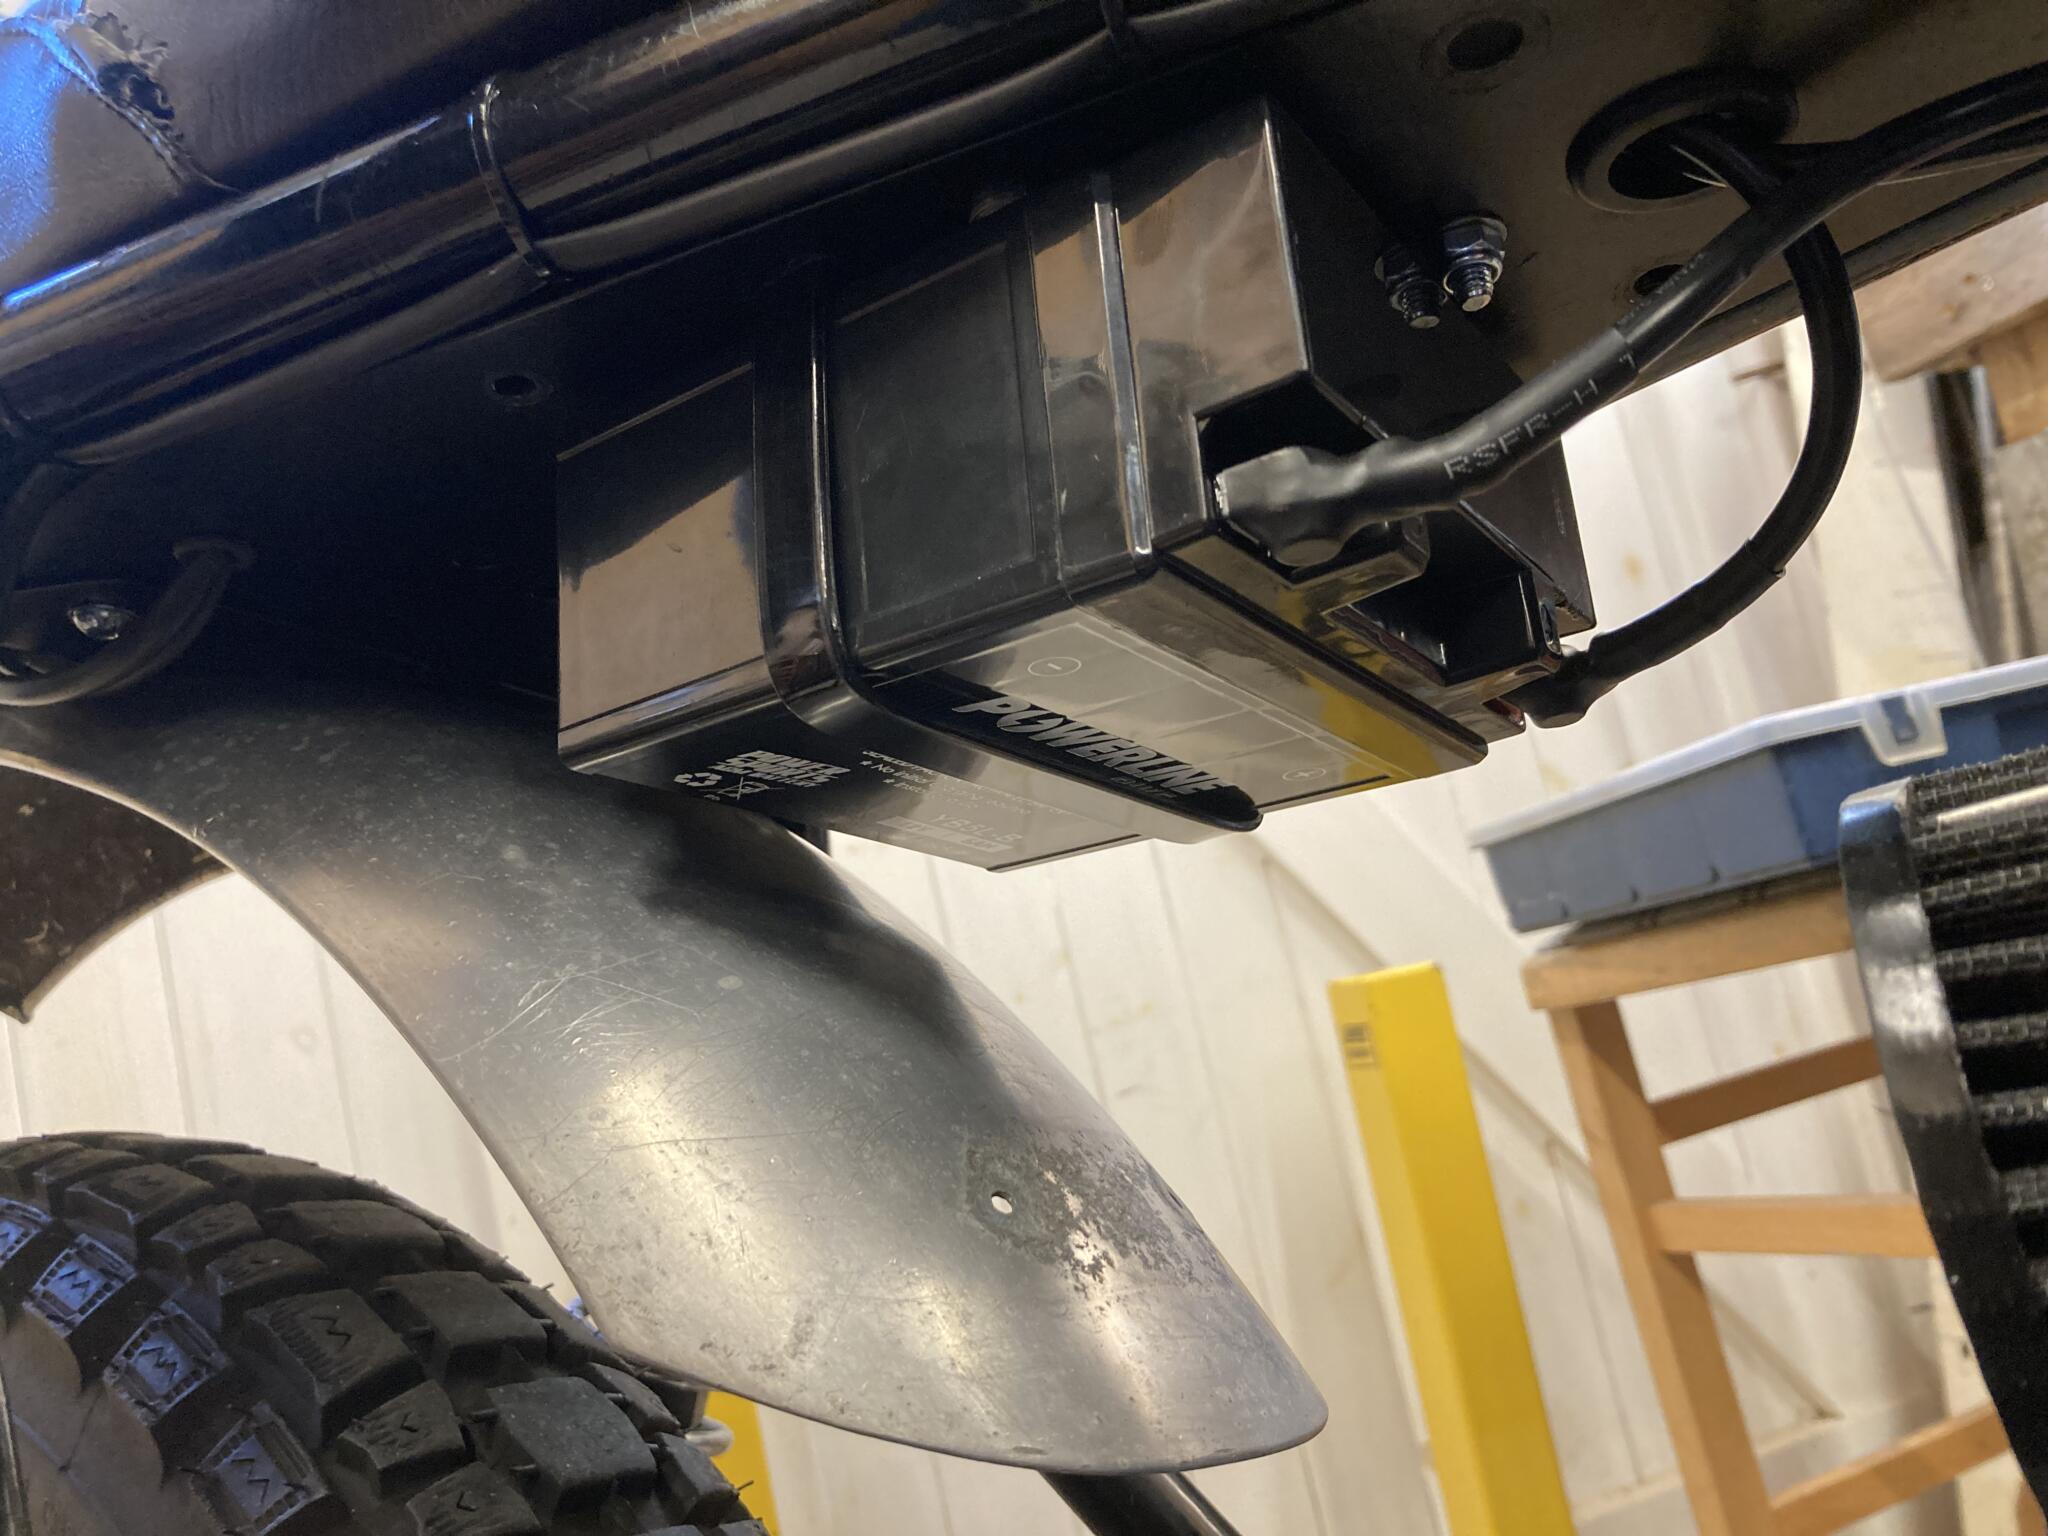
With the underseat lithium battery banned, we needed a conventional battery instead. This Powerline YB5L works fine. It’s fixed with Dual Lock and a giant cable tie
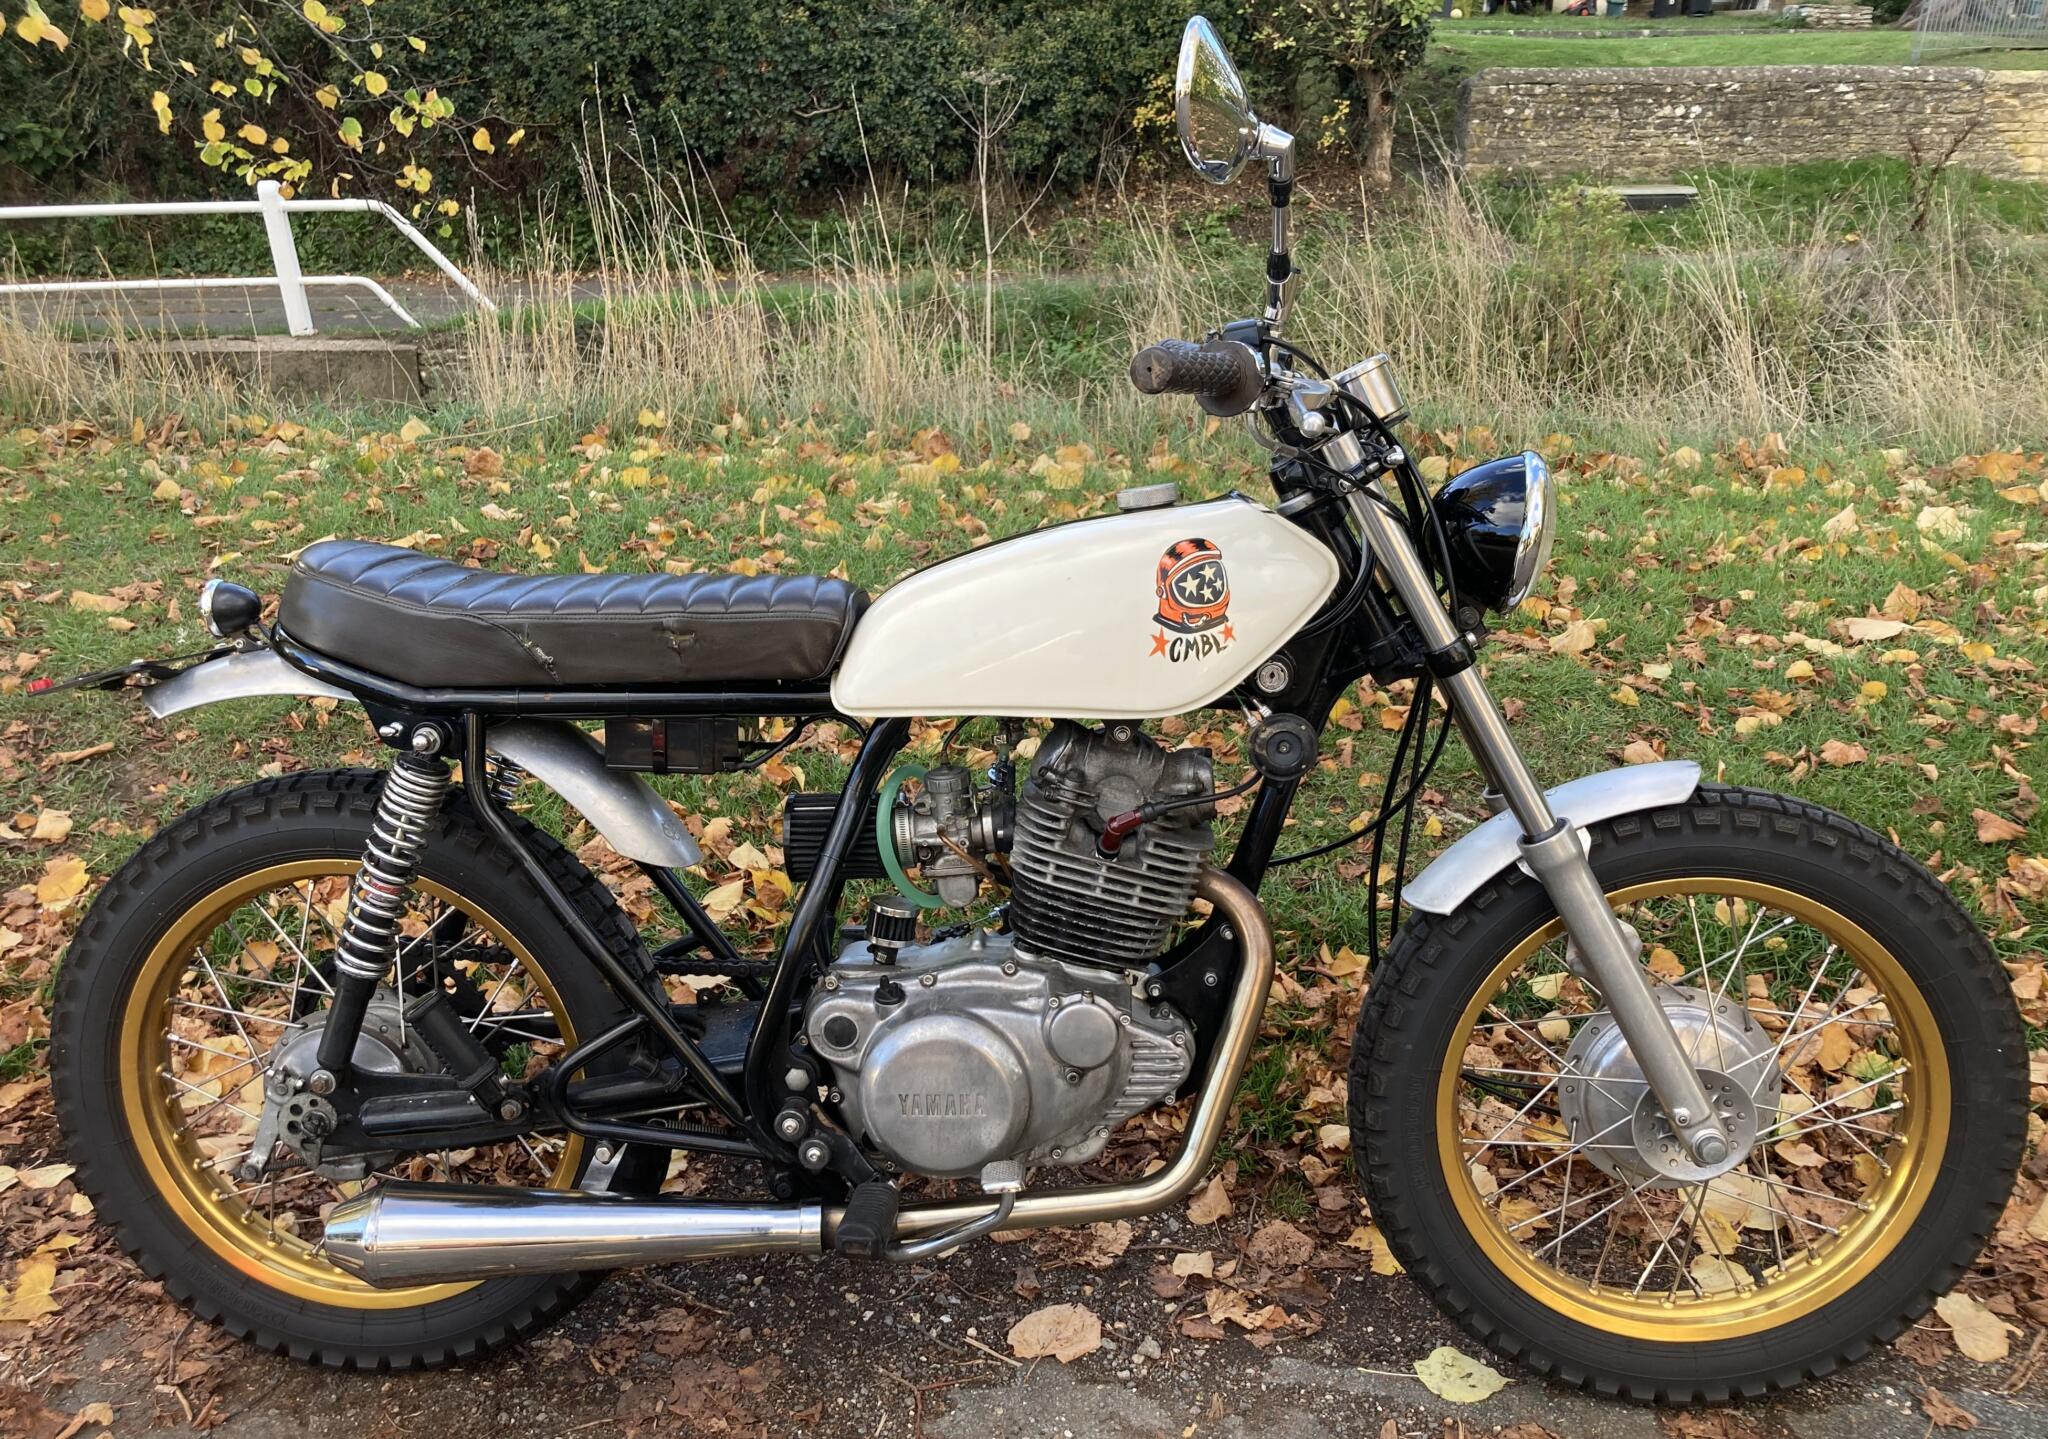
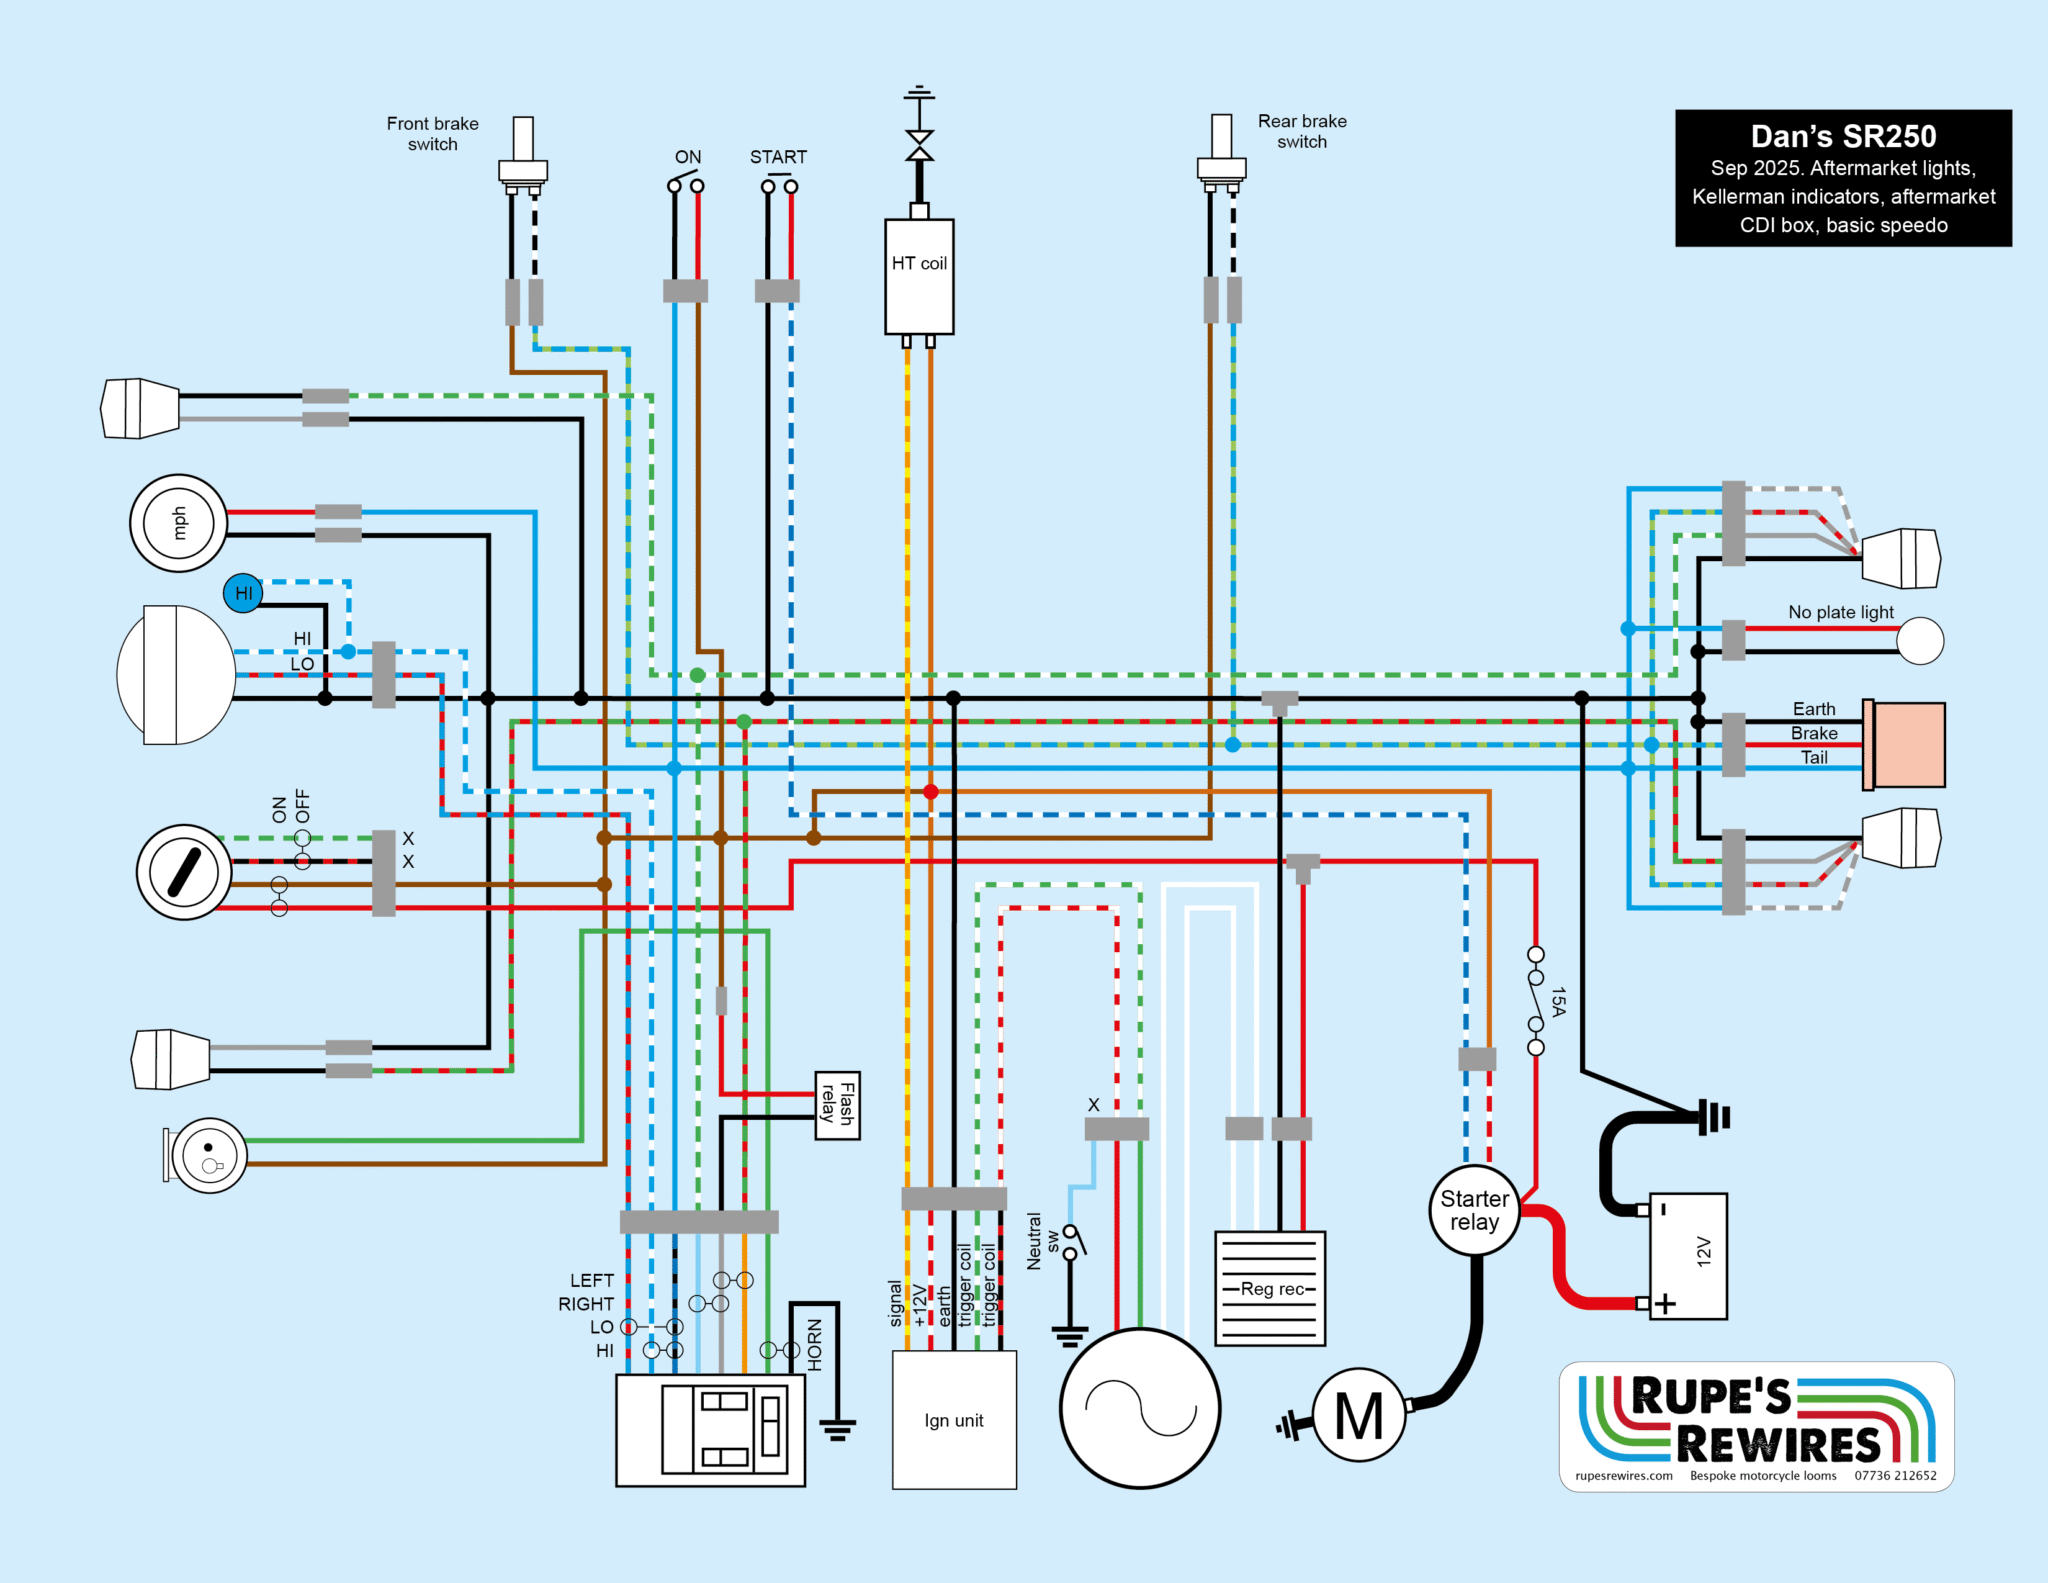
Dan’s Yamaha SR250 custom
Dan had bought this natty little thing eight years ago from a professional builder, but it had never run right for long. Charging issues and ignition failures were the main troubles. To tell the truth, he was wondering whether to give up on it altogether.
If you think about it, building a custom bike means mastering everything – welding, design, fabrication, machining, suspension, steering geometry, engines and… electrics. It’s a tall order. Sure enough, the sight under the seat was the usual mix of Halfords connectors, random wires, bits of original loom, and fleece tape. Worst of all: a lithium battery, whose bowed-out sides showed it was getting ready to burst. Lithiums absolutely cannot cope with single-phase charging systems.
I love jobs like this. The solution is so obvious: rip it up and start again. And make the new loom as elegant as possible.
As I was going on holiday I pulled the bike to bits, drew the diagram and had a big discussion with my apprentice Adam. He is seriously good at building looms, so Dan was fine with that. Dan and I agreed on a new gel battery and some Kellermann indicators. When I got back a couple of weeks later, Adam had built the loom you see here: as neat and minimal as you could want. It’s a really lovely job.
Adam had mounted the battery under the seat (the lithium one had been squeezed out of sight, but a conventional battery is too big). We’d agreed that making the battery all black was the best way to stop it drawing your eye when you looked at the bike. Adam had also come up with neat mountings for the tiny indicators, and the ignition coil.
Dan was really pleased with all this, so he asked us to sort out a few other bits and pieces. Adam made up new brake and clutch cables (both had been damaged). I sourced a cable guide for a DR250/350 from B&B Motorcycles to keep them away from the front tyre, and made a front seat locator to create a secure fit.
The original builder had run rather sketchy through-the-bars wiring, but I wanted to remove every scrap of potential unreliability. So we re-routed the handlebar cables outside the bars, and ditched the inadequate kill/start switch for something a little more robust. Dan is going to find a new set of bars (without the holes) when he can.
It was such good fun sorting this bike out. It’s a great looker, and feels delightful to ride. And Dan can now enjoy it as the original builder intended.
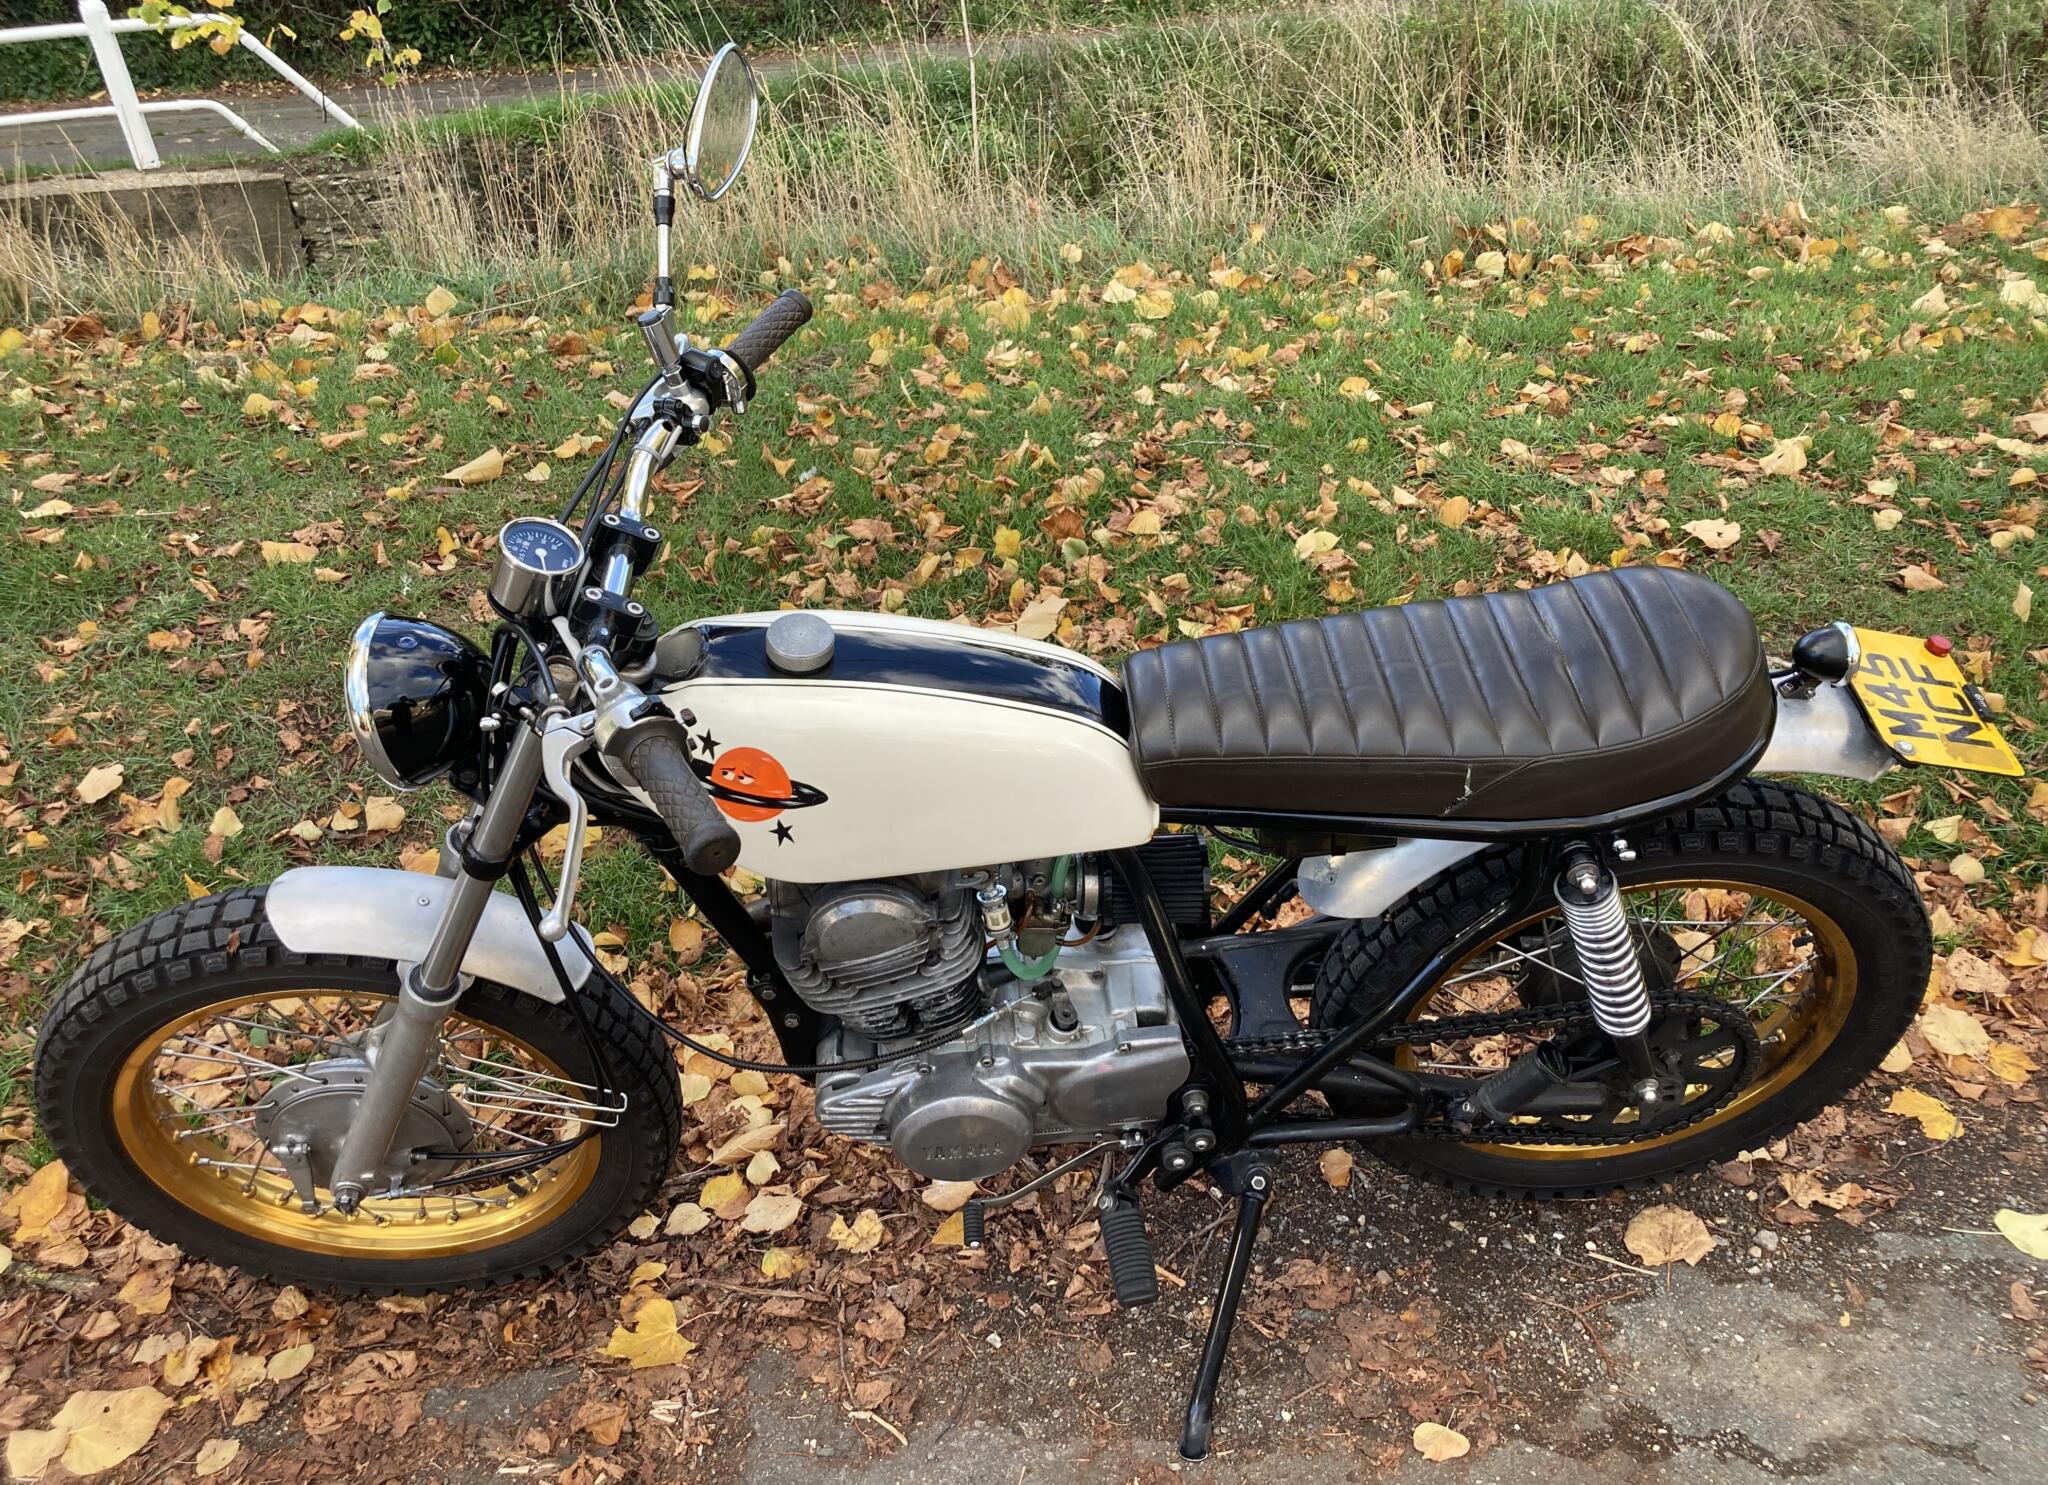
We love the tank mural – it suits the bike’s vibe. The front speedo cable bguide came from the wonderful B&B Motorcycles in Lincoln
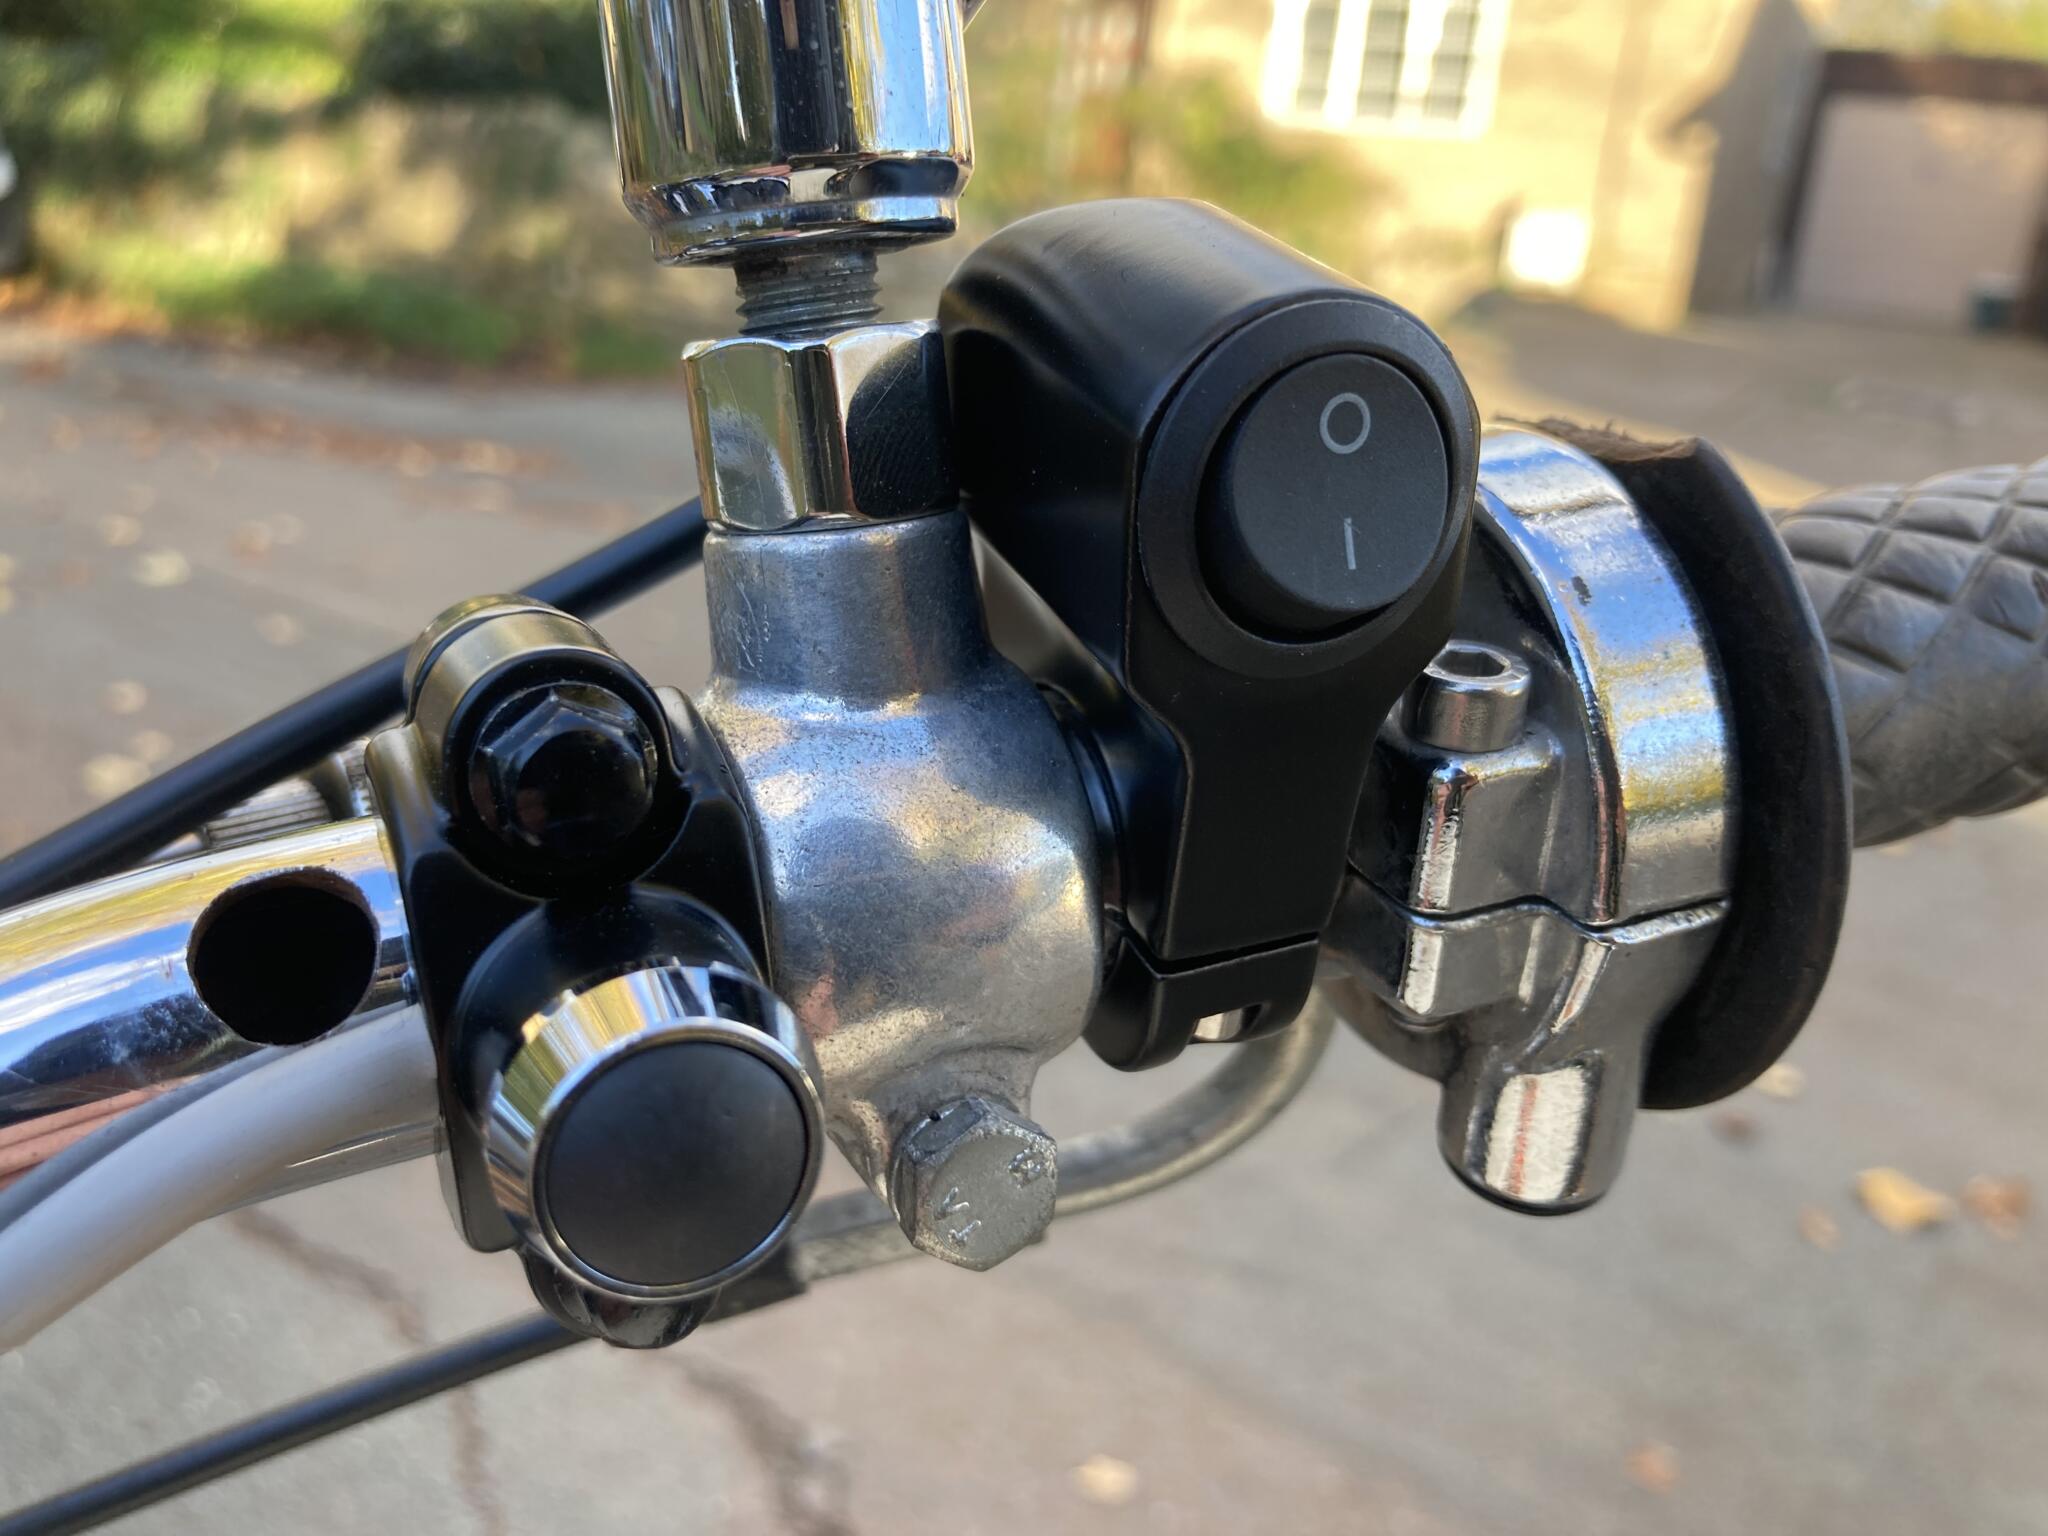
The original handlebar switch had marginal ability to conduct decent current, so we evicted it. These two (start and lights on/off) were the best replacements that fitted the space
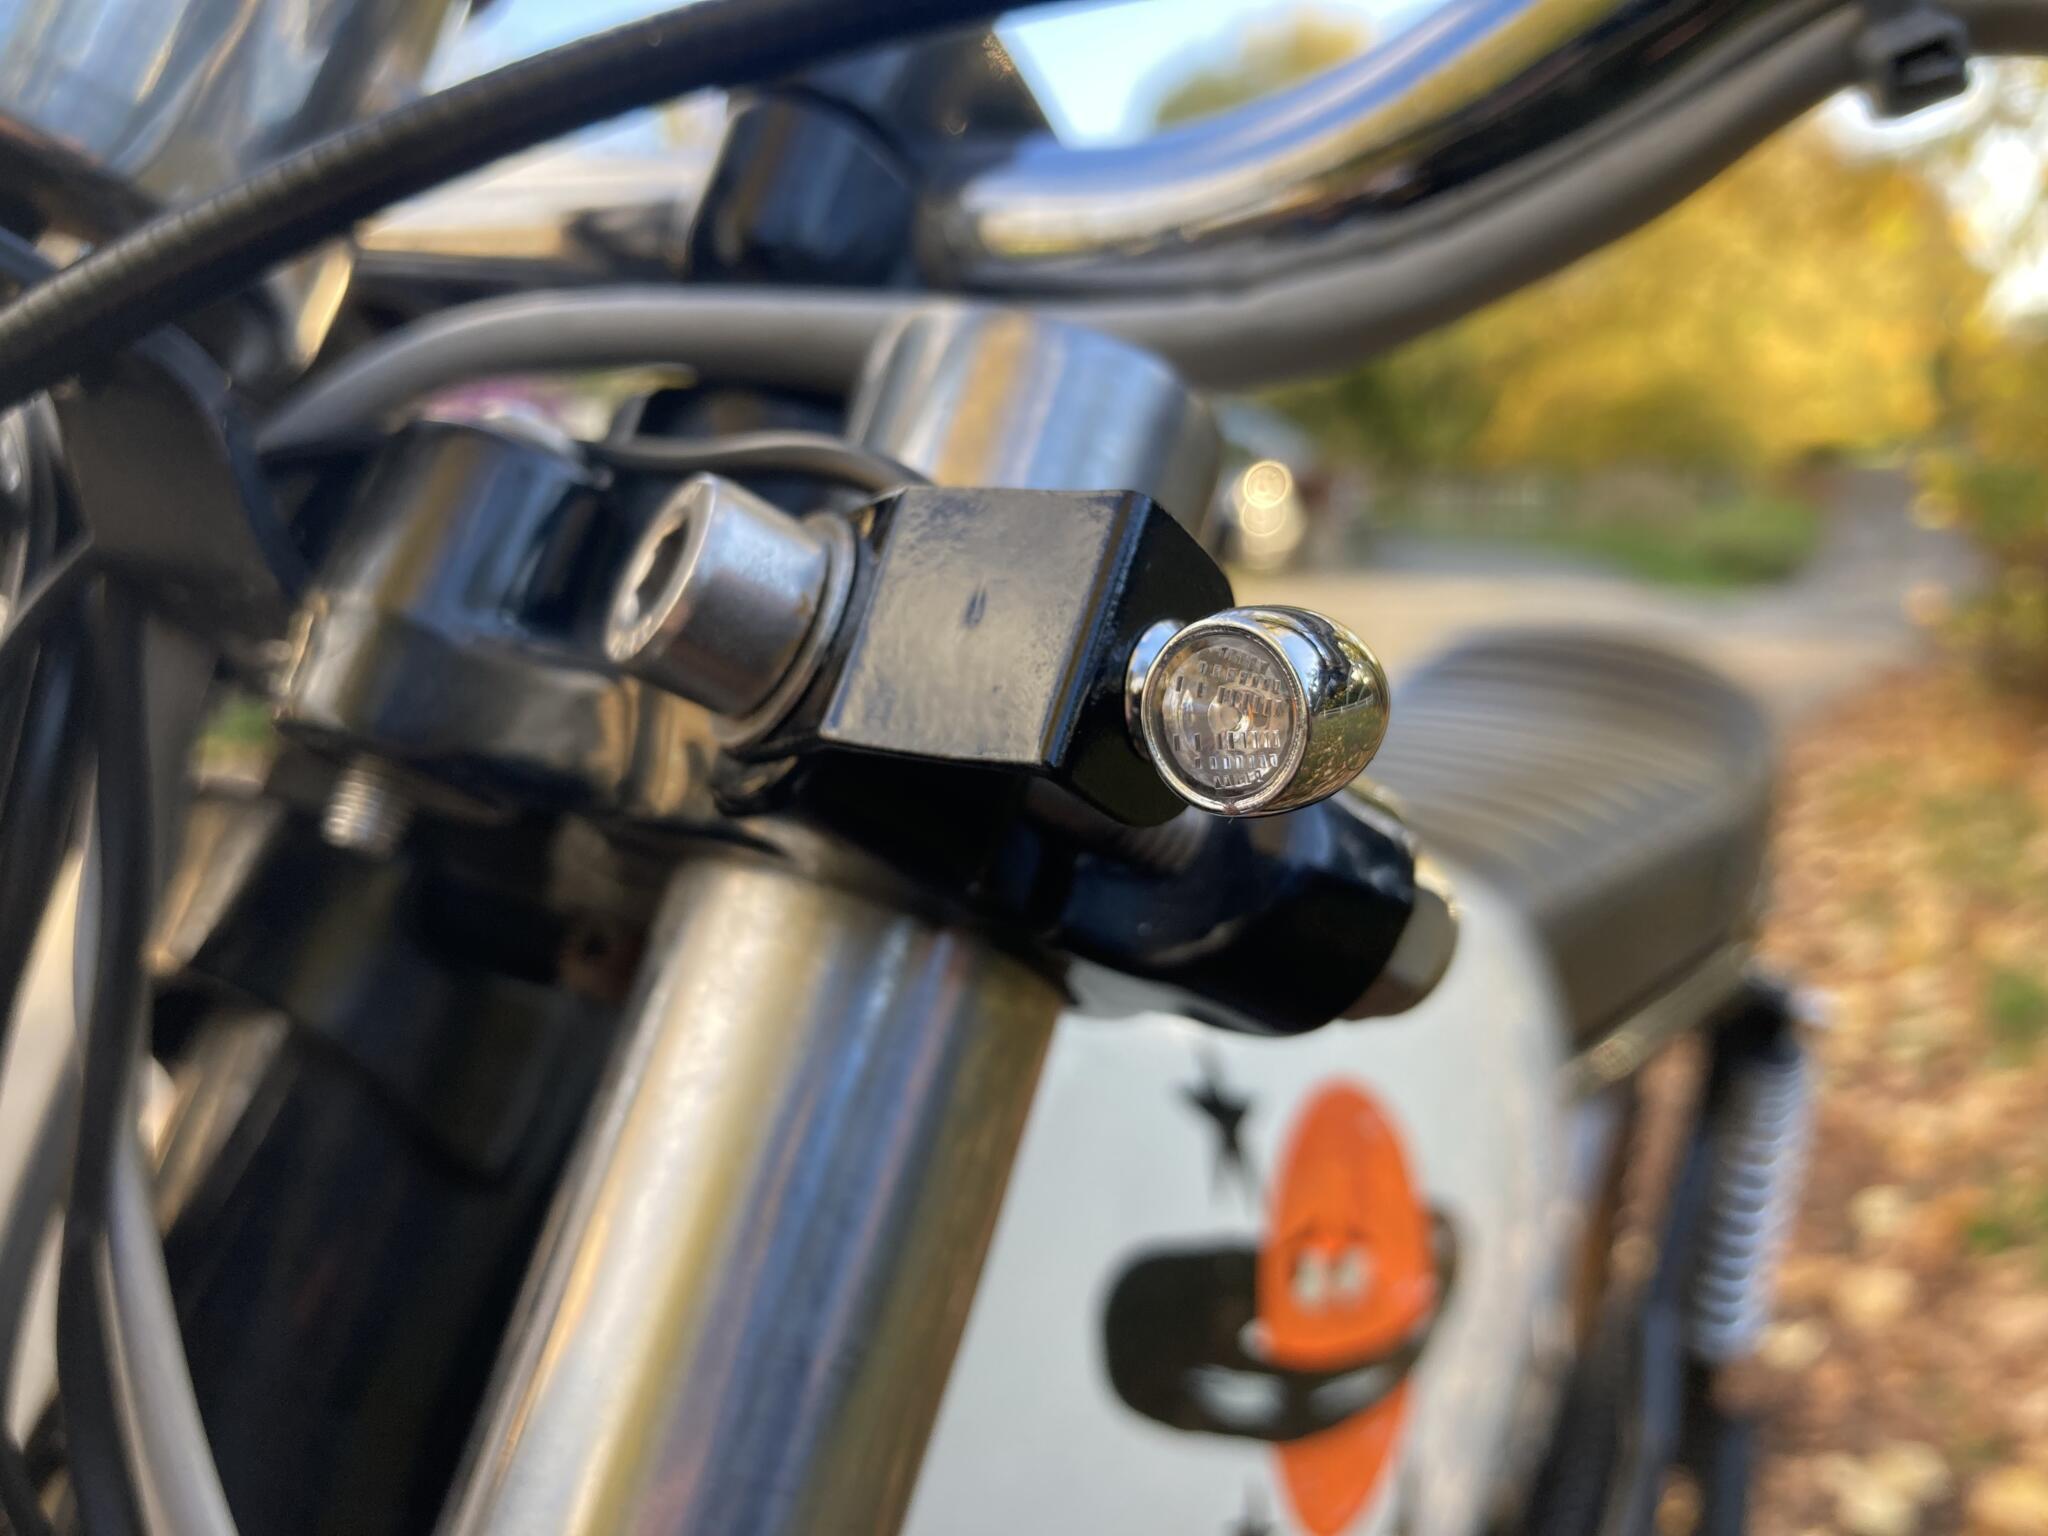
This tiny thing is a Kellermann Atto indicator, with bracket by Adam Cameron. It is seriously expensive and seriously bright
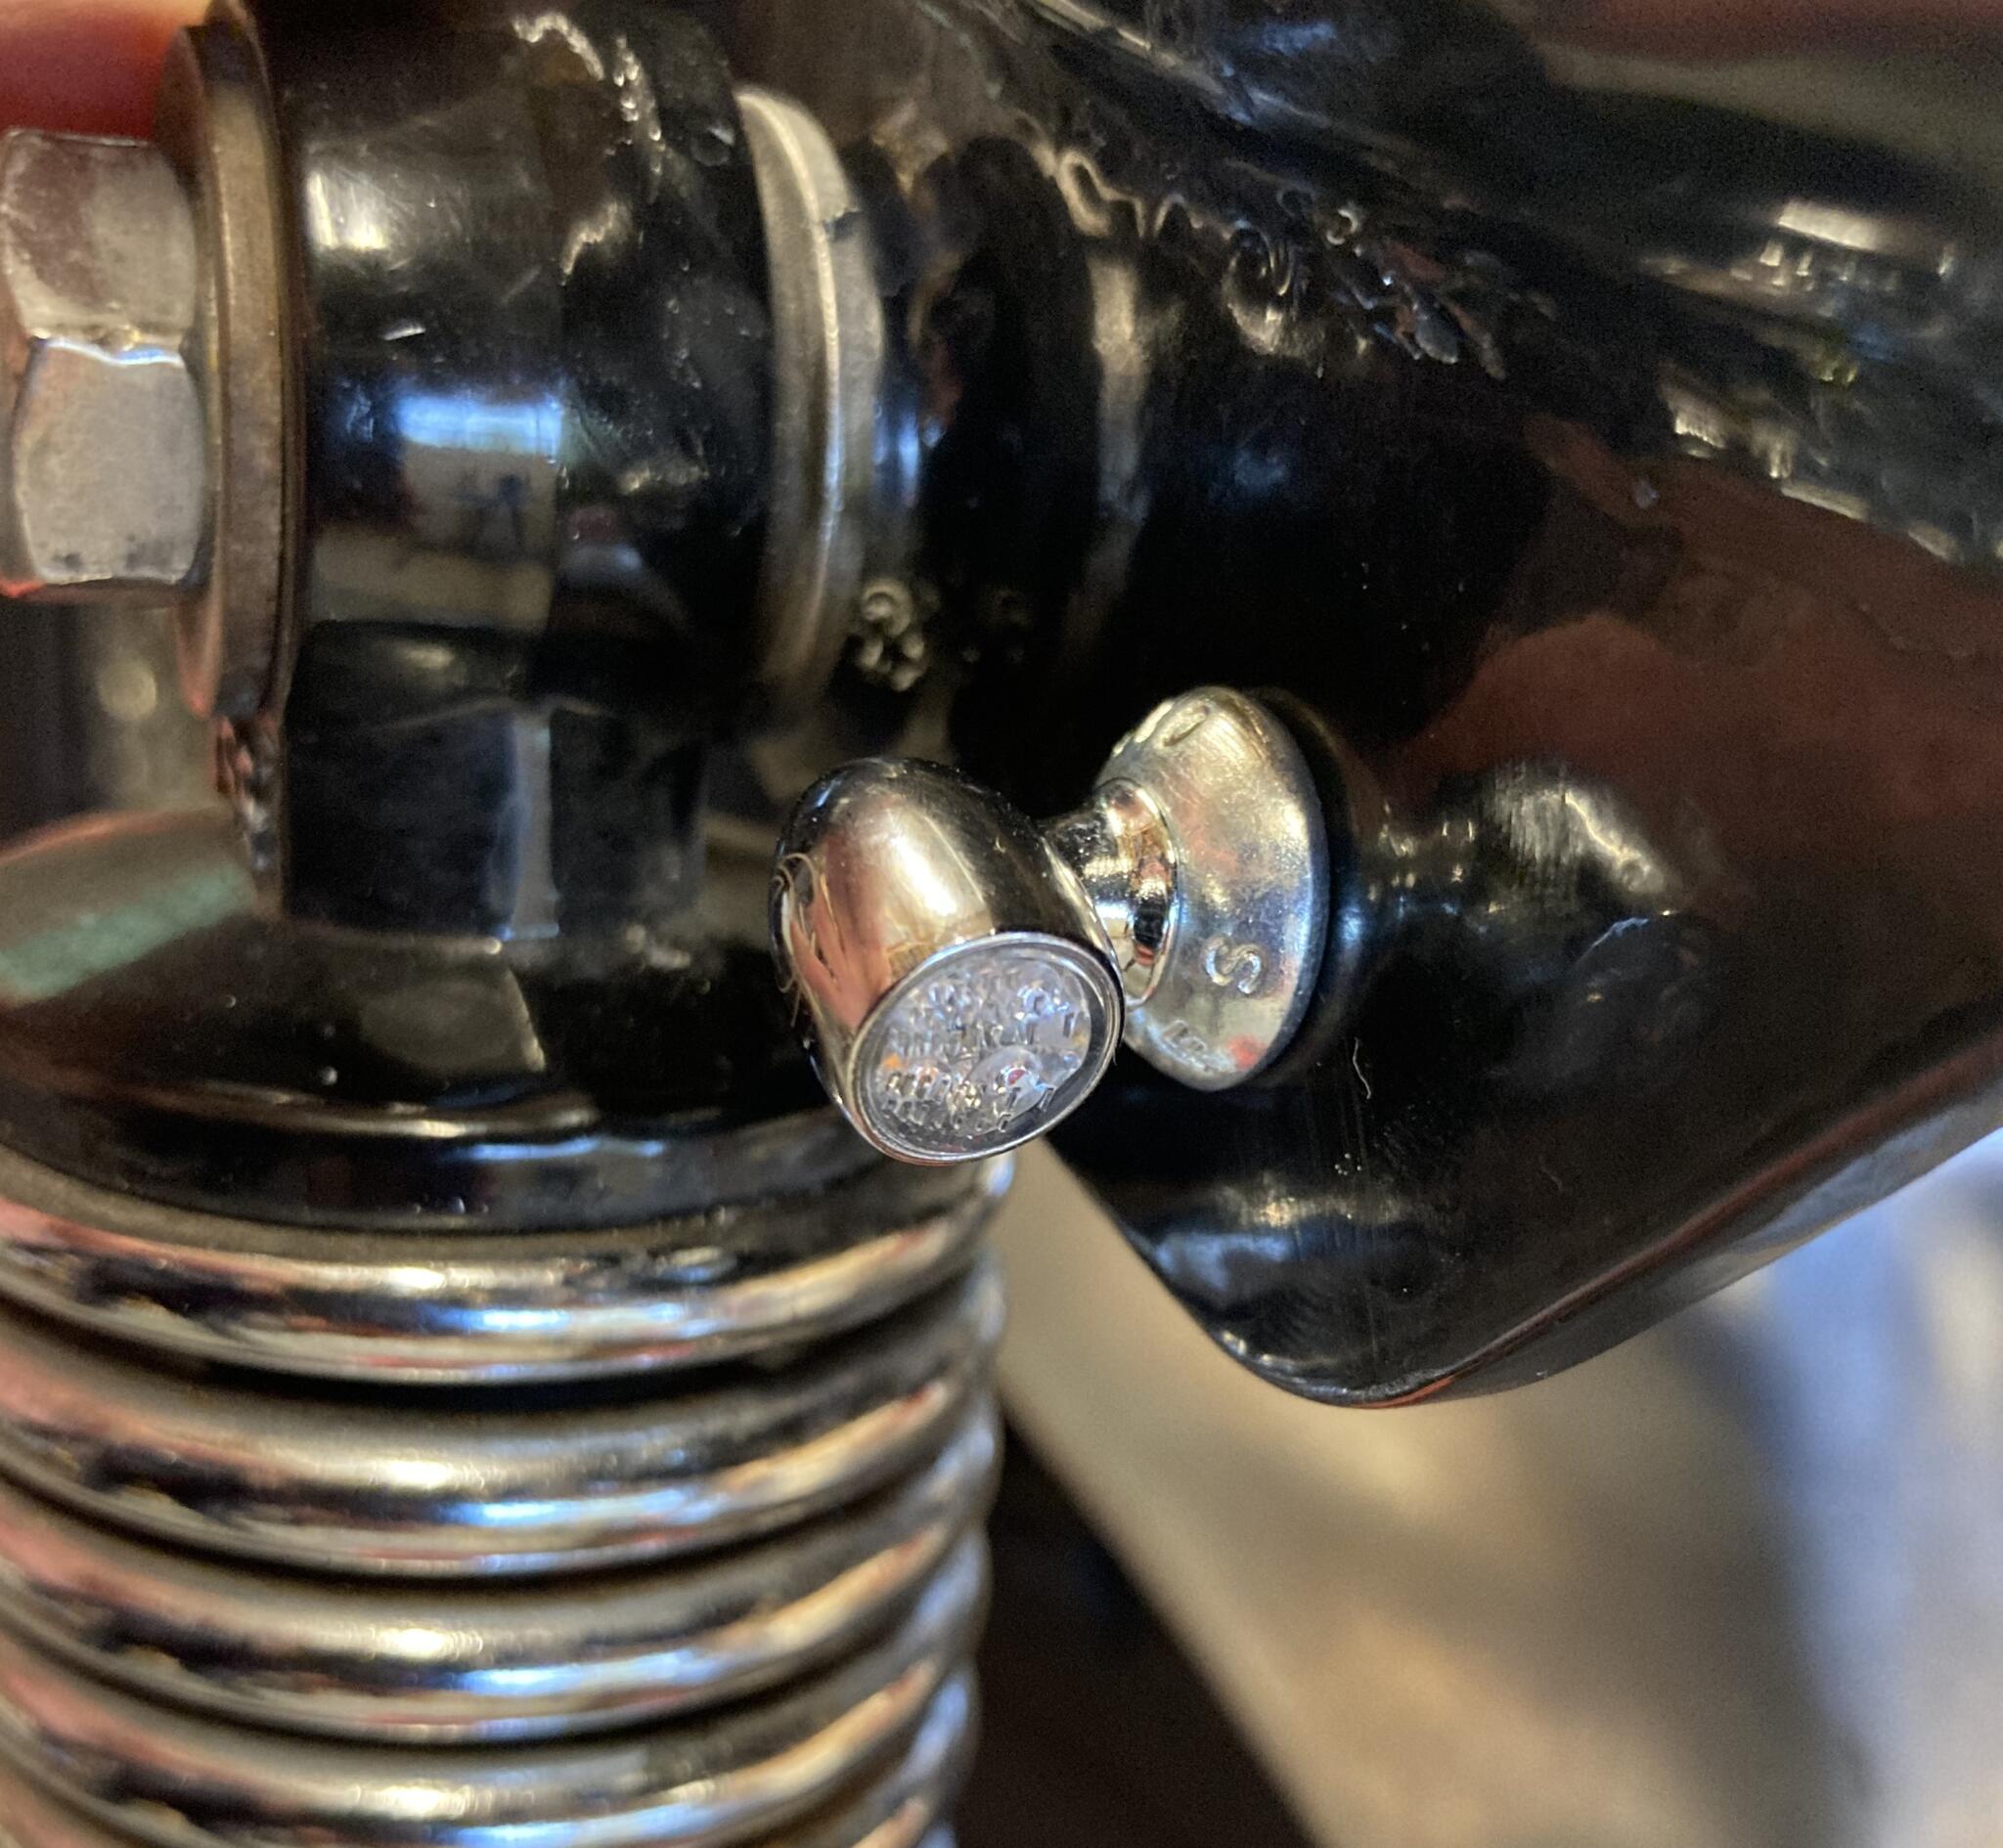
Adam’s way of mounting the rear indicators: into a drilled and tapped M8 button head screw
