
The first Kawasaki. The Ninja H2 was still some way off in 1965
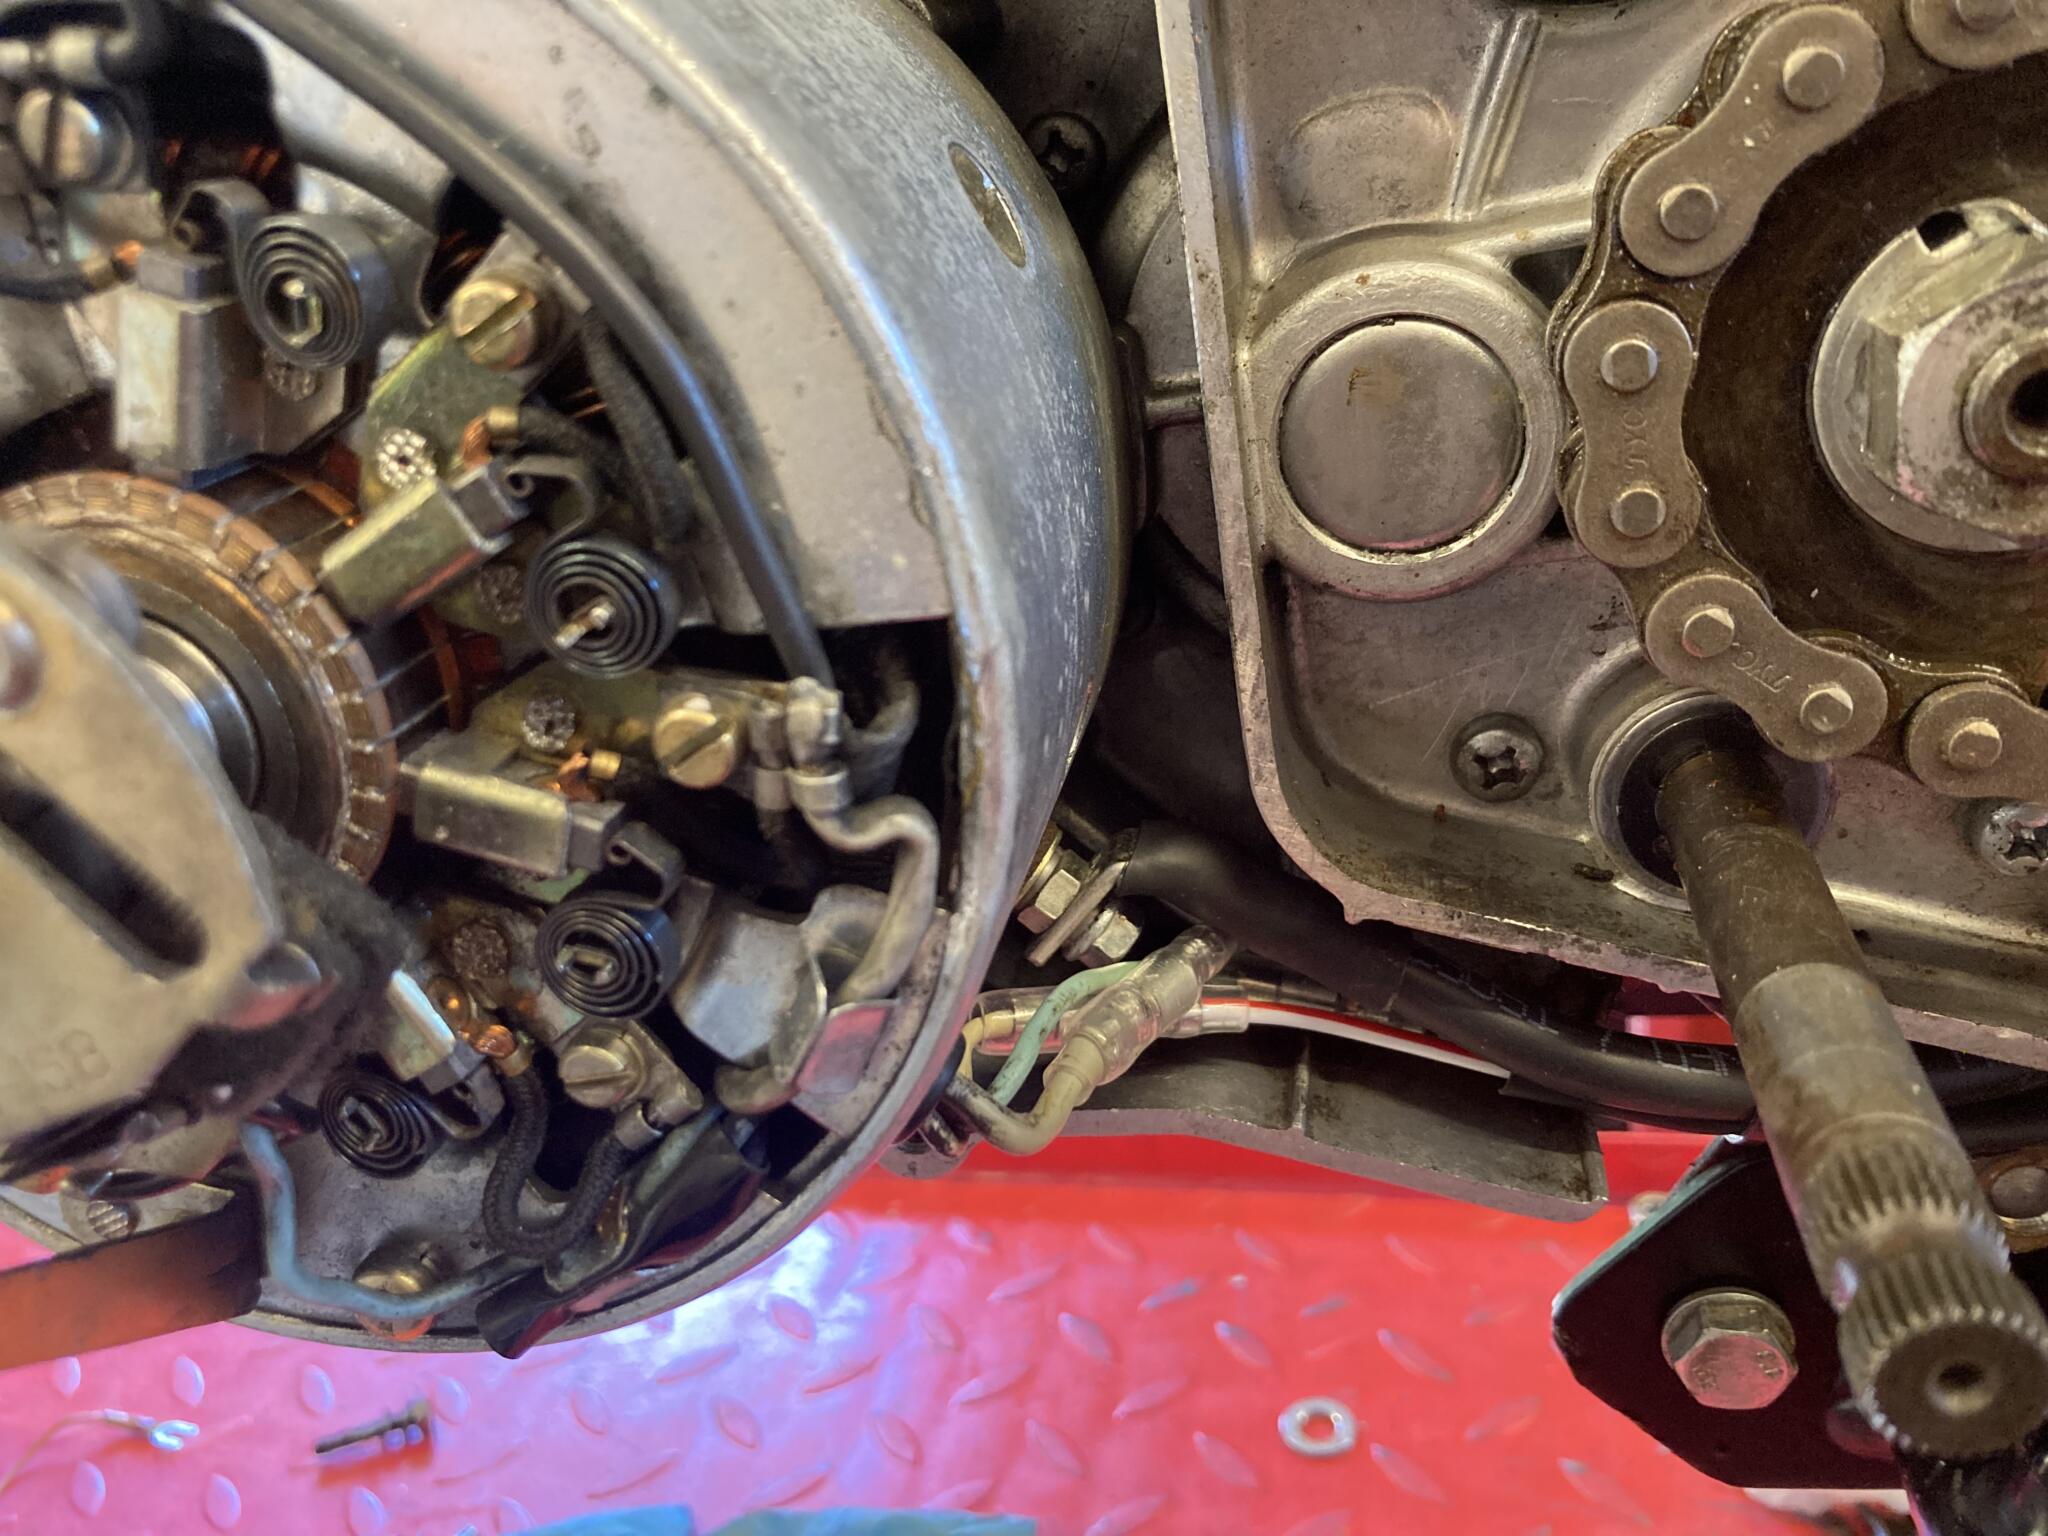
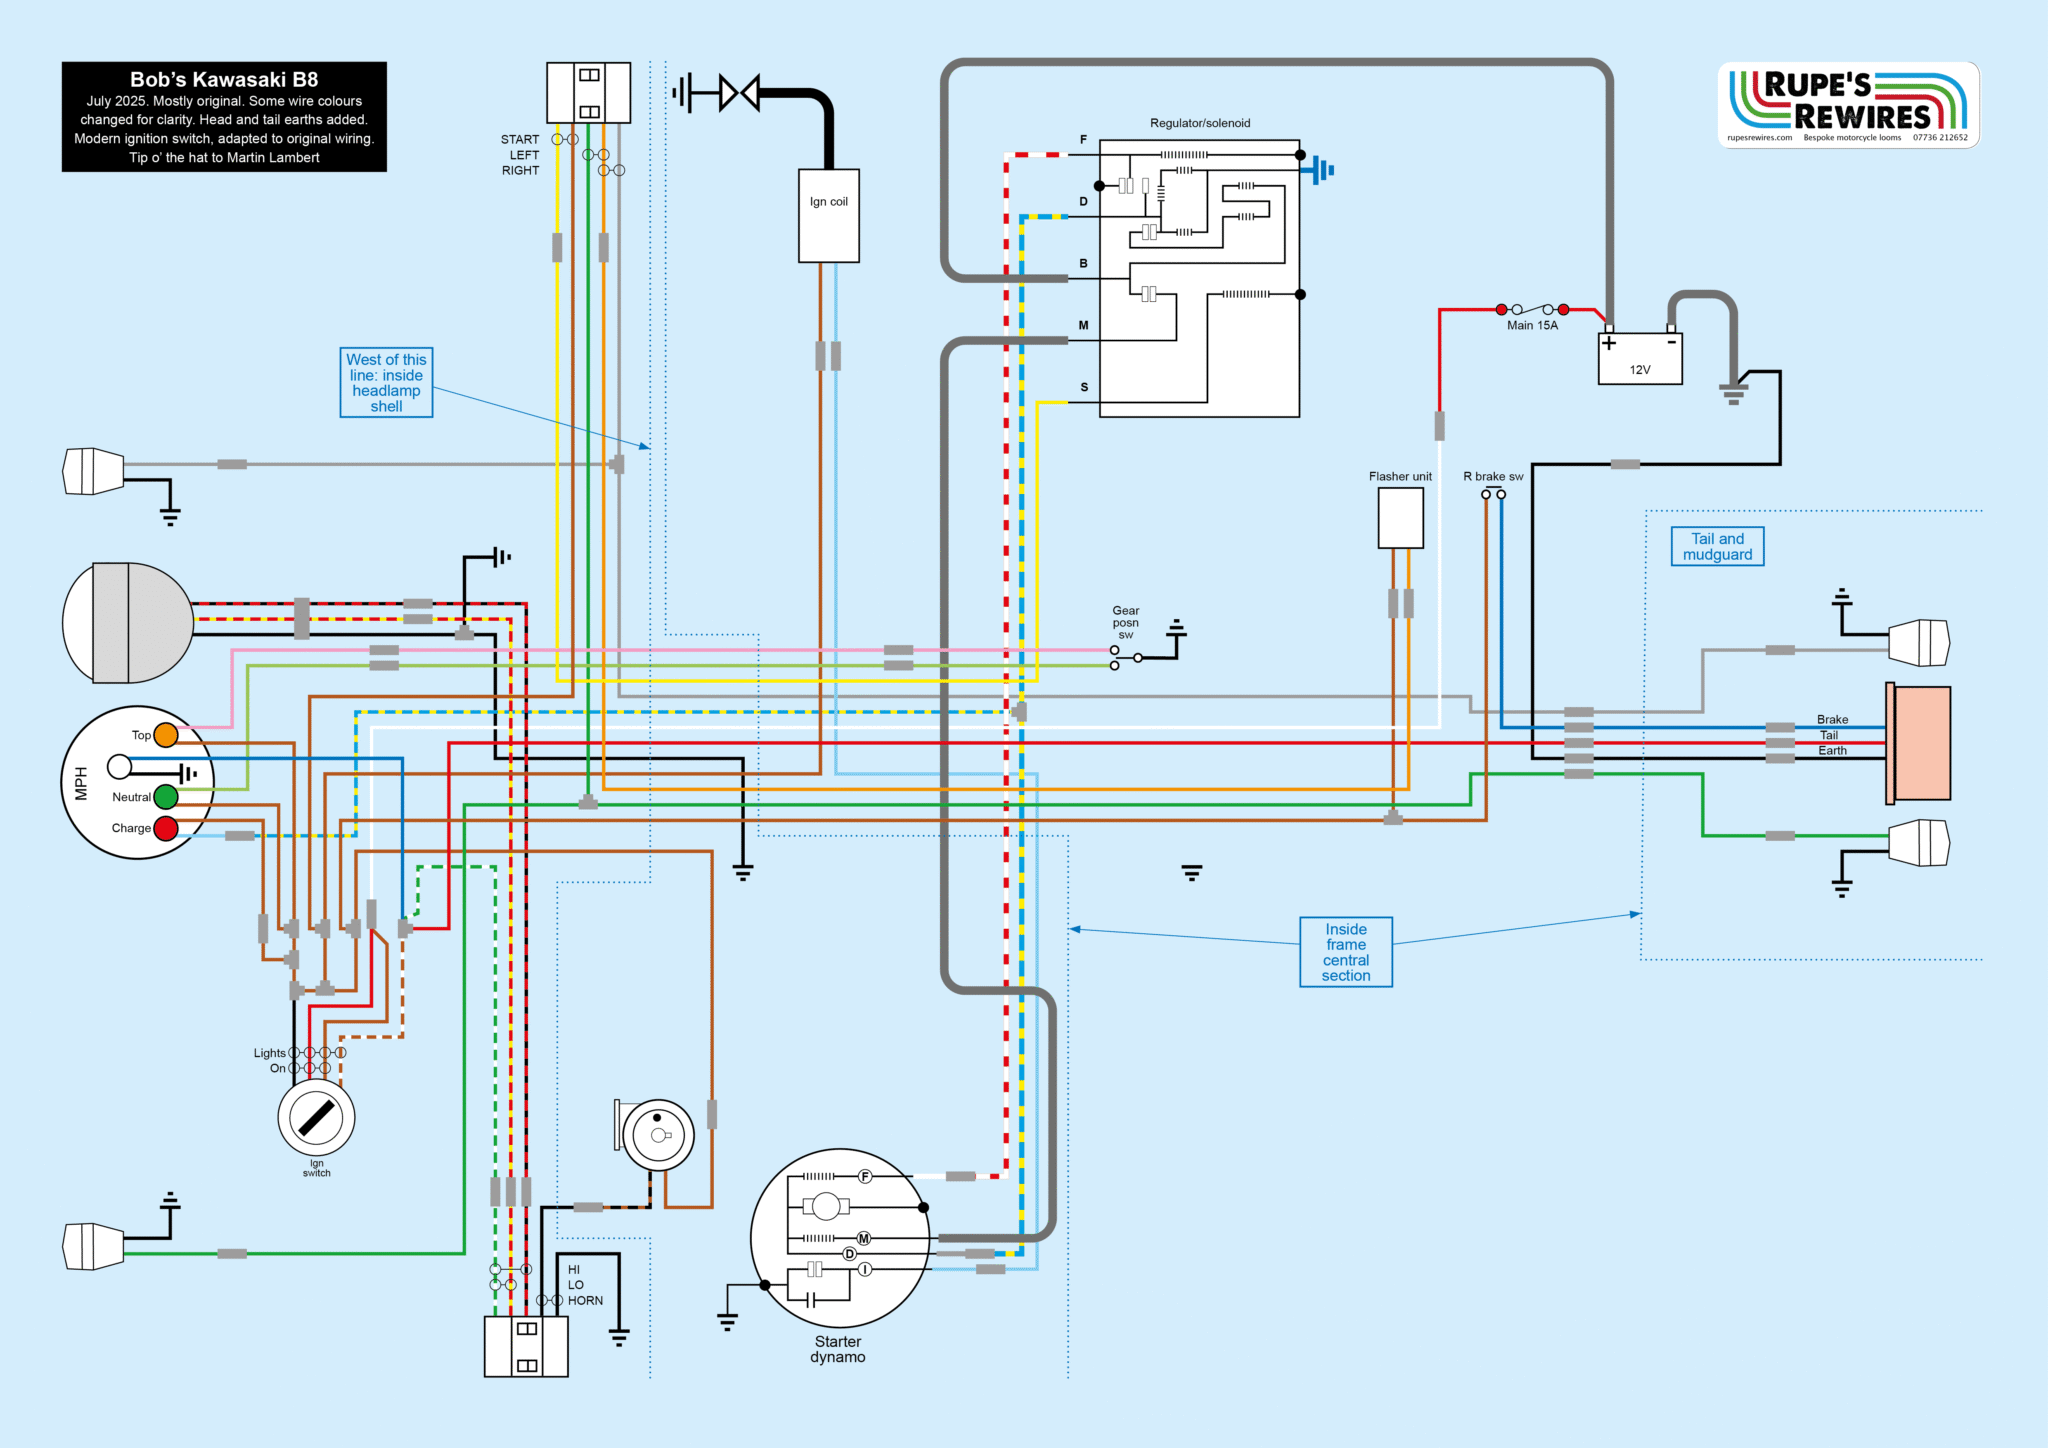
The device on the left is a starter dynamo, combining electrical starting with DC charging. The technology is limited to small capacity two strokes
Rewiring the tail light means fishing the rear wheel out
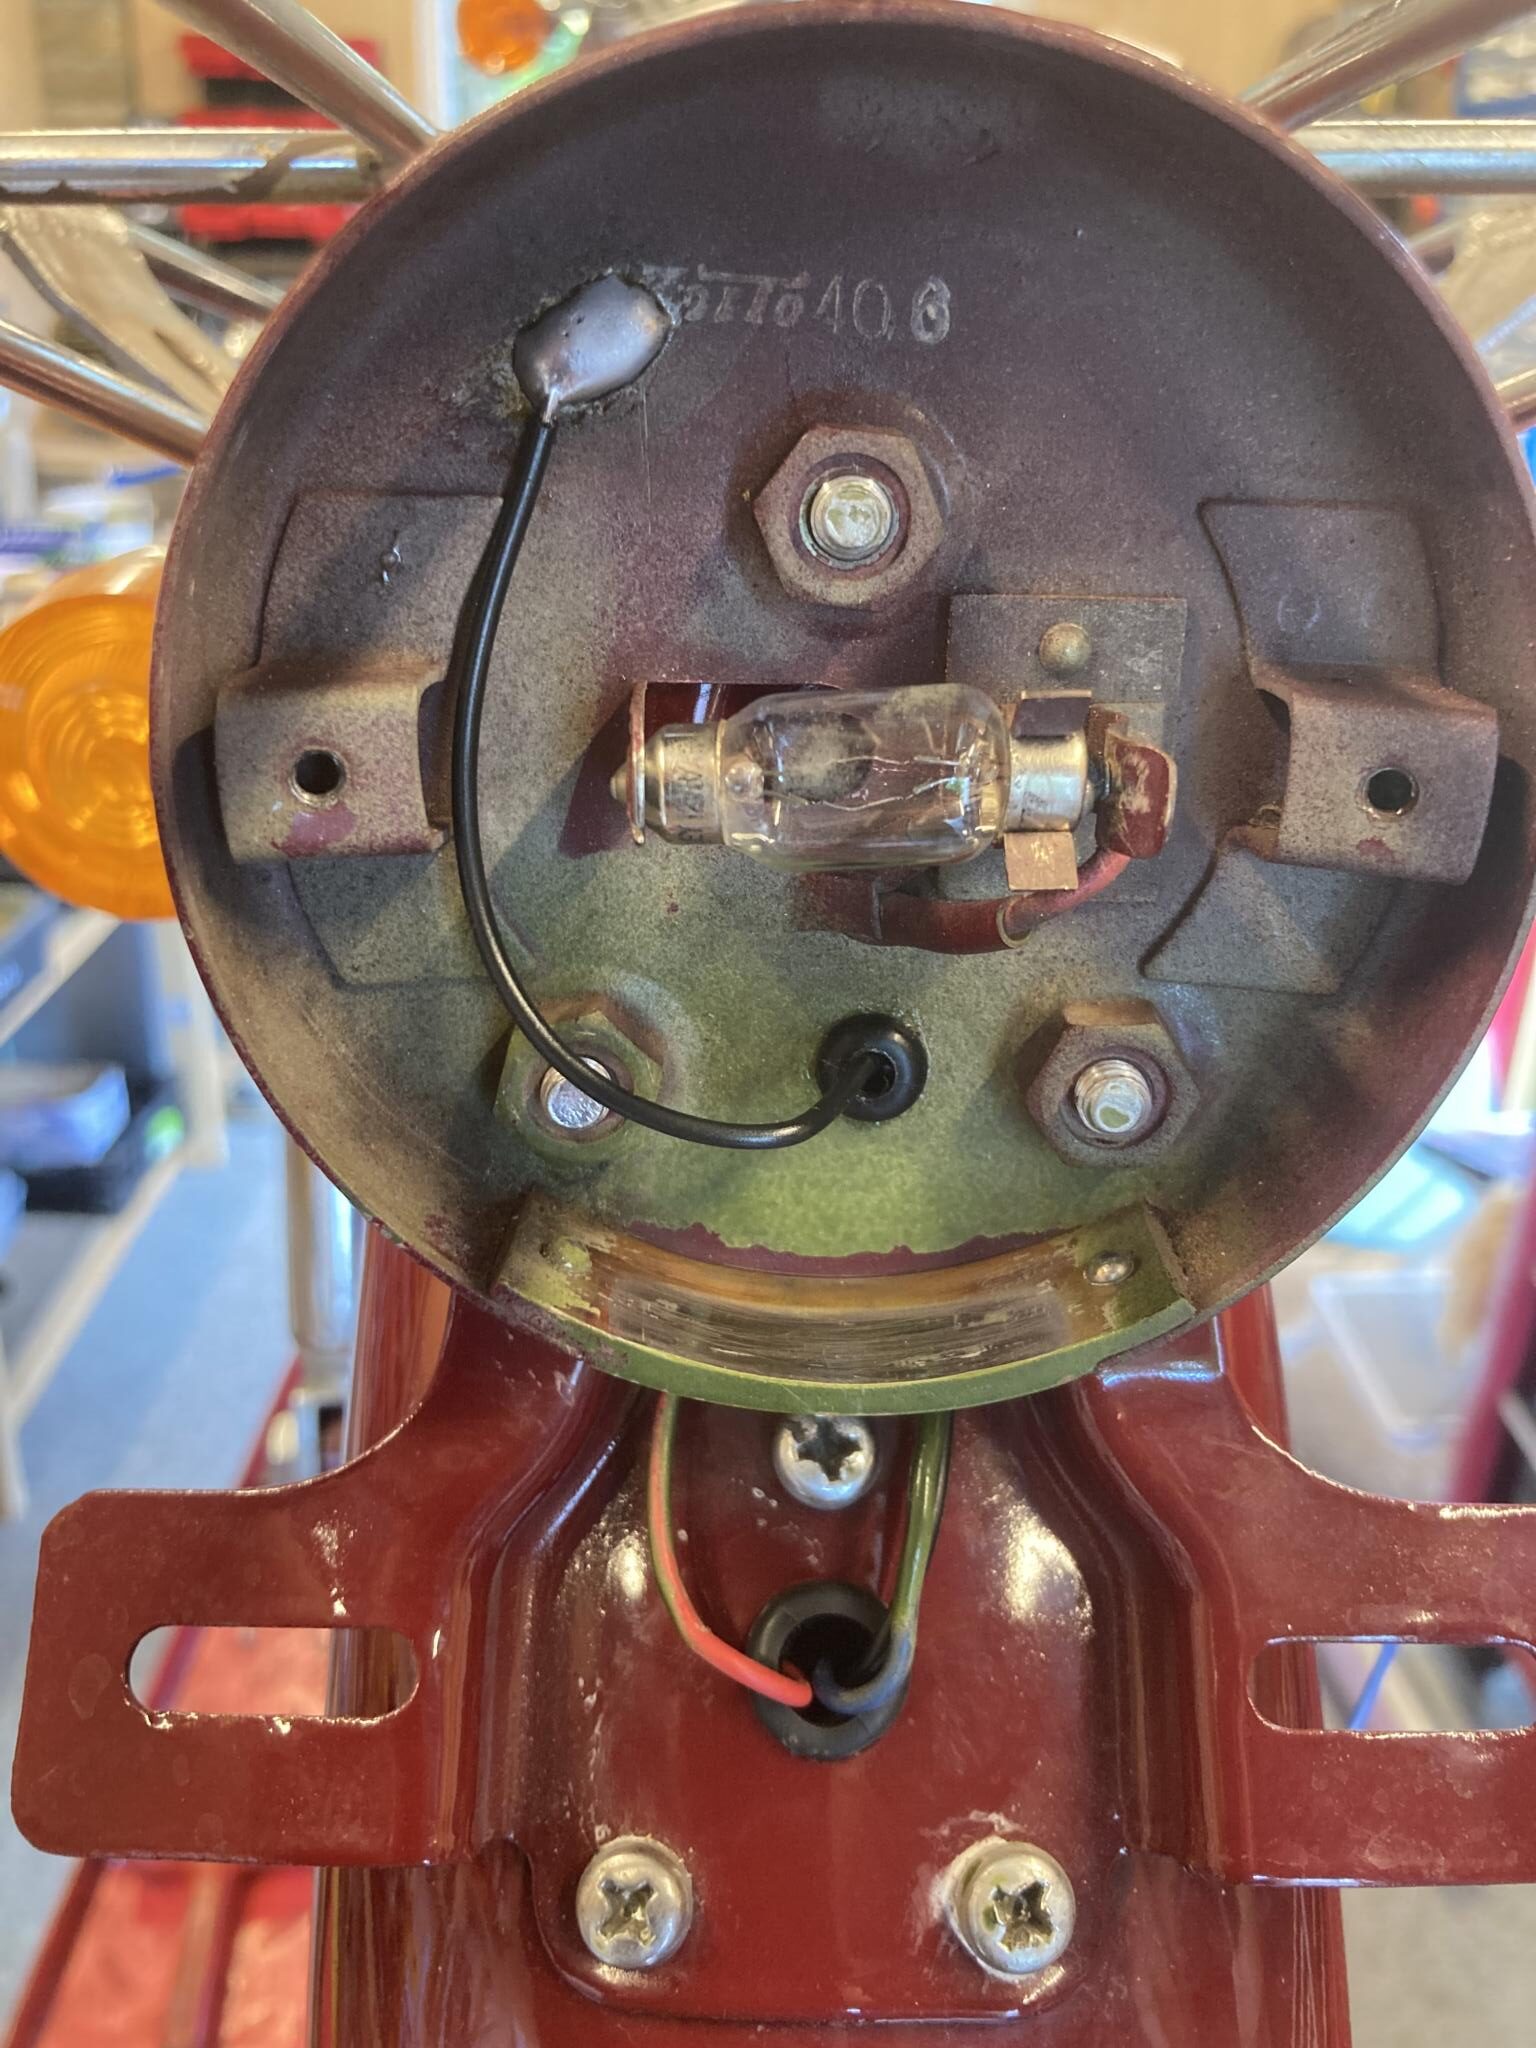
As soon as you repaint a tail light that earths via the frame, it is a good idea to add a bespoke earth cable. And grommet it
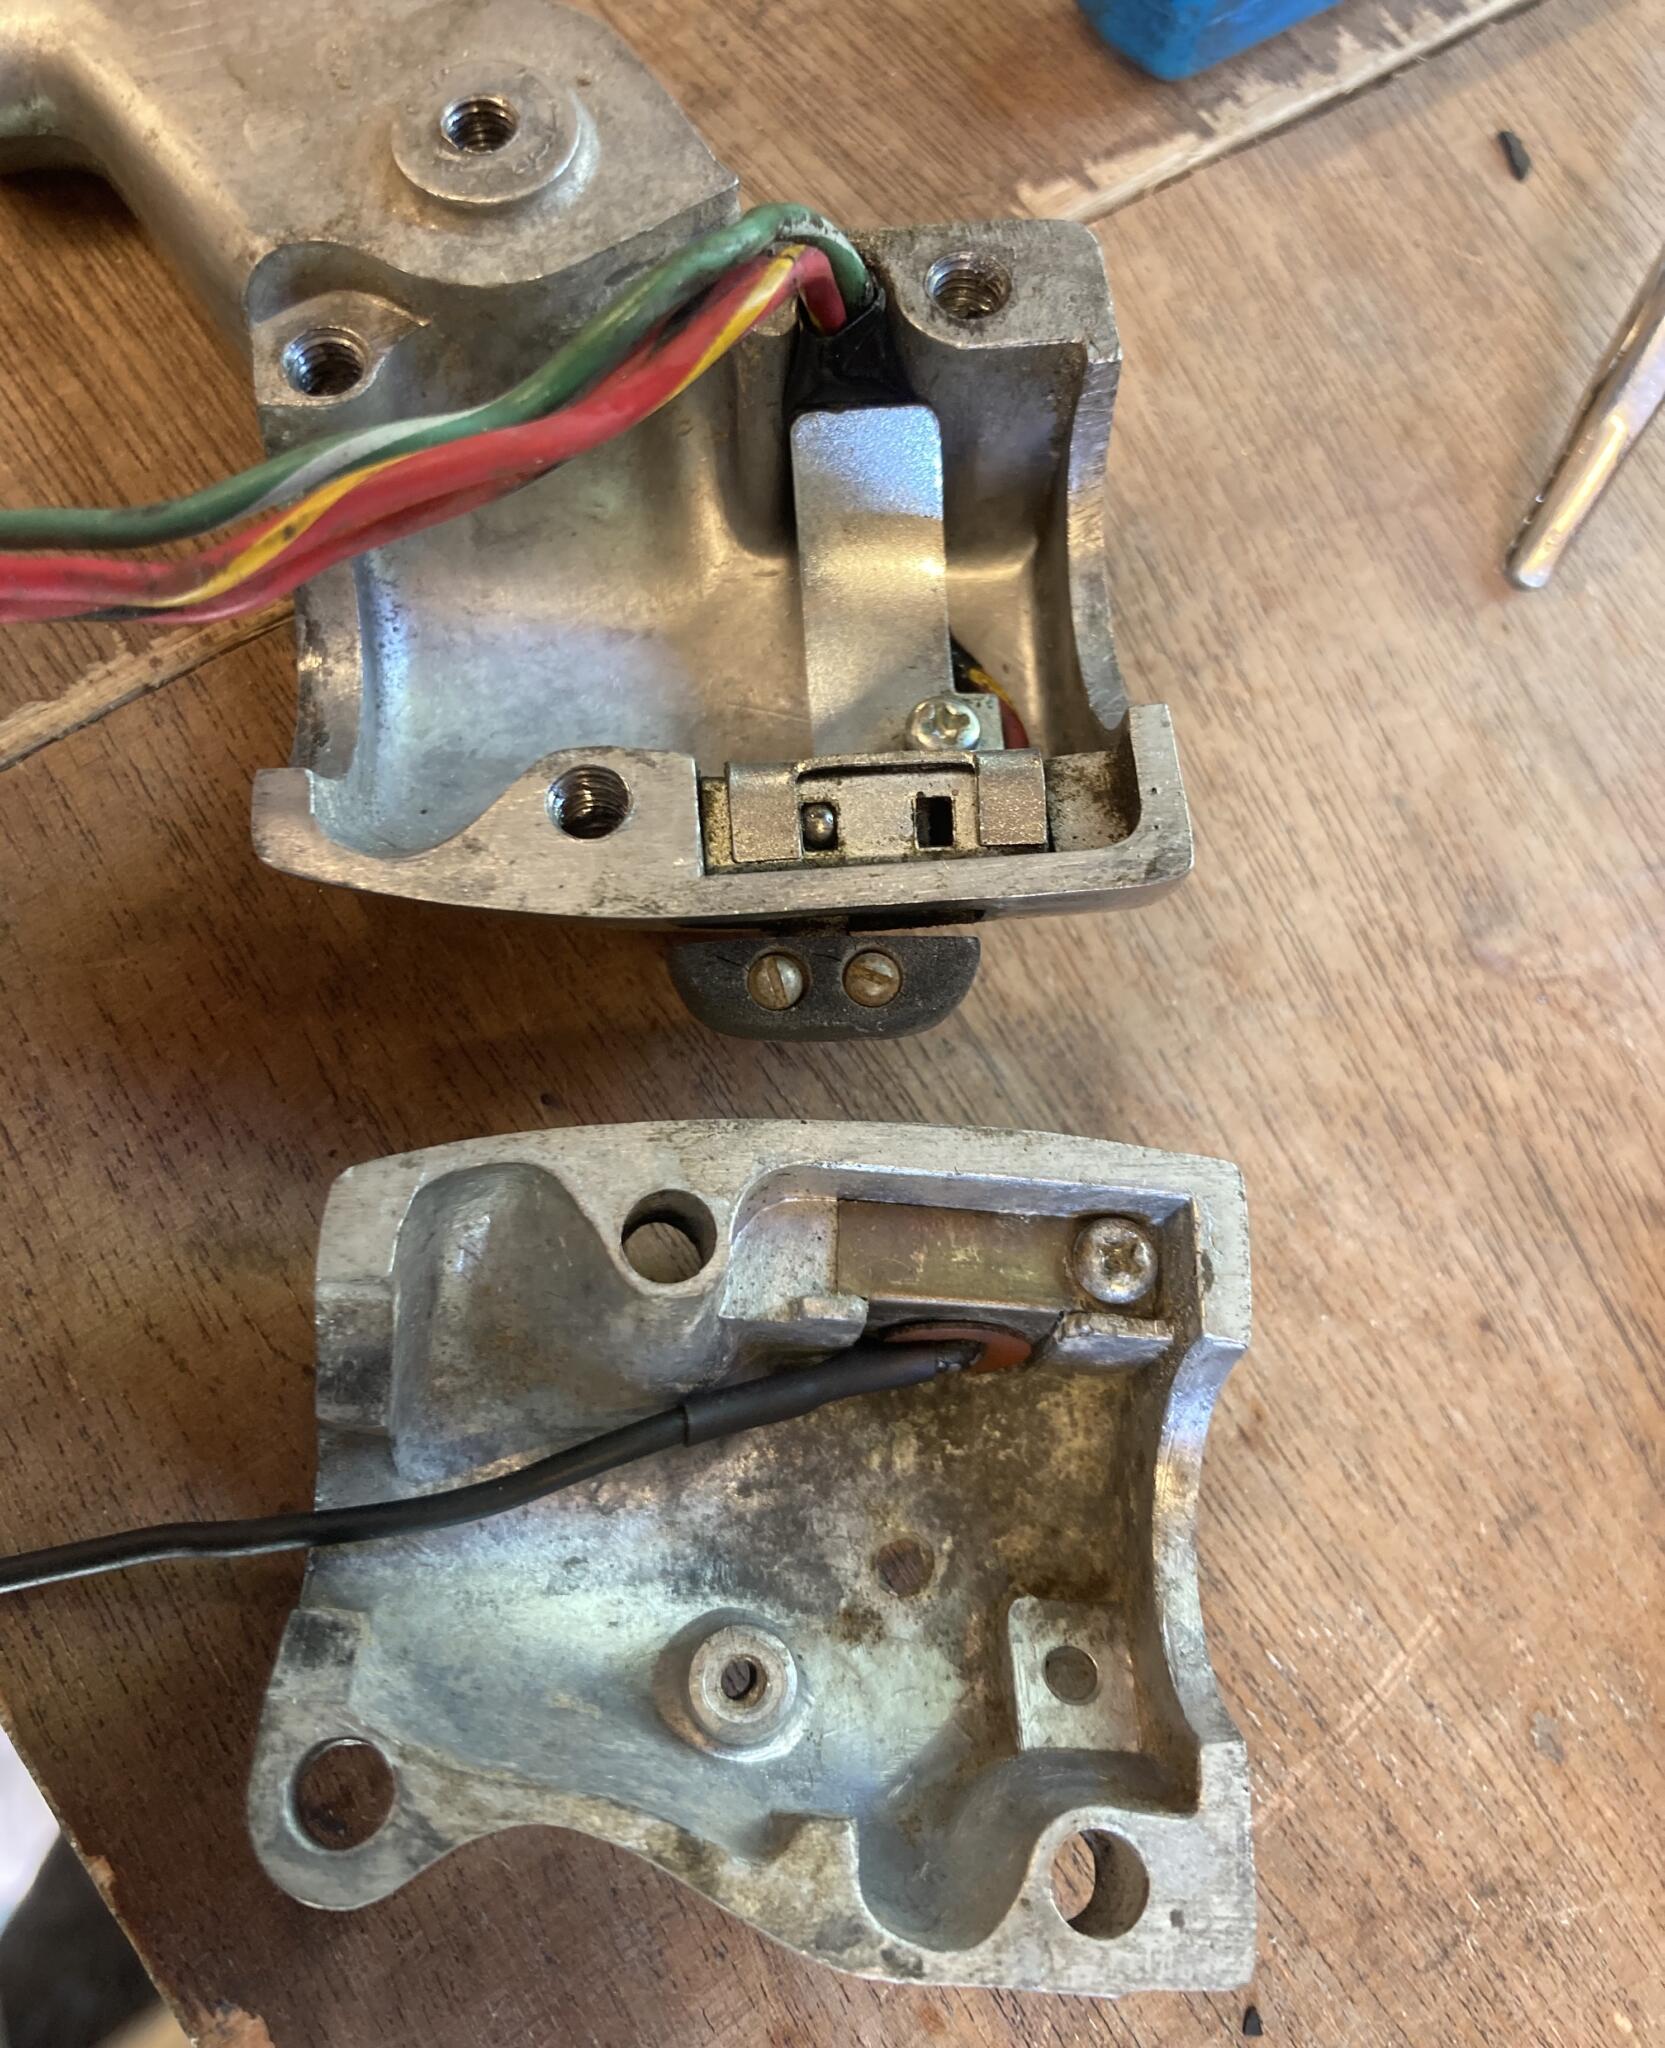
Inside the switchgear. Some wires were OK, others needed replacing
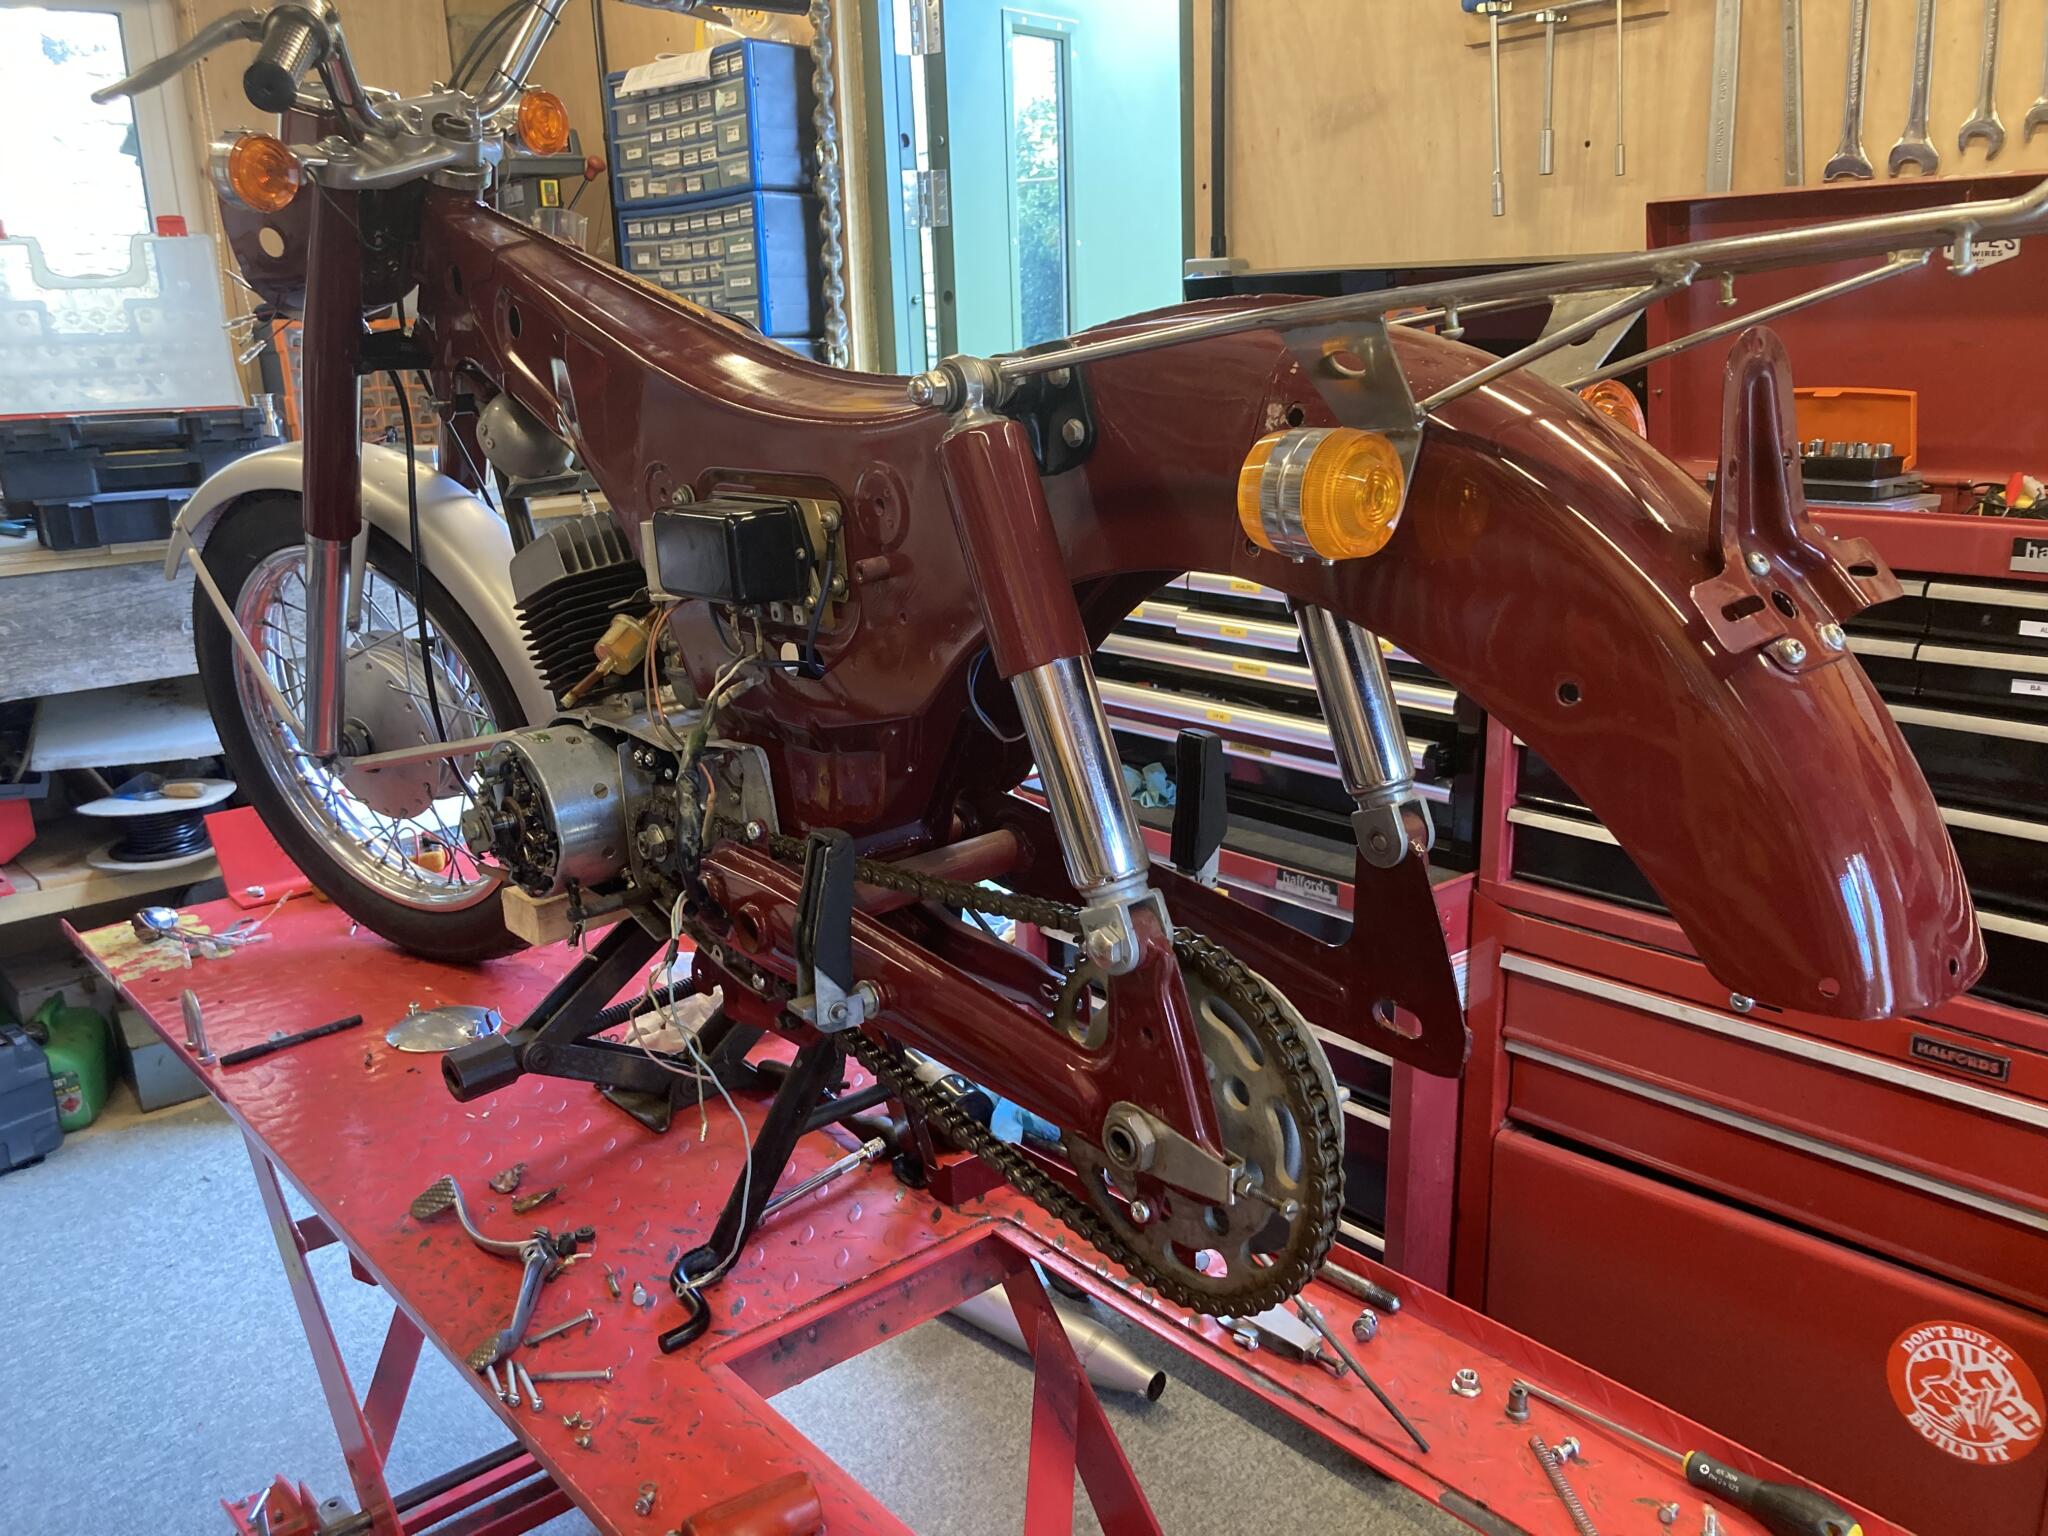
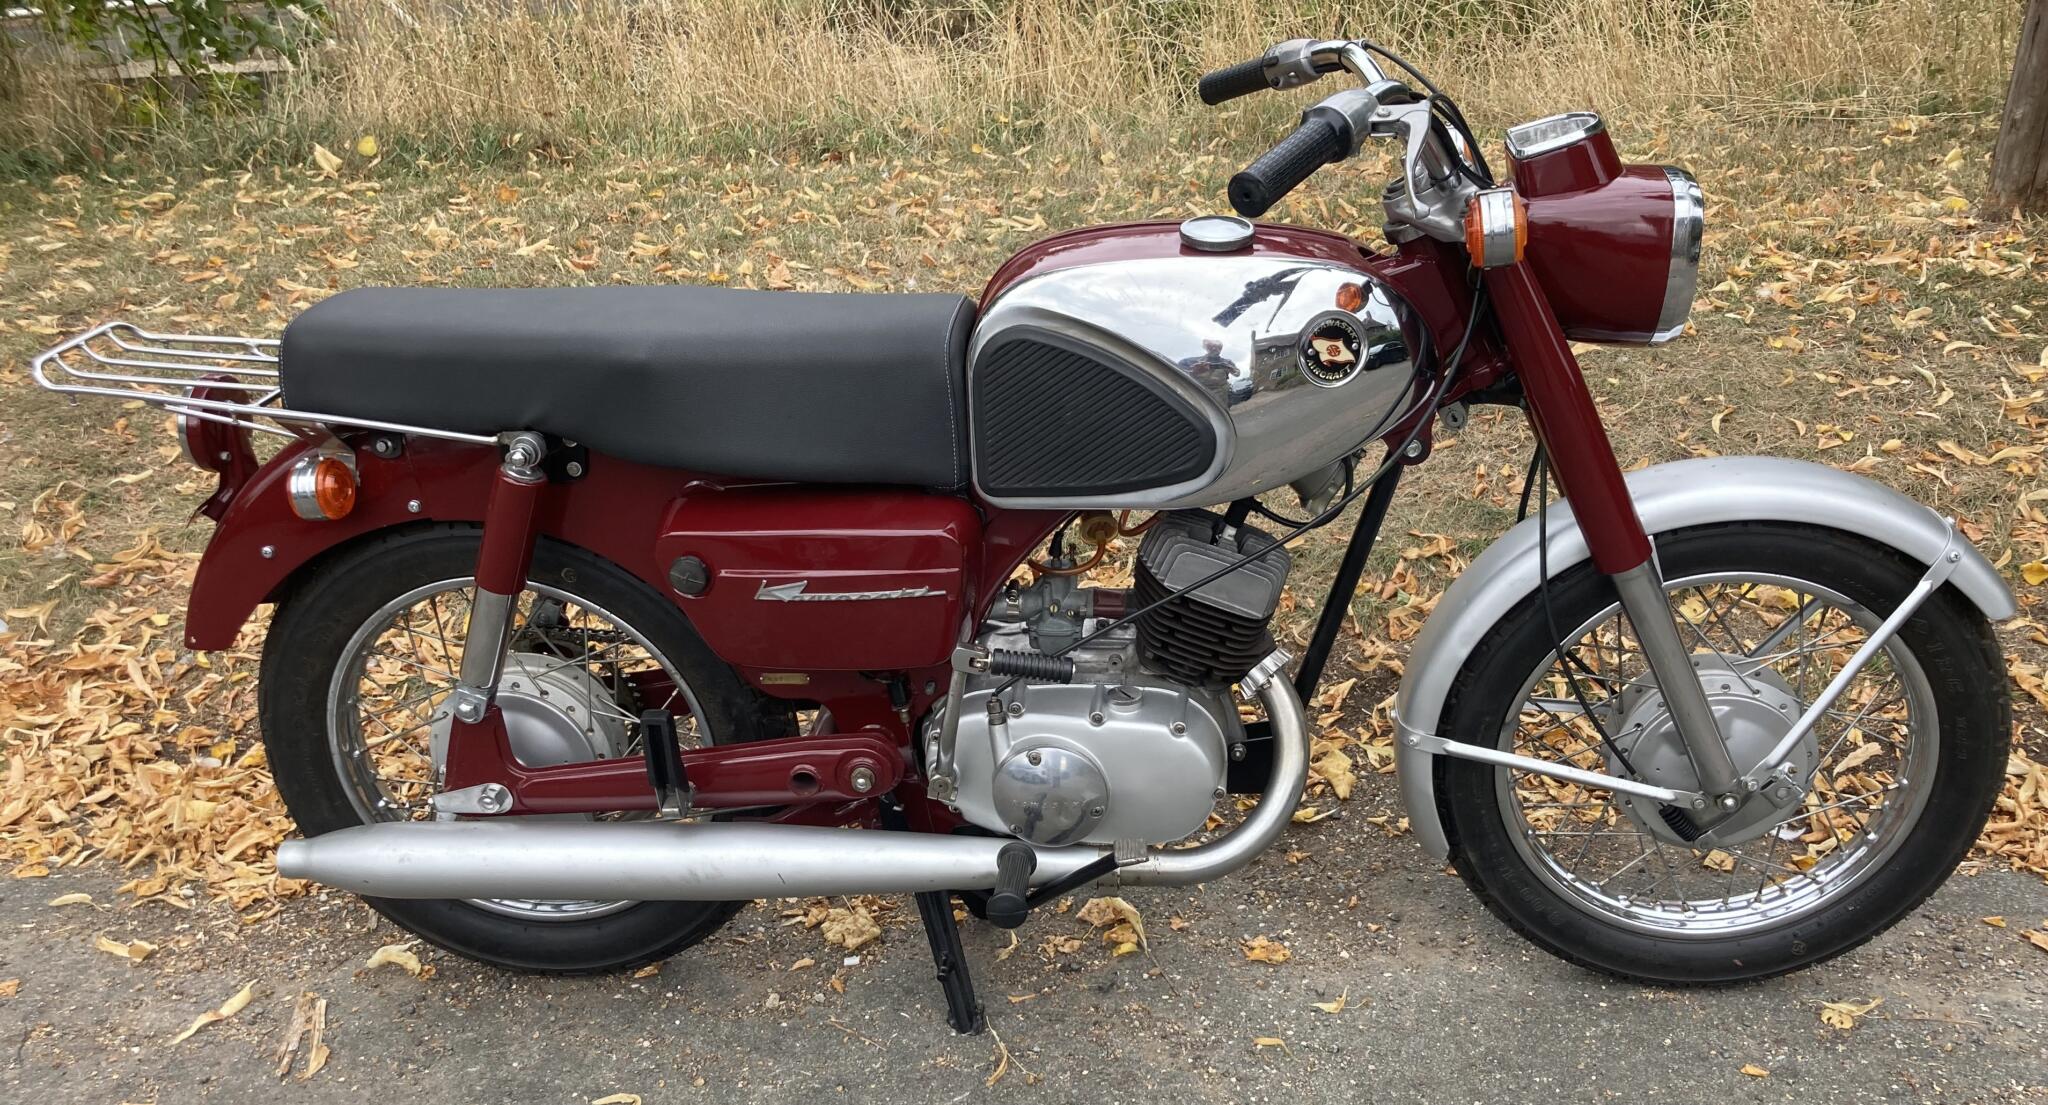
Bob’s Kawasaki Aircraft B8 125
Bob’s is a 1965 example, but Kawasaki Aircraft (as they were known back then) started making this motorcycle in 1962. It follows the same basic layout as early Hondas and Yamahas: monocoque frame, pressed steel swing arm, and mod cons of one sort or another. In this case, an electric start.
It’s actually a starter dynamo, more famous for being used on the Yamaha RD200. The design couldn’t manage much more power than turning over a small two-stroke, so it was eventually dropped.
Bob owns a bike shop with some really fabulous 70s and 80s bikes, and his workshop could easily have rewired the B8. But as the little Kawasaki was a bit of fun he didn’t have time to sort it out. It had been restored, but the electrics were causing a few issues.
This turned out to be an understatement. The restorer had trapped the main harness between the engine and frame, and there was extensive burning, alongside the usual frayed cables and bits of repair which you expect on an old bike.
I am grateful to Martin Lambert, who I knew when I was a bike journalist. Martin has worked for Kawasaki UK forever, and has contacts everywhere, including Japan. He found me a genuine wiring diagram in about 12 hours. This was vital, because early Japanese electrics are quite idiosyncratic, and kept changing. Without a diagram for a bike with an unusual charging system you are really guessing. And how would you know that a warning light with the letter T next to it means top gear?
As usual with an old bike, the prep stage took about five times as long as actually building the loom. You have to crawl through the whole thing from front to back, repairing or reviving each component in turn, before you can start the main job. There is no short cut.
The bike came with no key, so I tried getting one cut for the original ignition switch, and built the loom to fit it. When the switch arrived back from the key cutter and fell to bits, I bought a modern switch and adapted the connections to suit. That’s why they look a bit complicated on the diagram. Apart from losing the Park function, it works just the same.
What a fascinating little thing. You can see it at Bob’s Newark shop MIS UK Ltd. His website is worth a look.
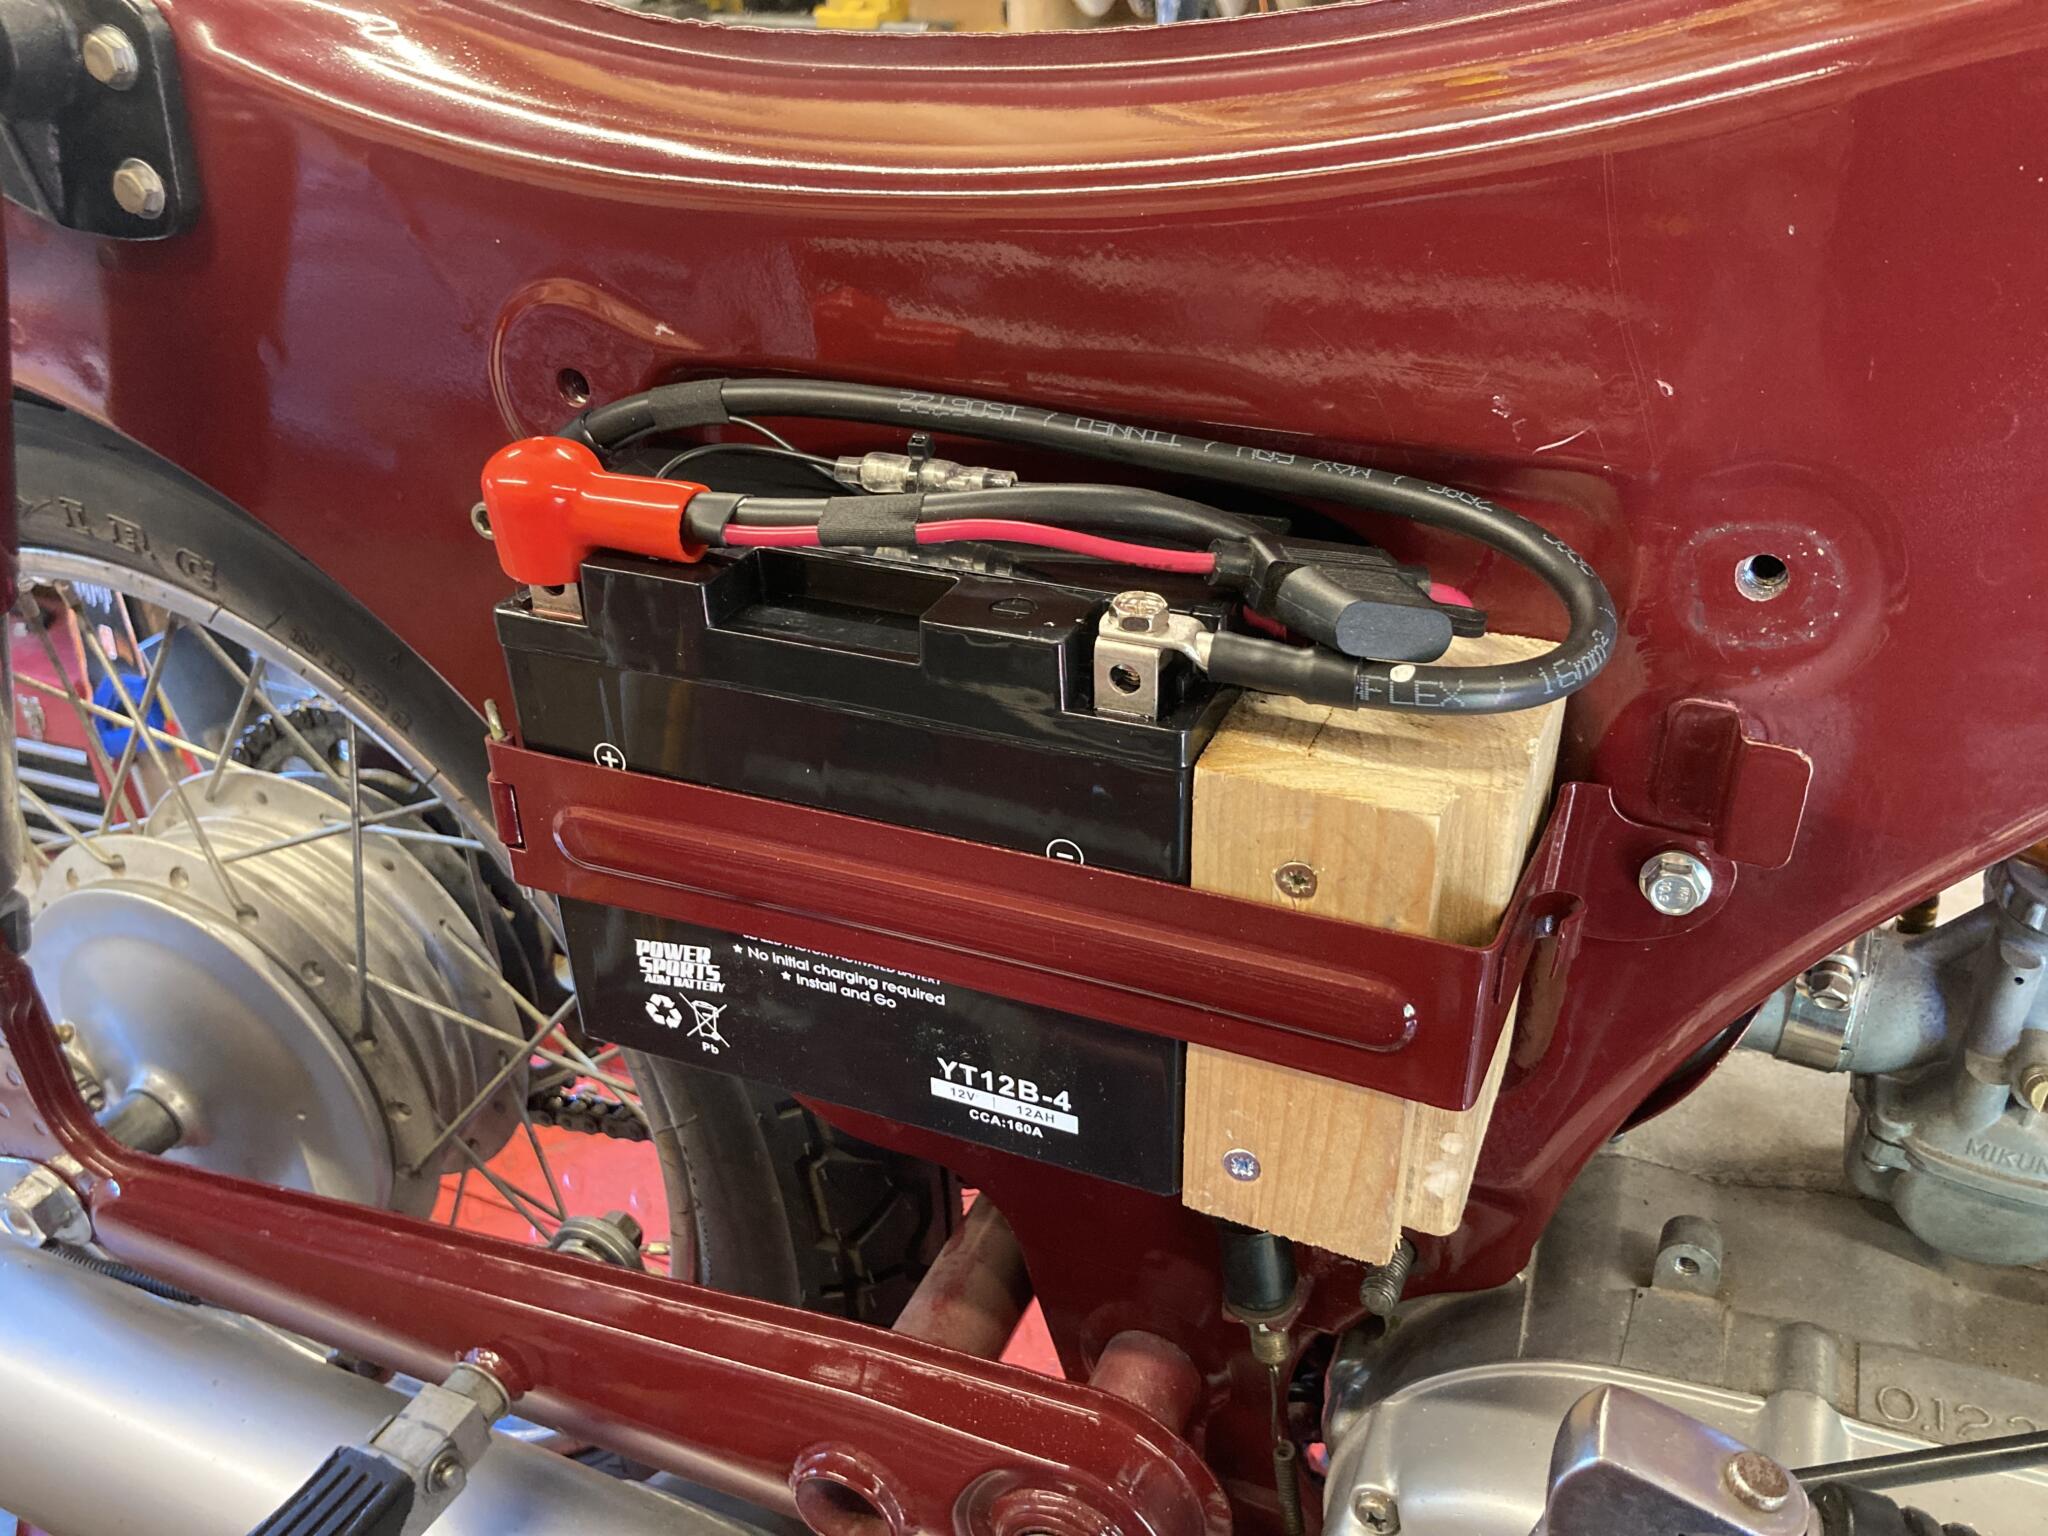
Modern batteries are different sizes, so I made up this wooden packer
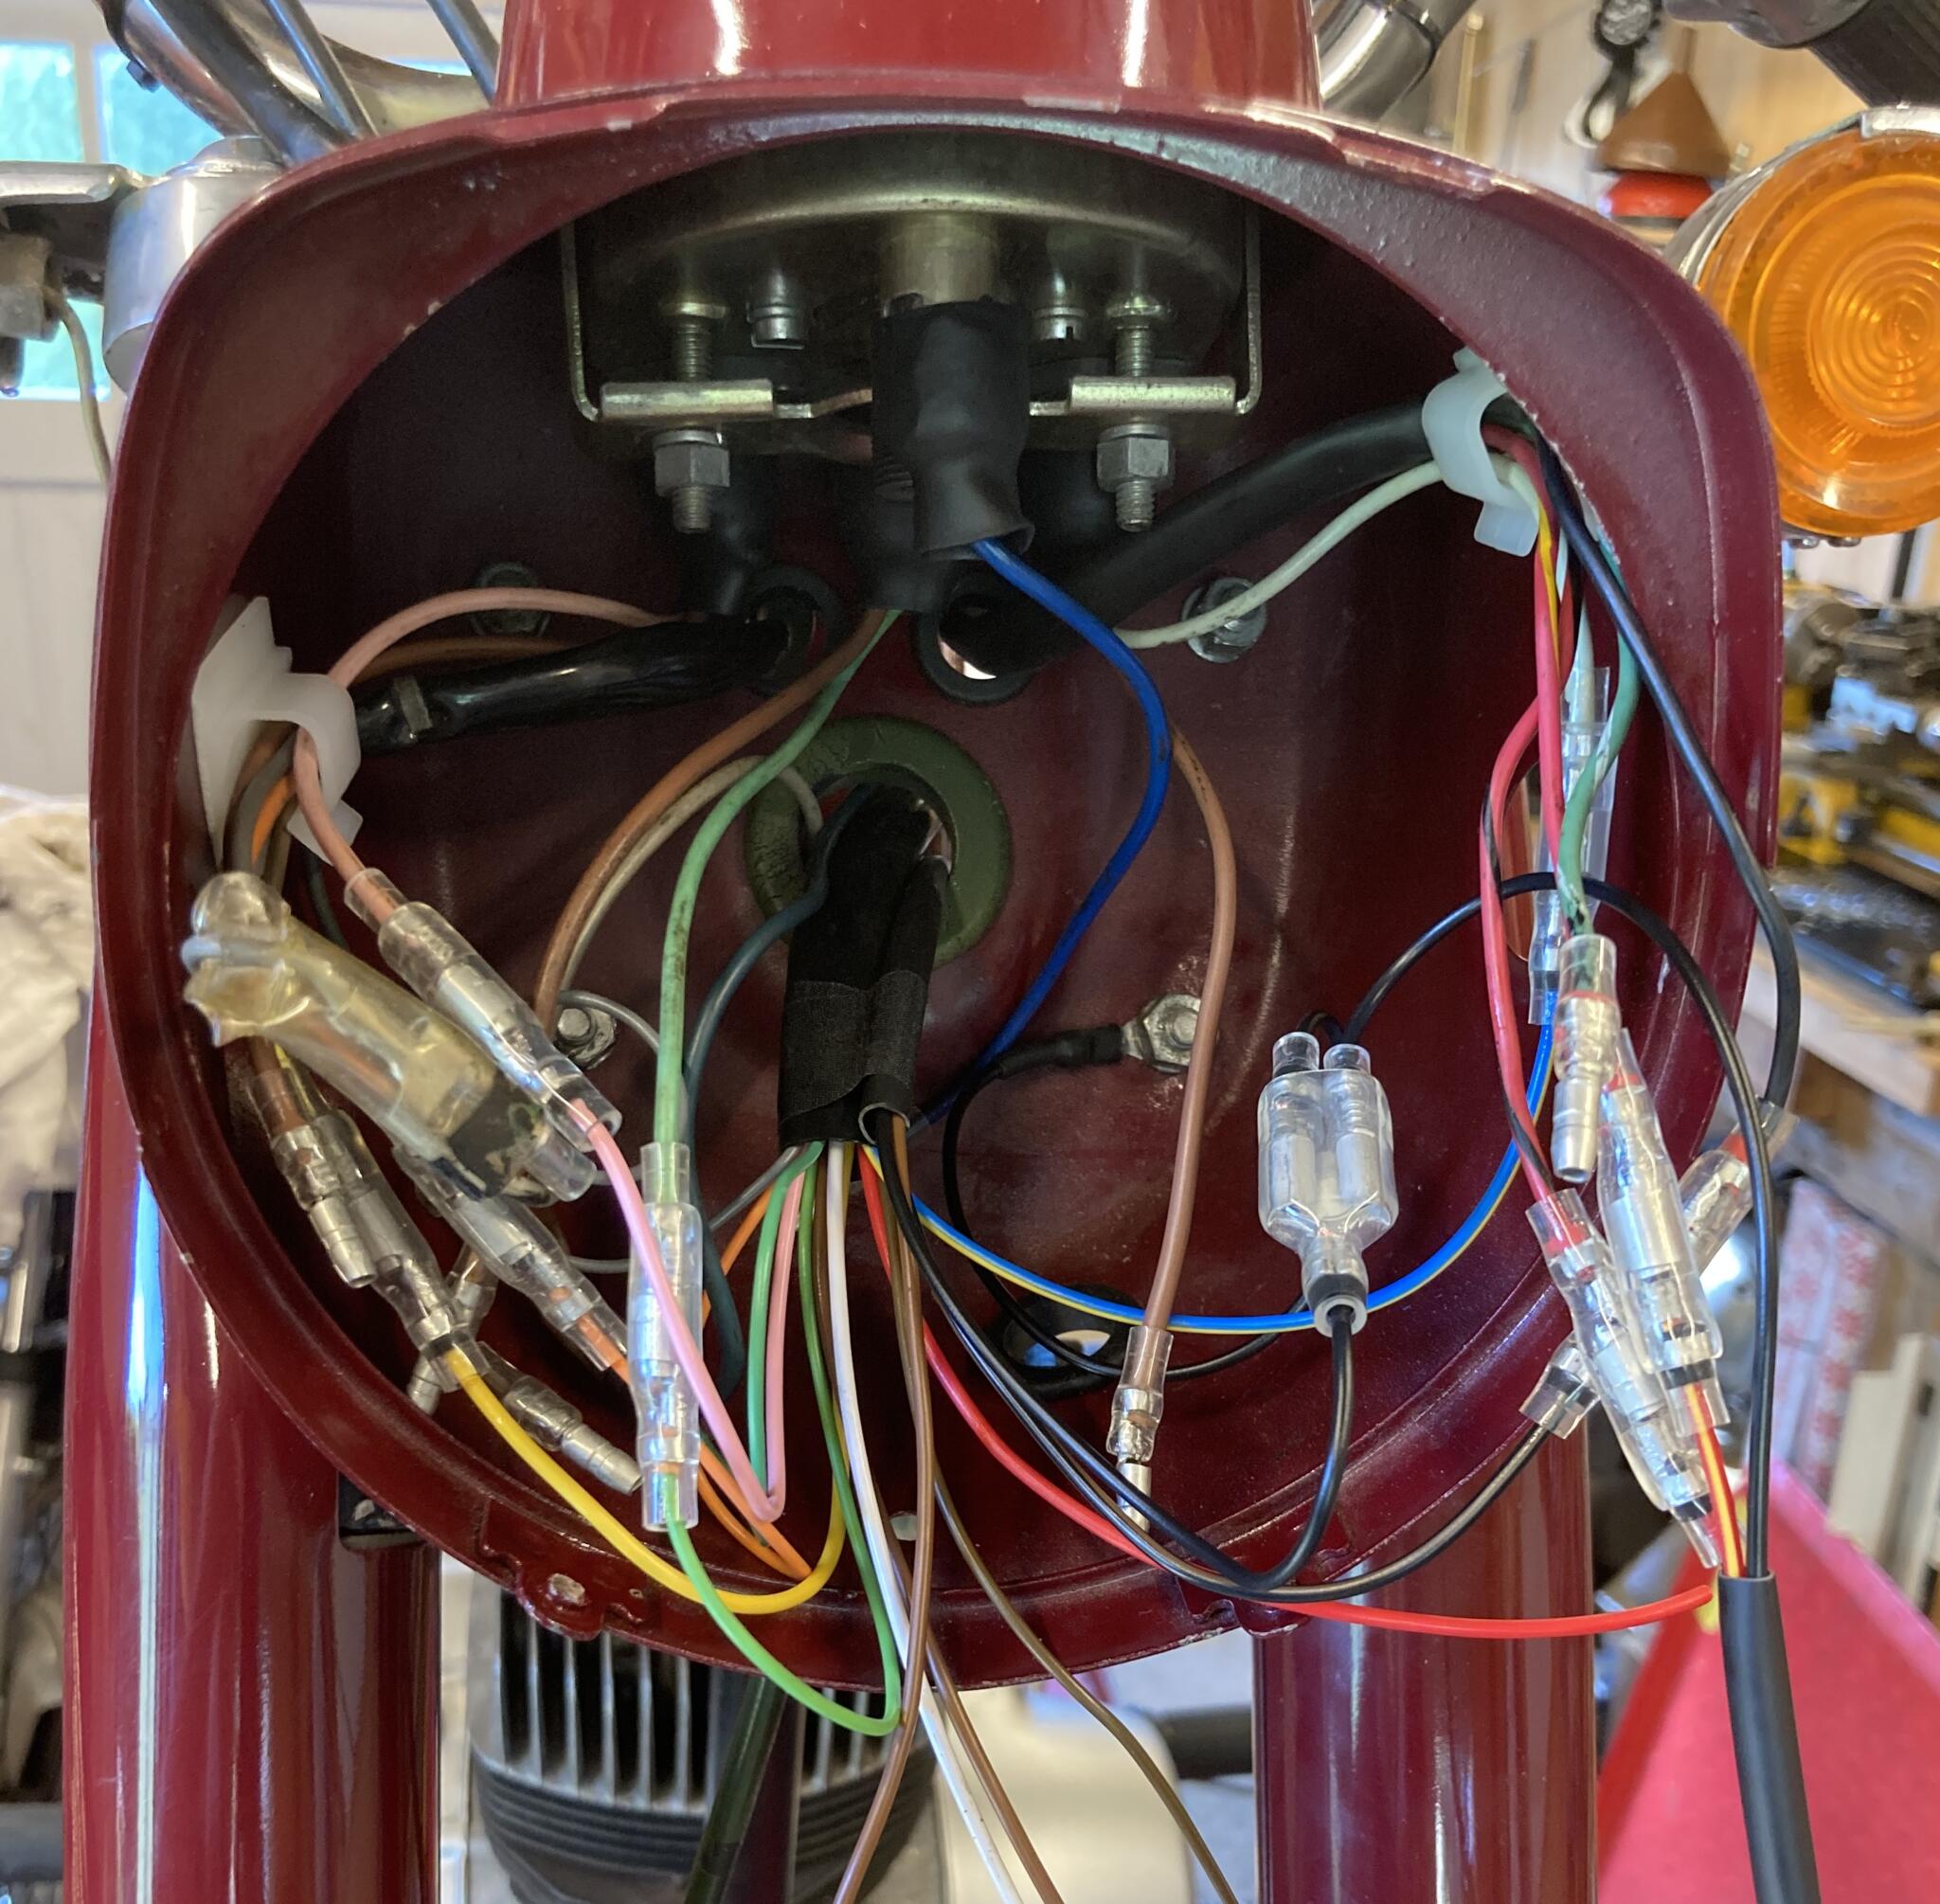
As per all early Japanese bikes, the headlight has almost all the front end connections inside
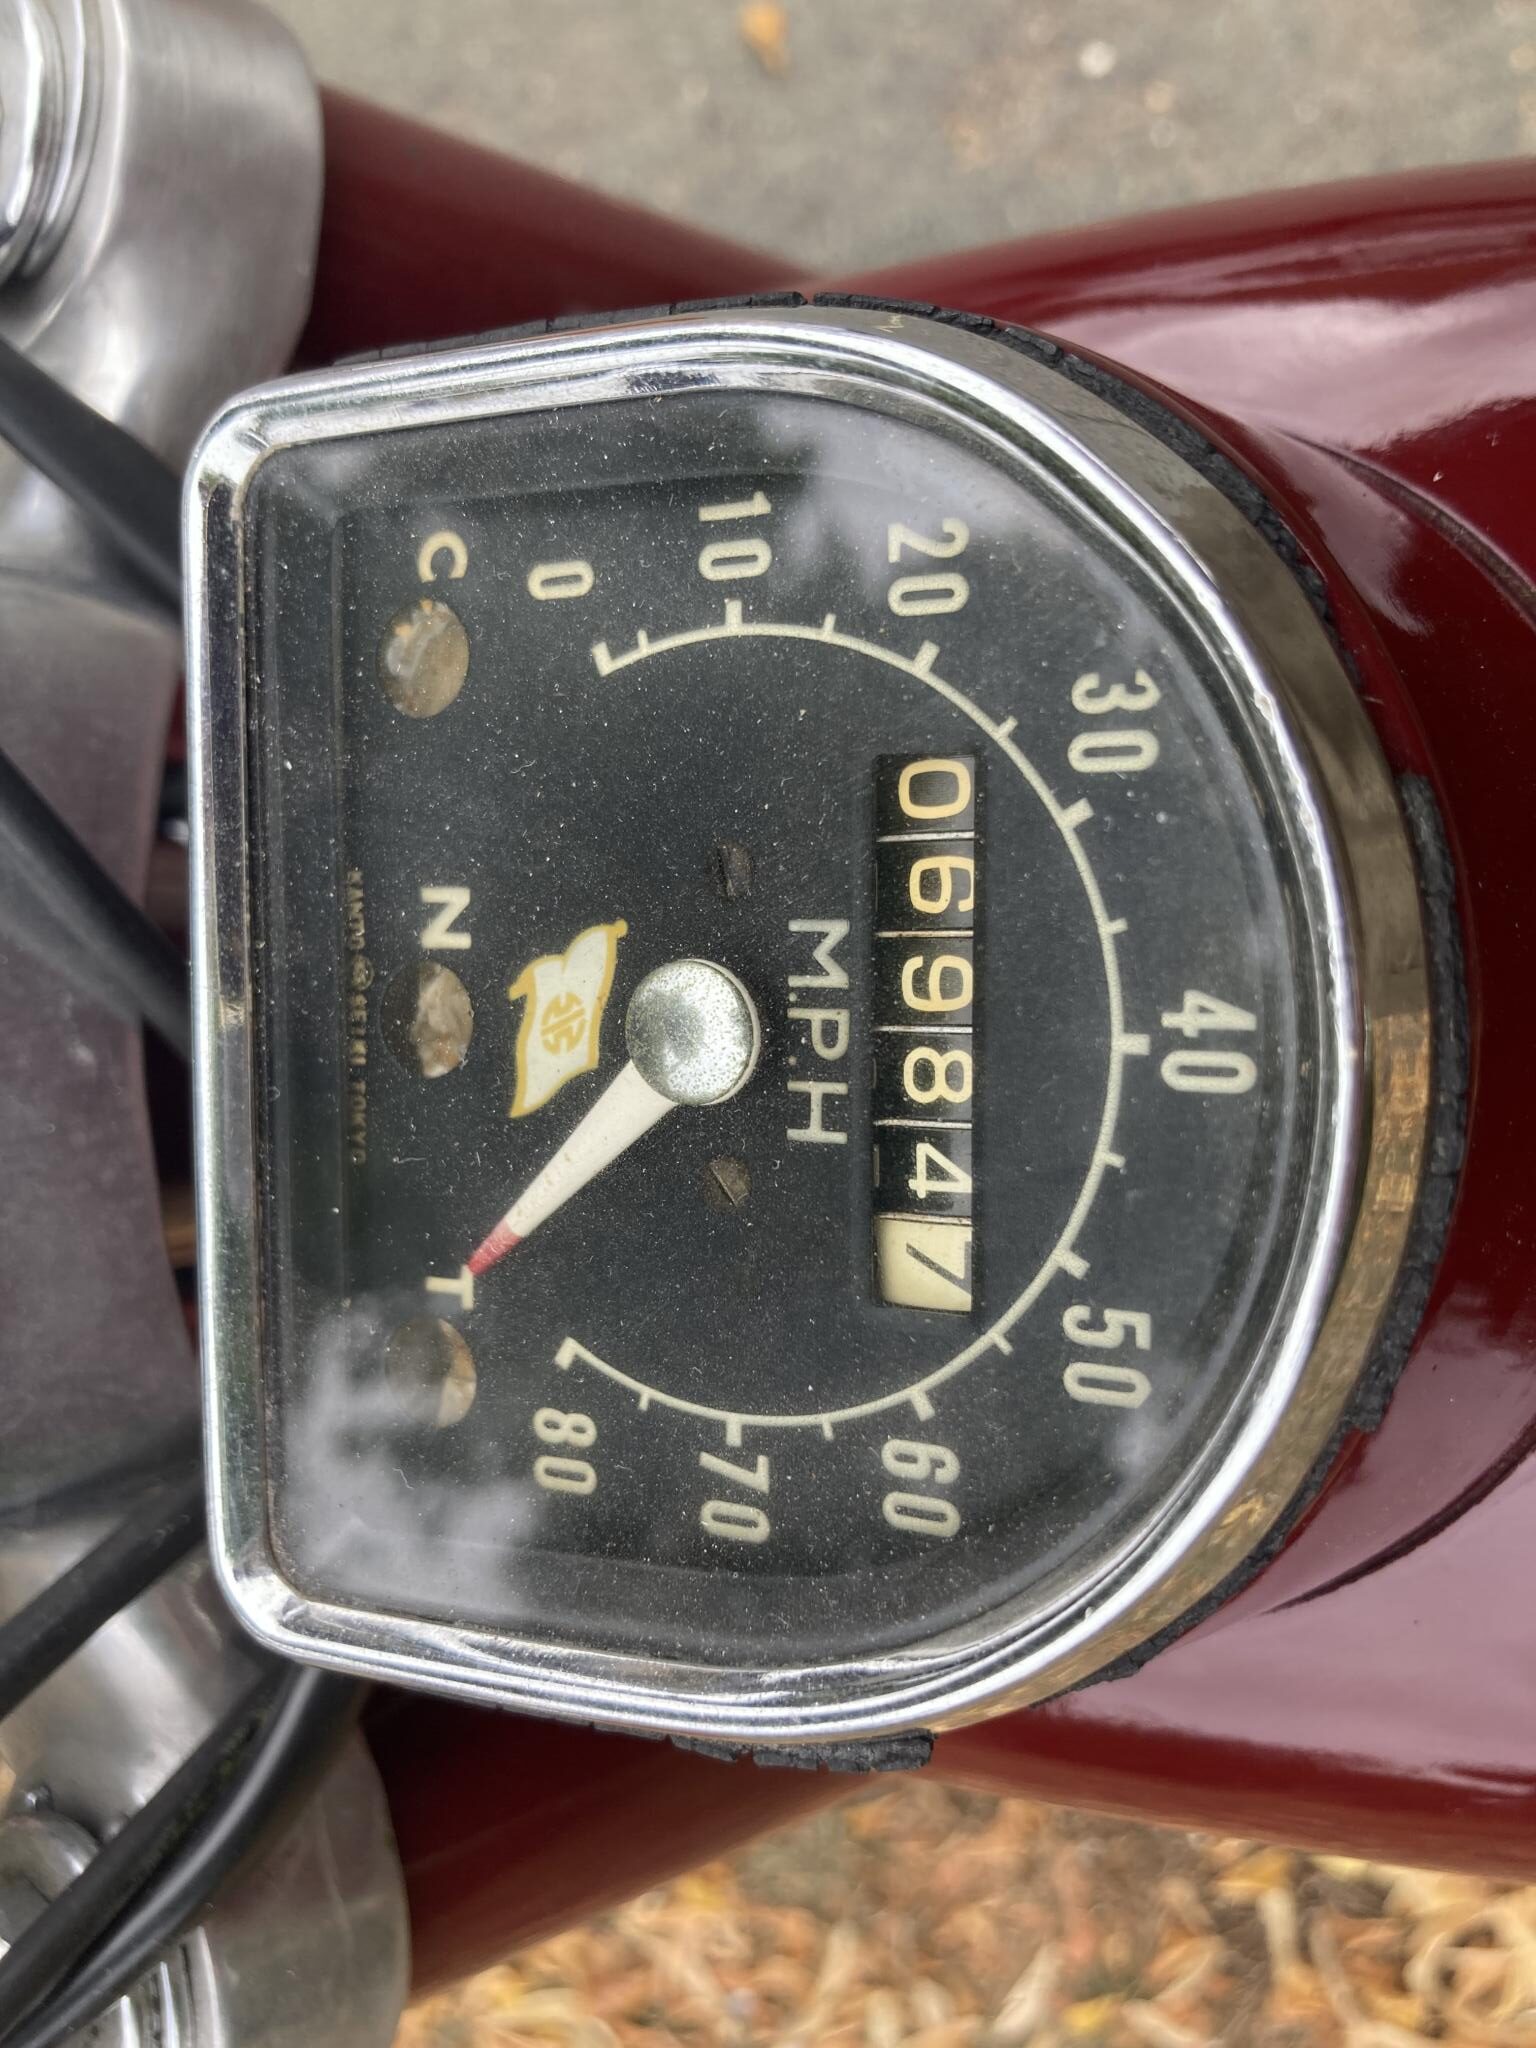
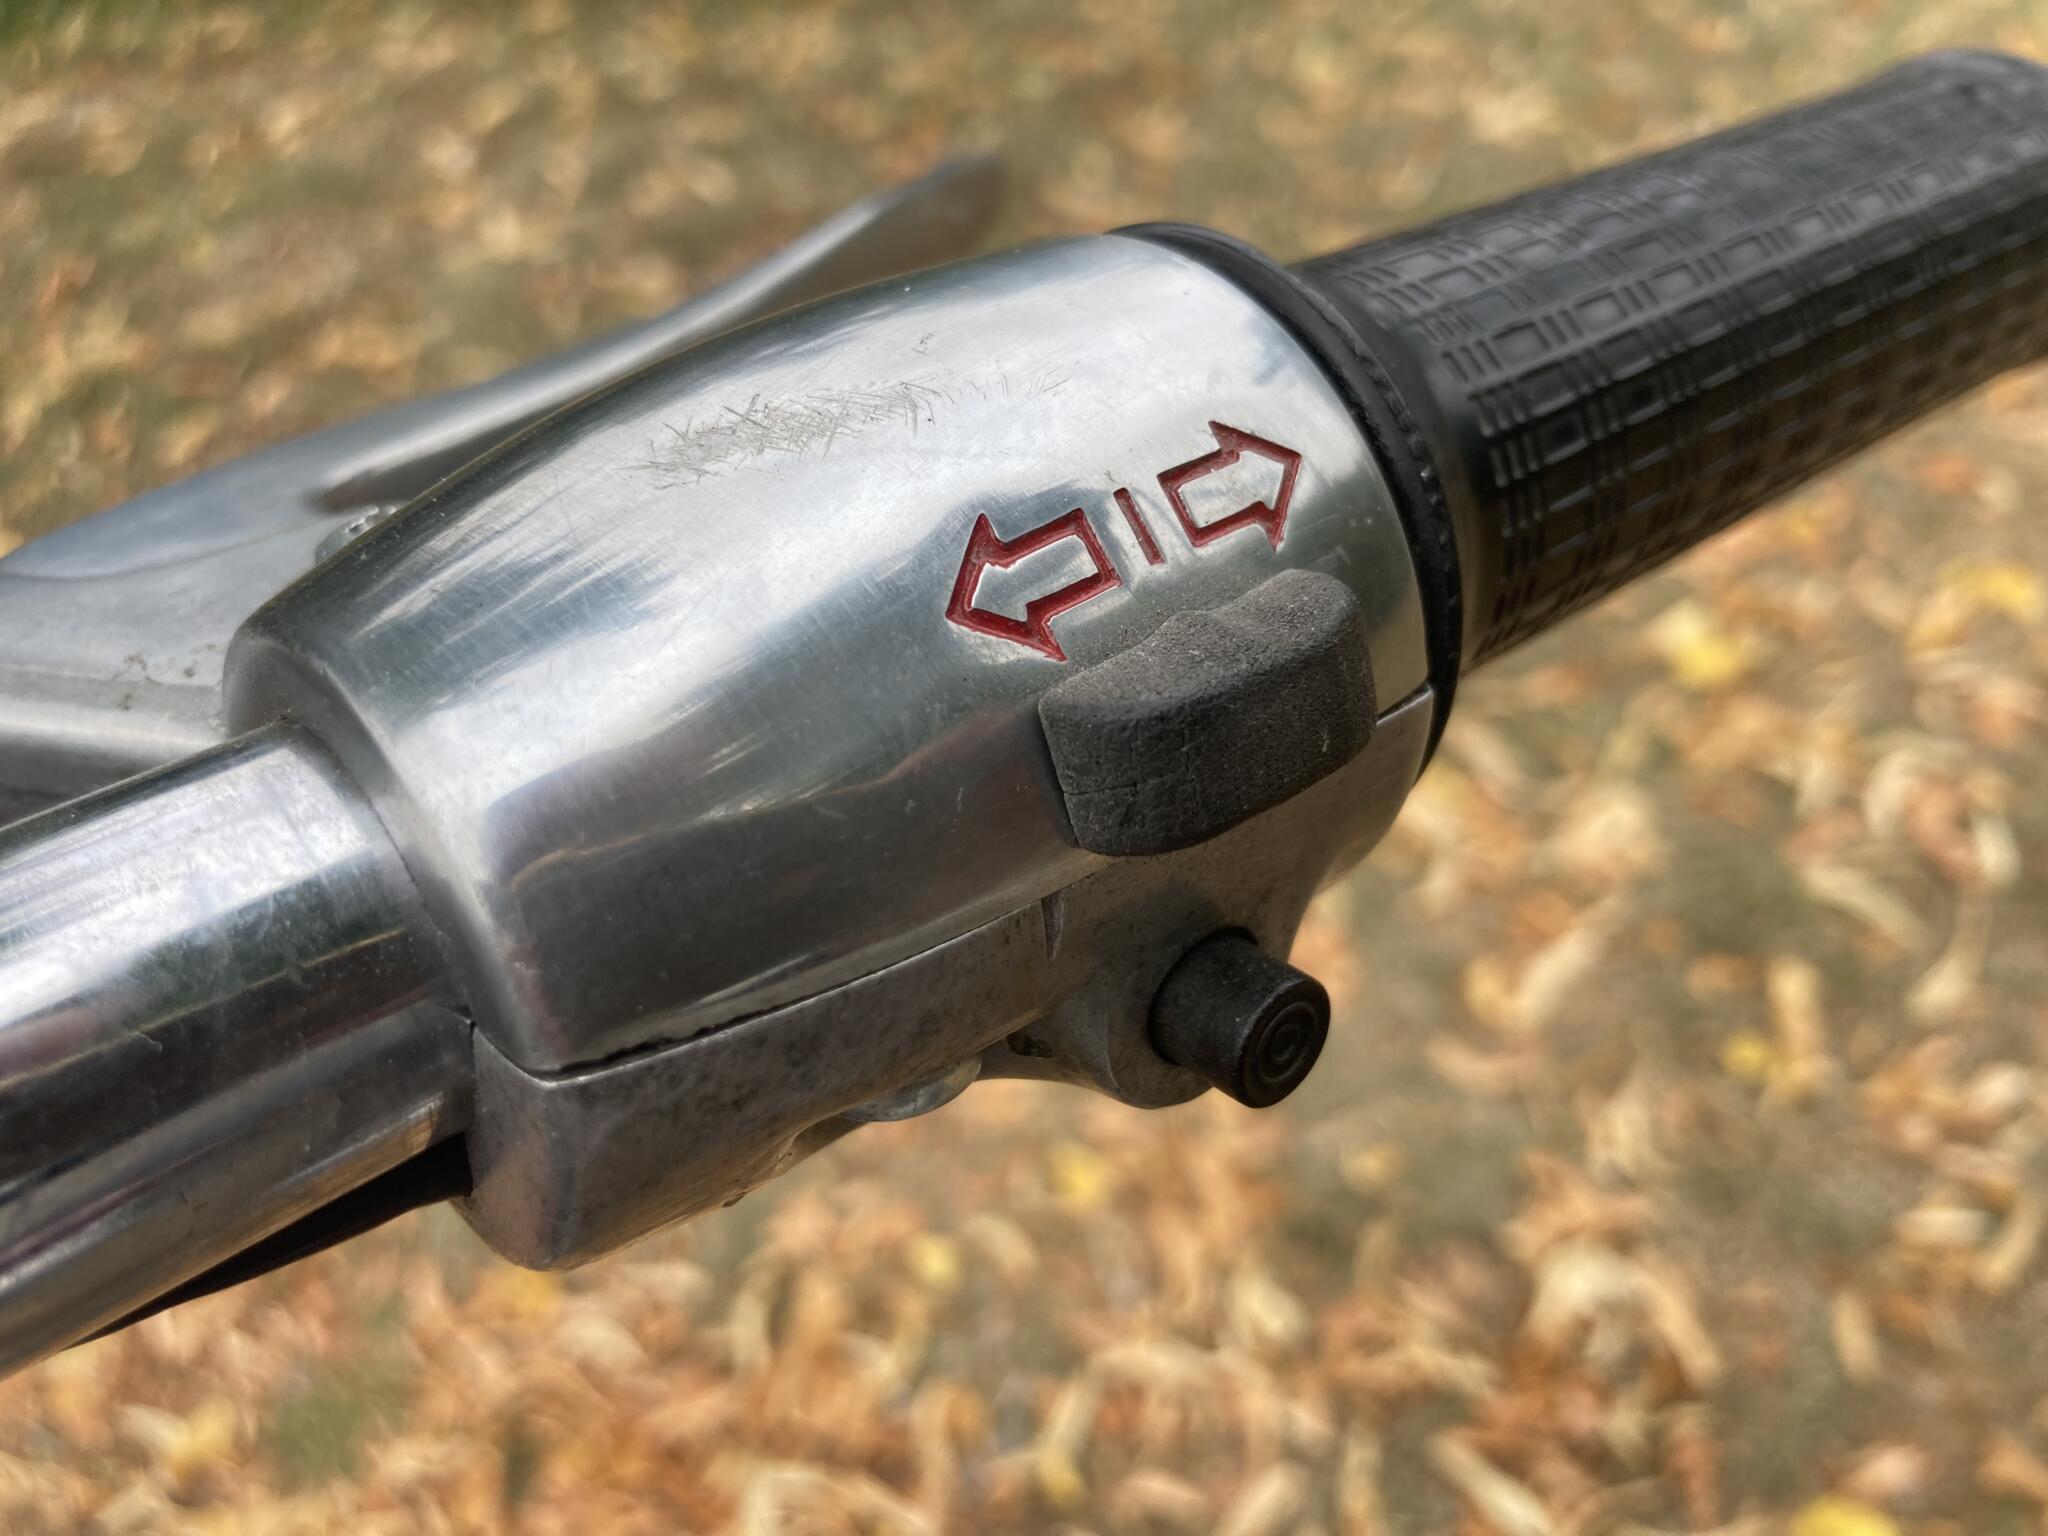
C is charge, N is neutral and T is top gear (which is fourth)
Stylish
The finished thing. The dynamo starter still works!
