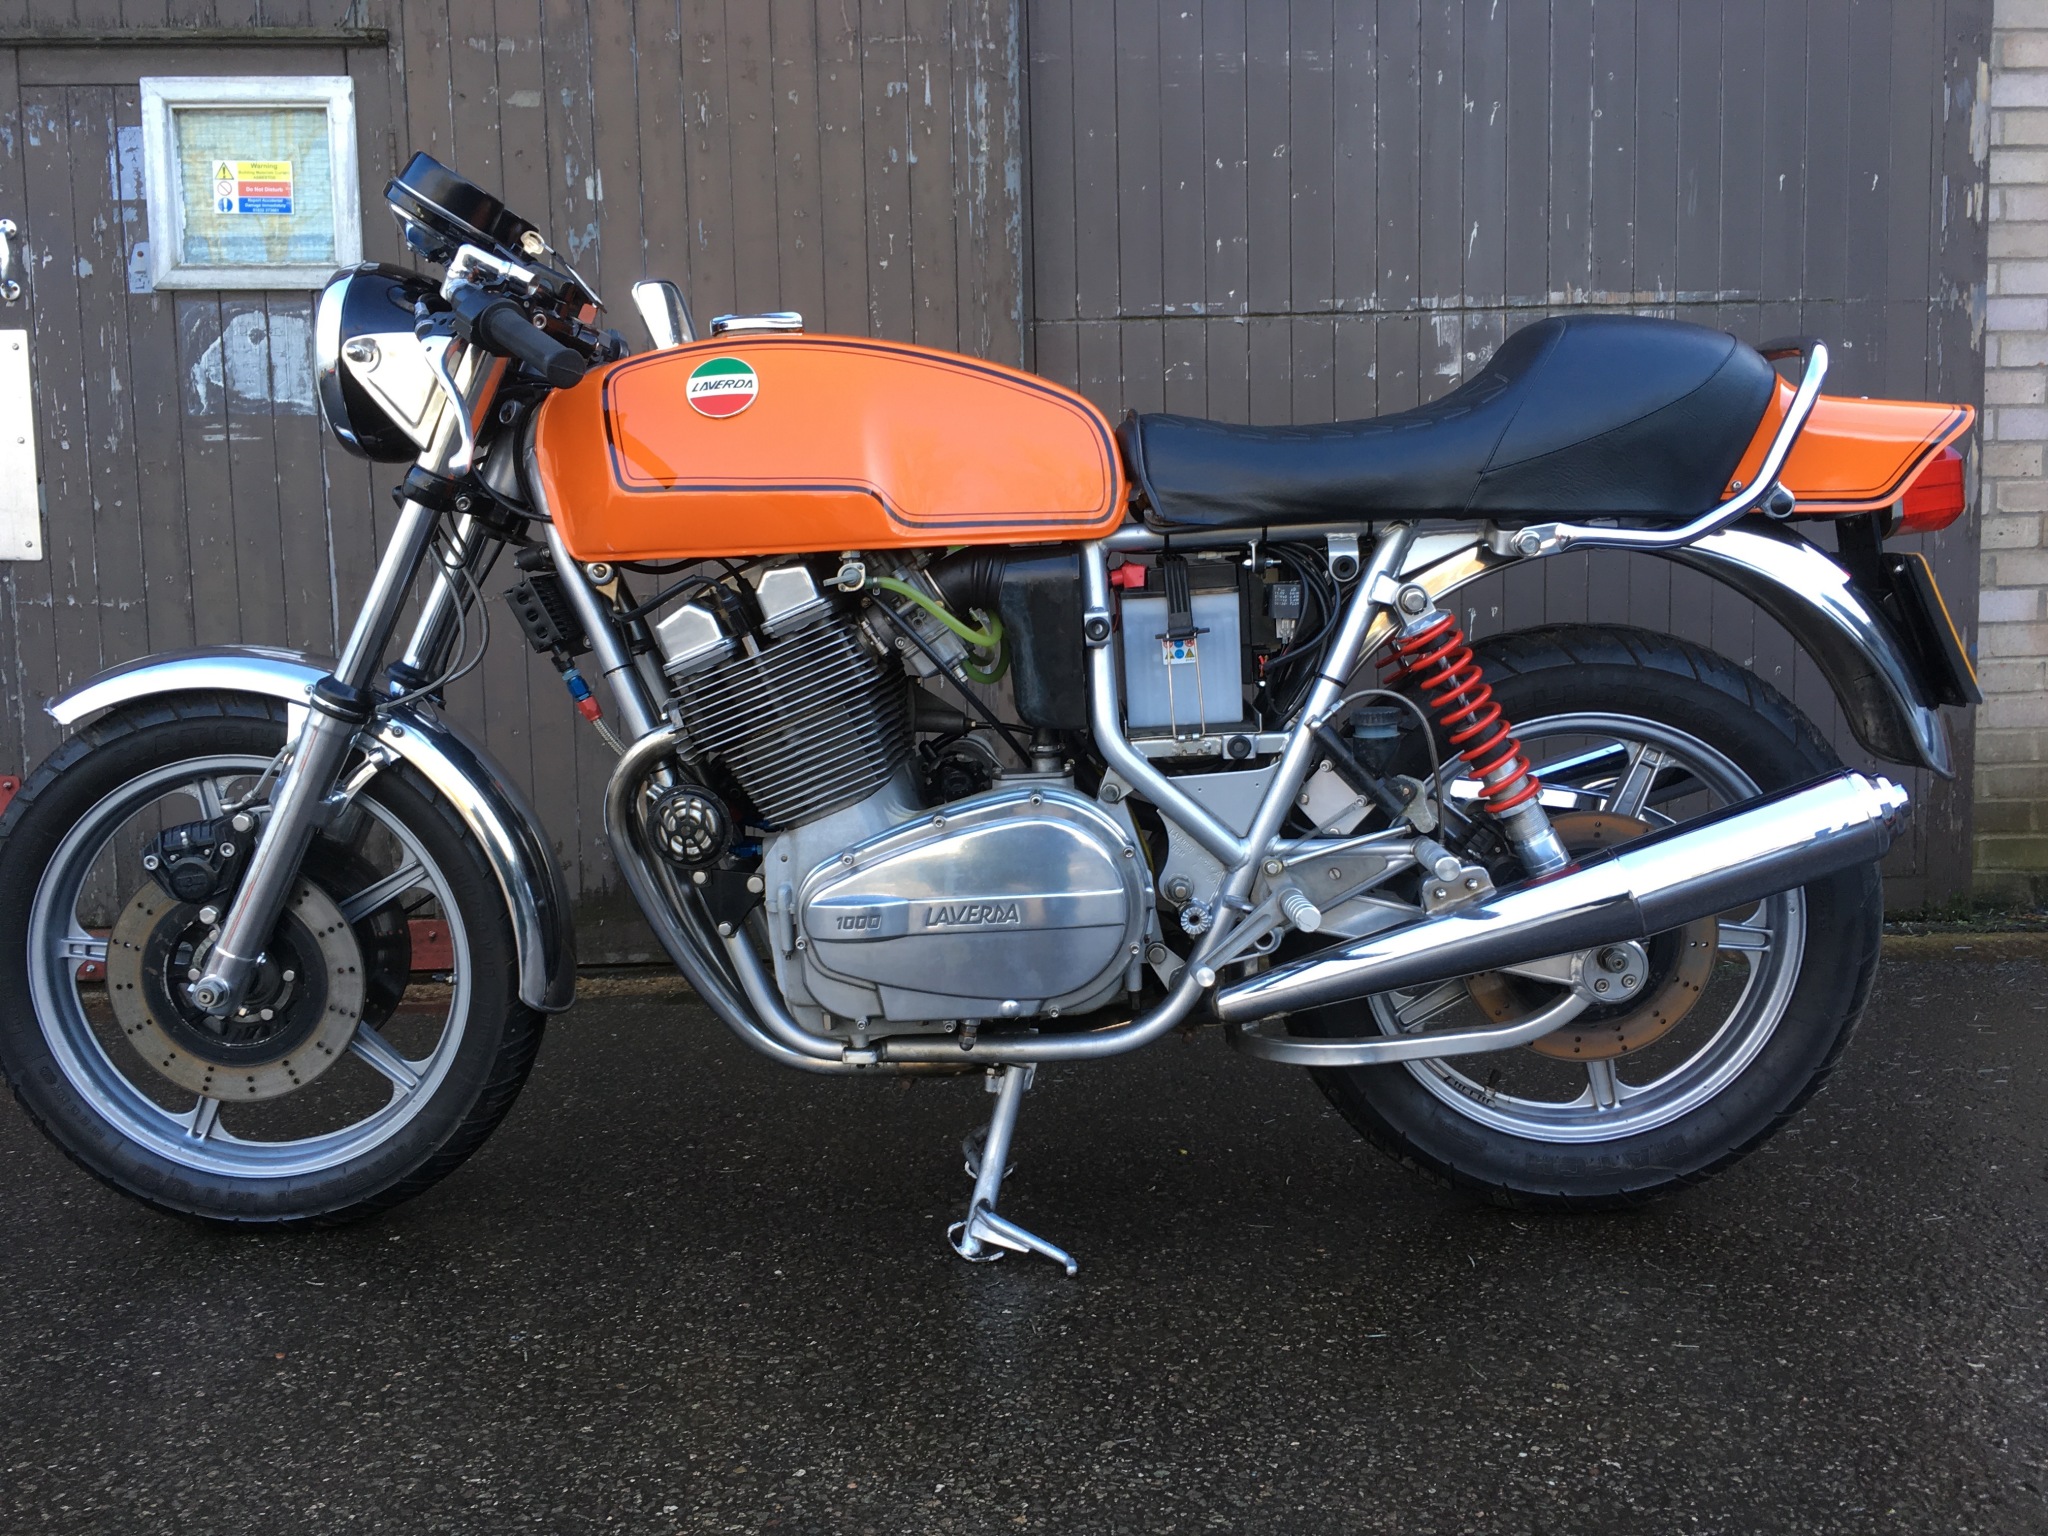
A really tasty Jota. Sidepanels at owner’s house
You have to make up brackets and spacers for the WITT ignition kit coils
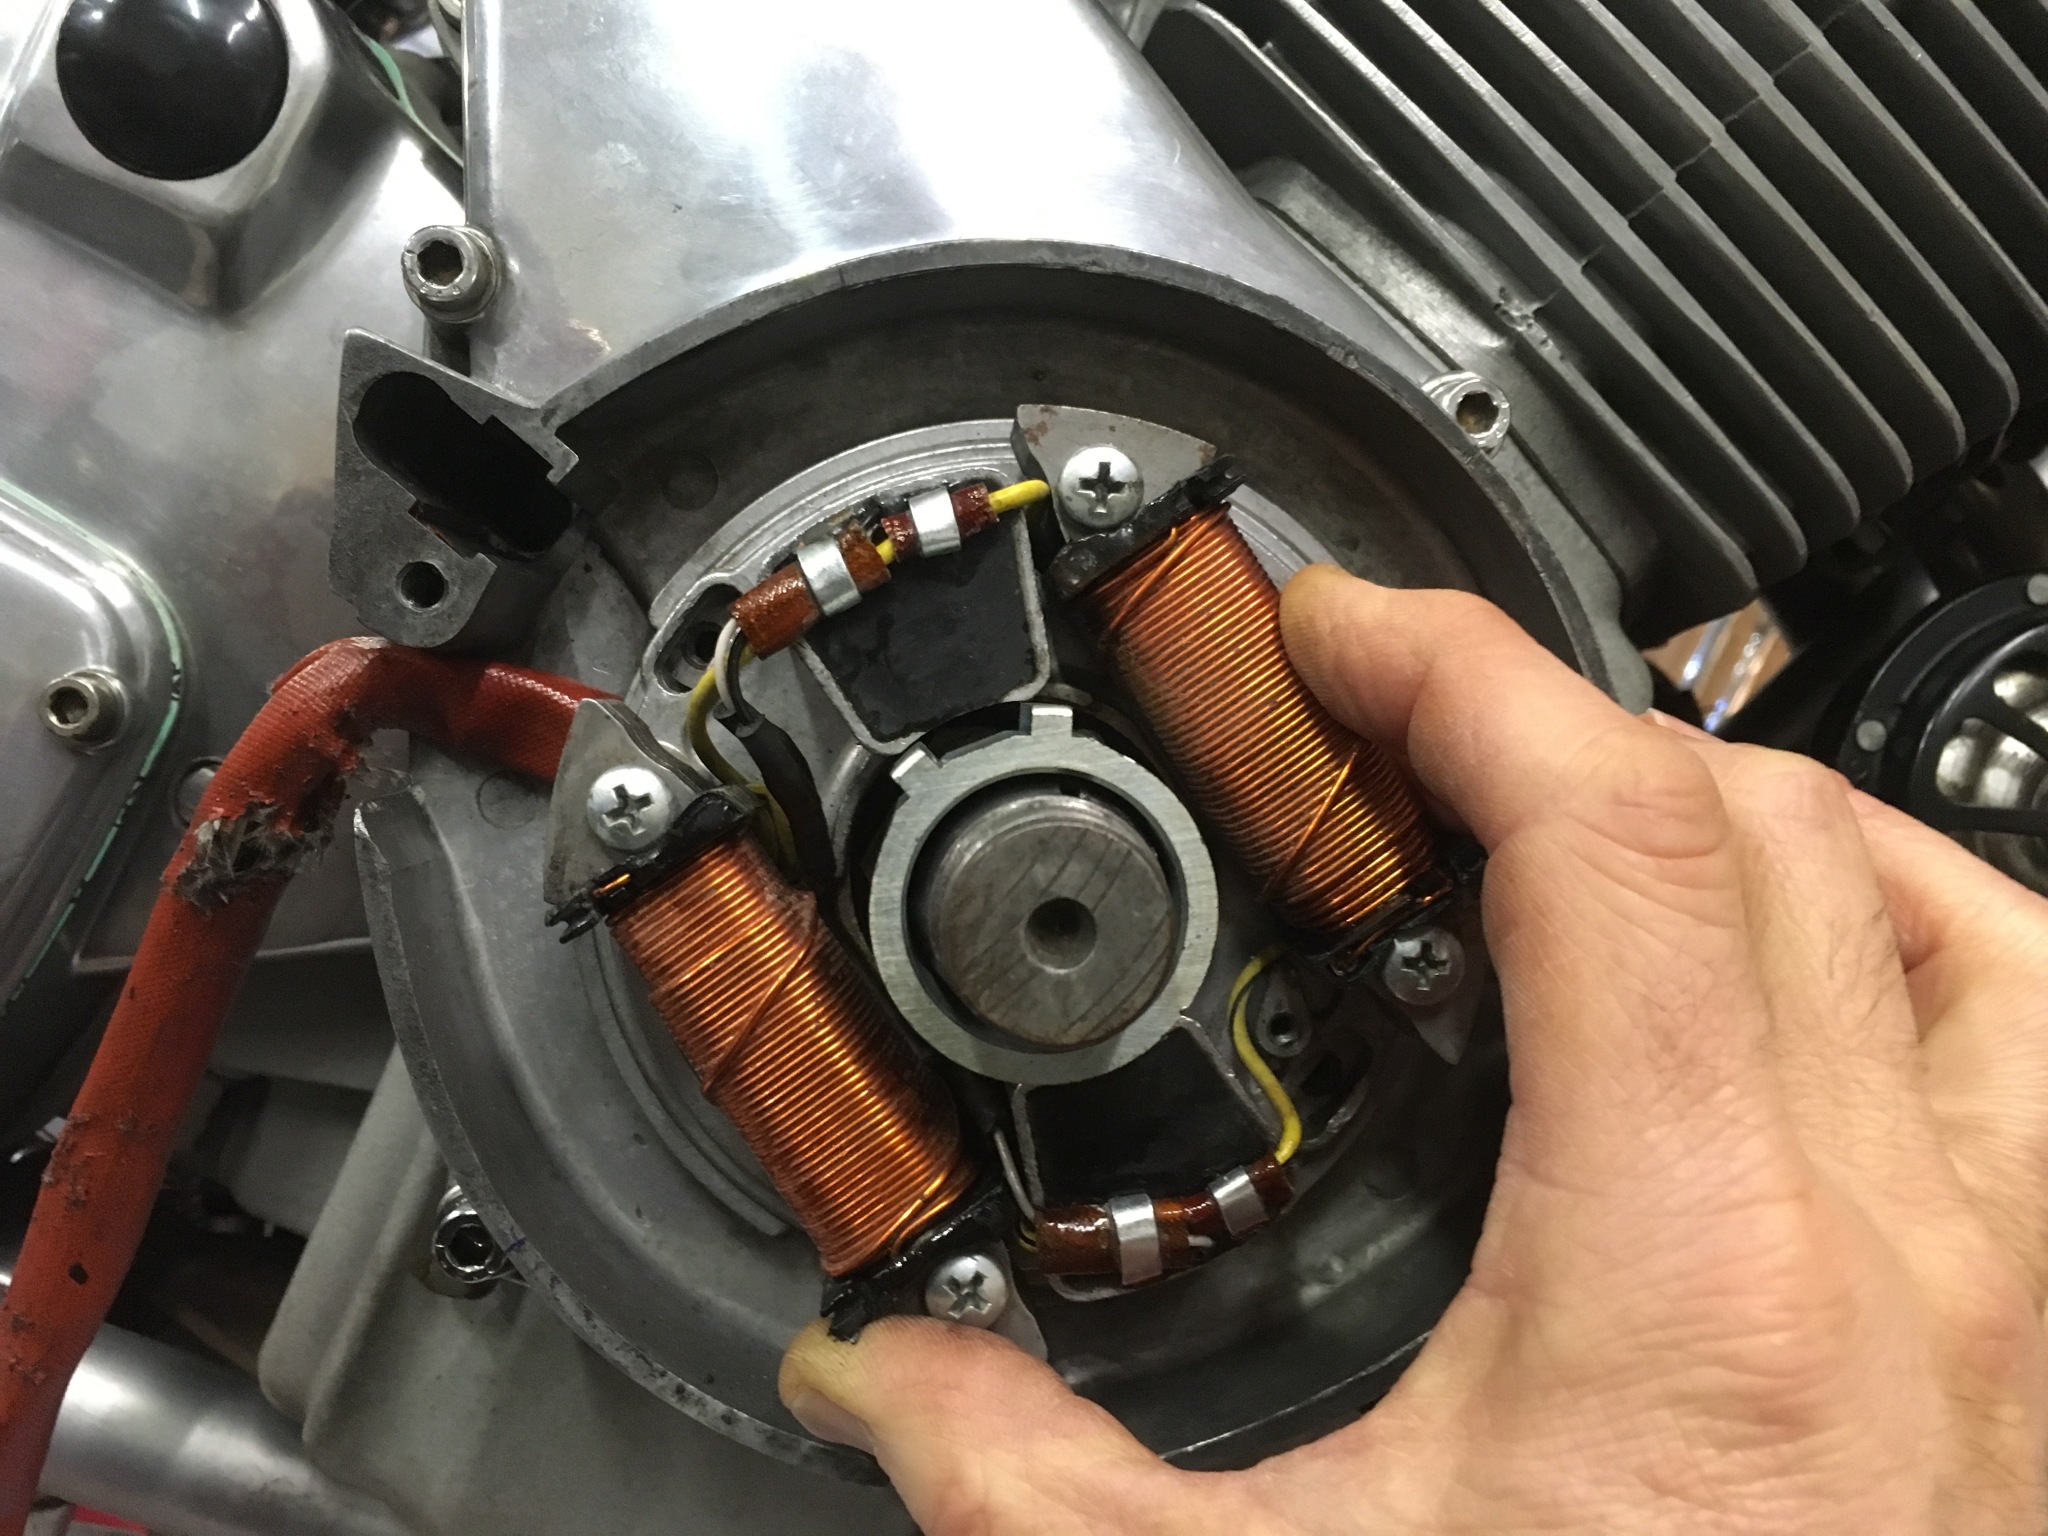
You also have to fish the flywheel off (factory tool required) to fit this two-prong rotor
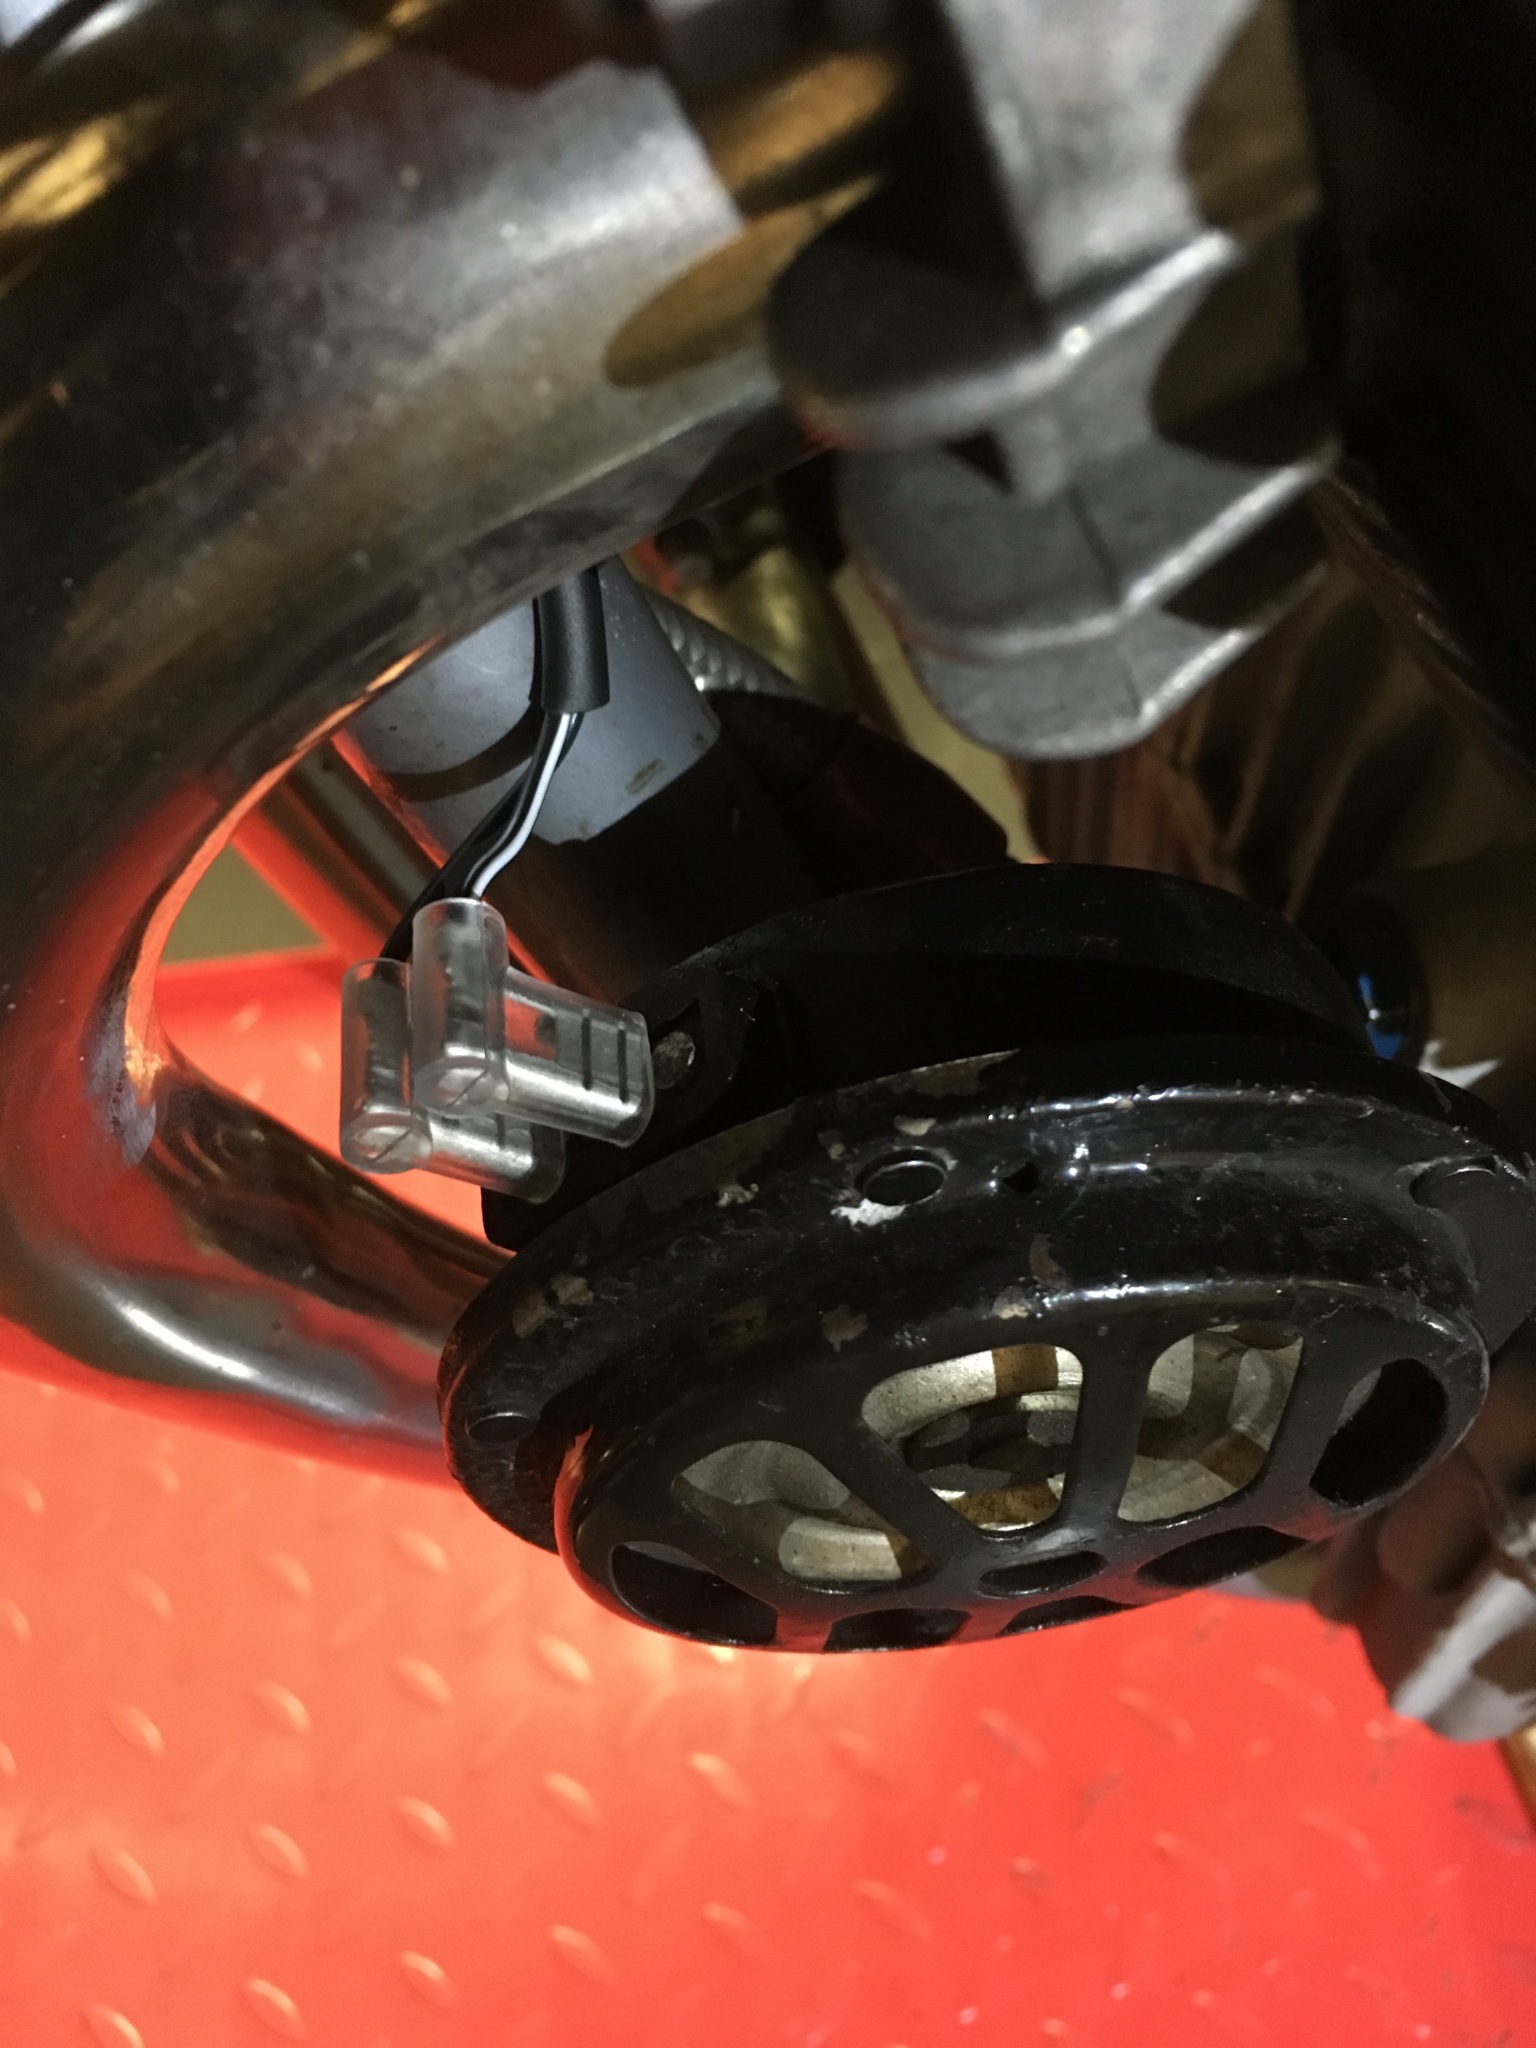
A wiring nerd’s pic: these horns are flippin’ loud!

Tony’s 1978 Laverda Jota 1000
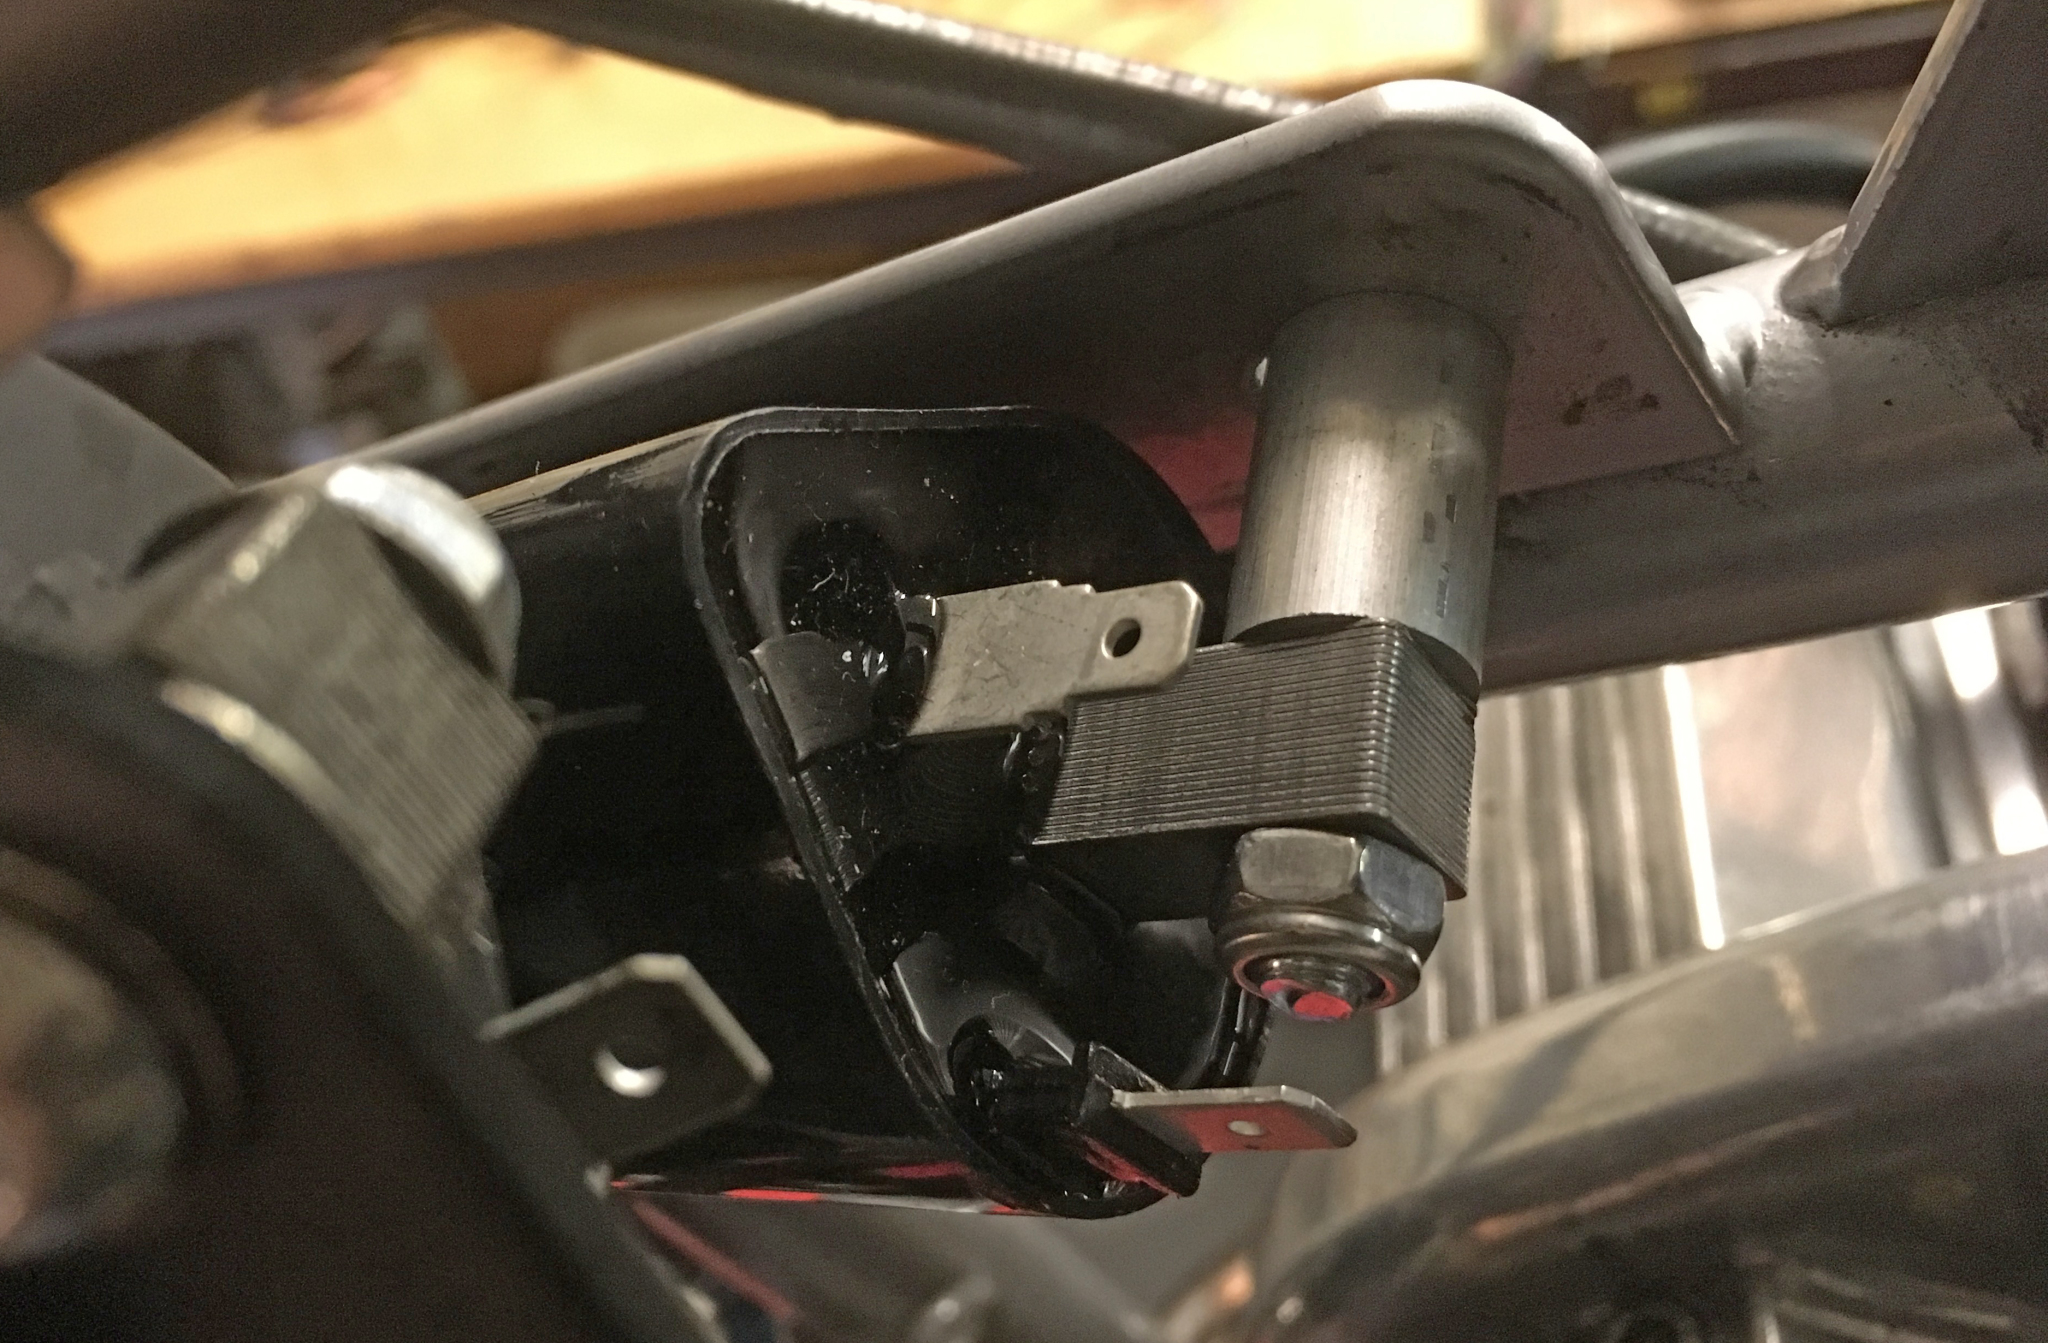
Besides booking the bike in to replace the 40 year-old loom, owner Tony wanted a new WITT ignition fitting, plus WITT’s more powerful alternator coil. That entailed a fair bit of fabrication to fit the new coils behind the headstock, and mount the ignition box on the yoke that used to carry the twin ignition amplifiers. We also took the opportunity to fit a Honda-type blade fuse box (better than the original Laverda one), and reposition the starter solenoid so that it wasn’t pressing up against the battery. There’s a flasher unit there too, just in case a future owner would like indicators.
The ignition kit keeps the original pickups but uses a two-prong pickup rotor which lives under the alternator flywheel. Getting the flywheel off is impossible without the factory tool (thanks to the ILOC for the loan of same). Once it’s off you can also add WITT’s uprated alternator coil. Annoyingly the pickup rotor can fit either way round, so you have to find TDC, then use a disc to find 32 degrees BTDC so that you can check the rotor position corresponds to the instructions. Once it’s all rebuilt, we used a strobe to check the advance was 32 degrees BTDC at 4000rpm.
The kit offers lots of different advance curves, but switching between each one is a pain. The switch is buried on the underside of the ignition box, whose mounting point is pretty crowded with other components. Not a five-minute job! But WITT ignition is highly regarded in Laverda circles, well made, and very reliable.
Tony had been having trouble with the bike dying after a few miles, and the alternator charge light hadn’t been working. The plugs were heavily sooted up too. With the new loom built, and high capacity battery leads, the bike started instantly, and the charge light went out even at tickover, indicating a strong charging system. Tony was very pleased and wrote about the rewire in the ILOC magazine in Spring 2019:
“I cannot rate Rupert’s work highly enough. He has a depth of knowledge that is enviable, and he takes time to explain how the progress is going with emails, texts, photos stage by stage and phone calls when necessary. One outstanding, very neat, wiring loom installed.”

Original ignition box mount, now with (from left) flasher unit, blade fuse box, WITT ignition box and solenoid
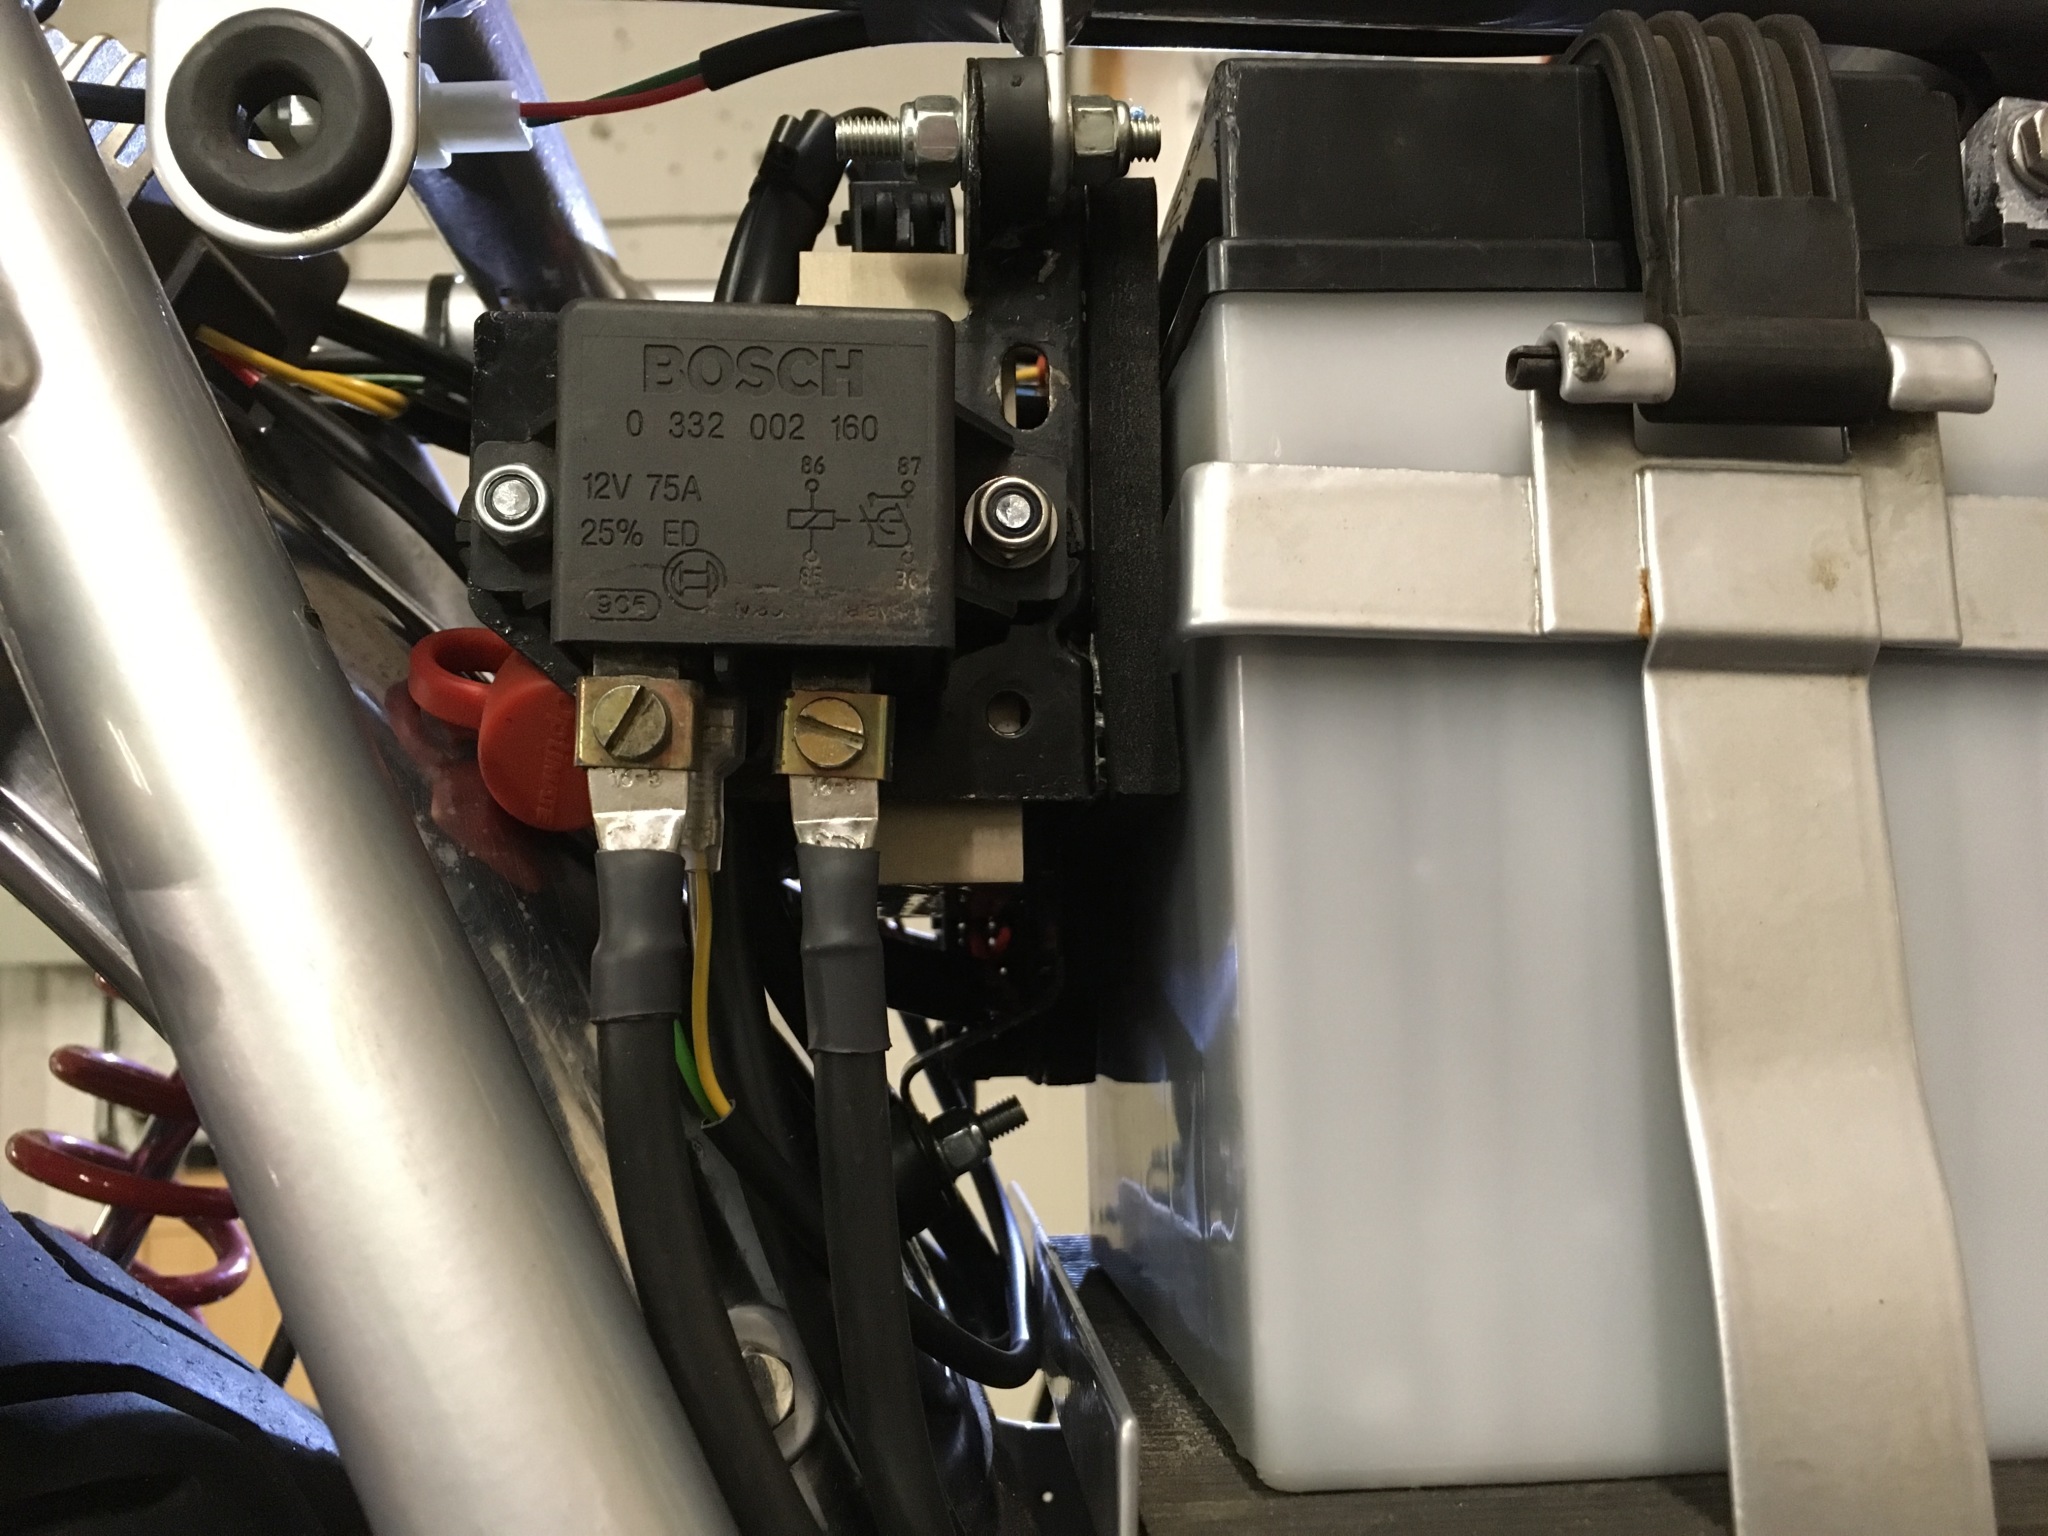
Solenoid fits nicely on the right behind the enormous battery

Most of the other gubbins fits here. Electrexworld reg rec visible top right
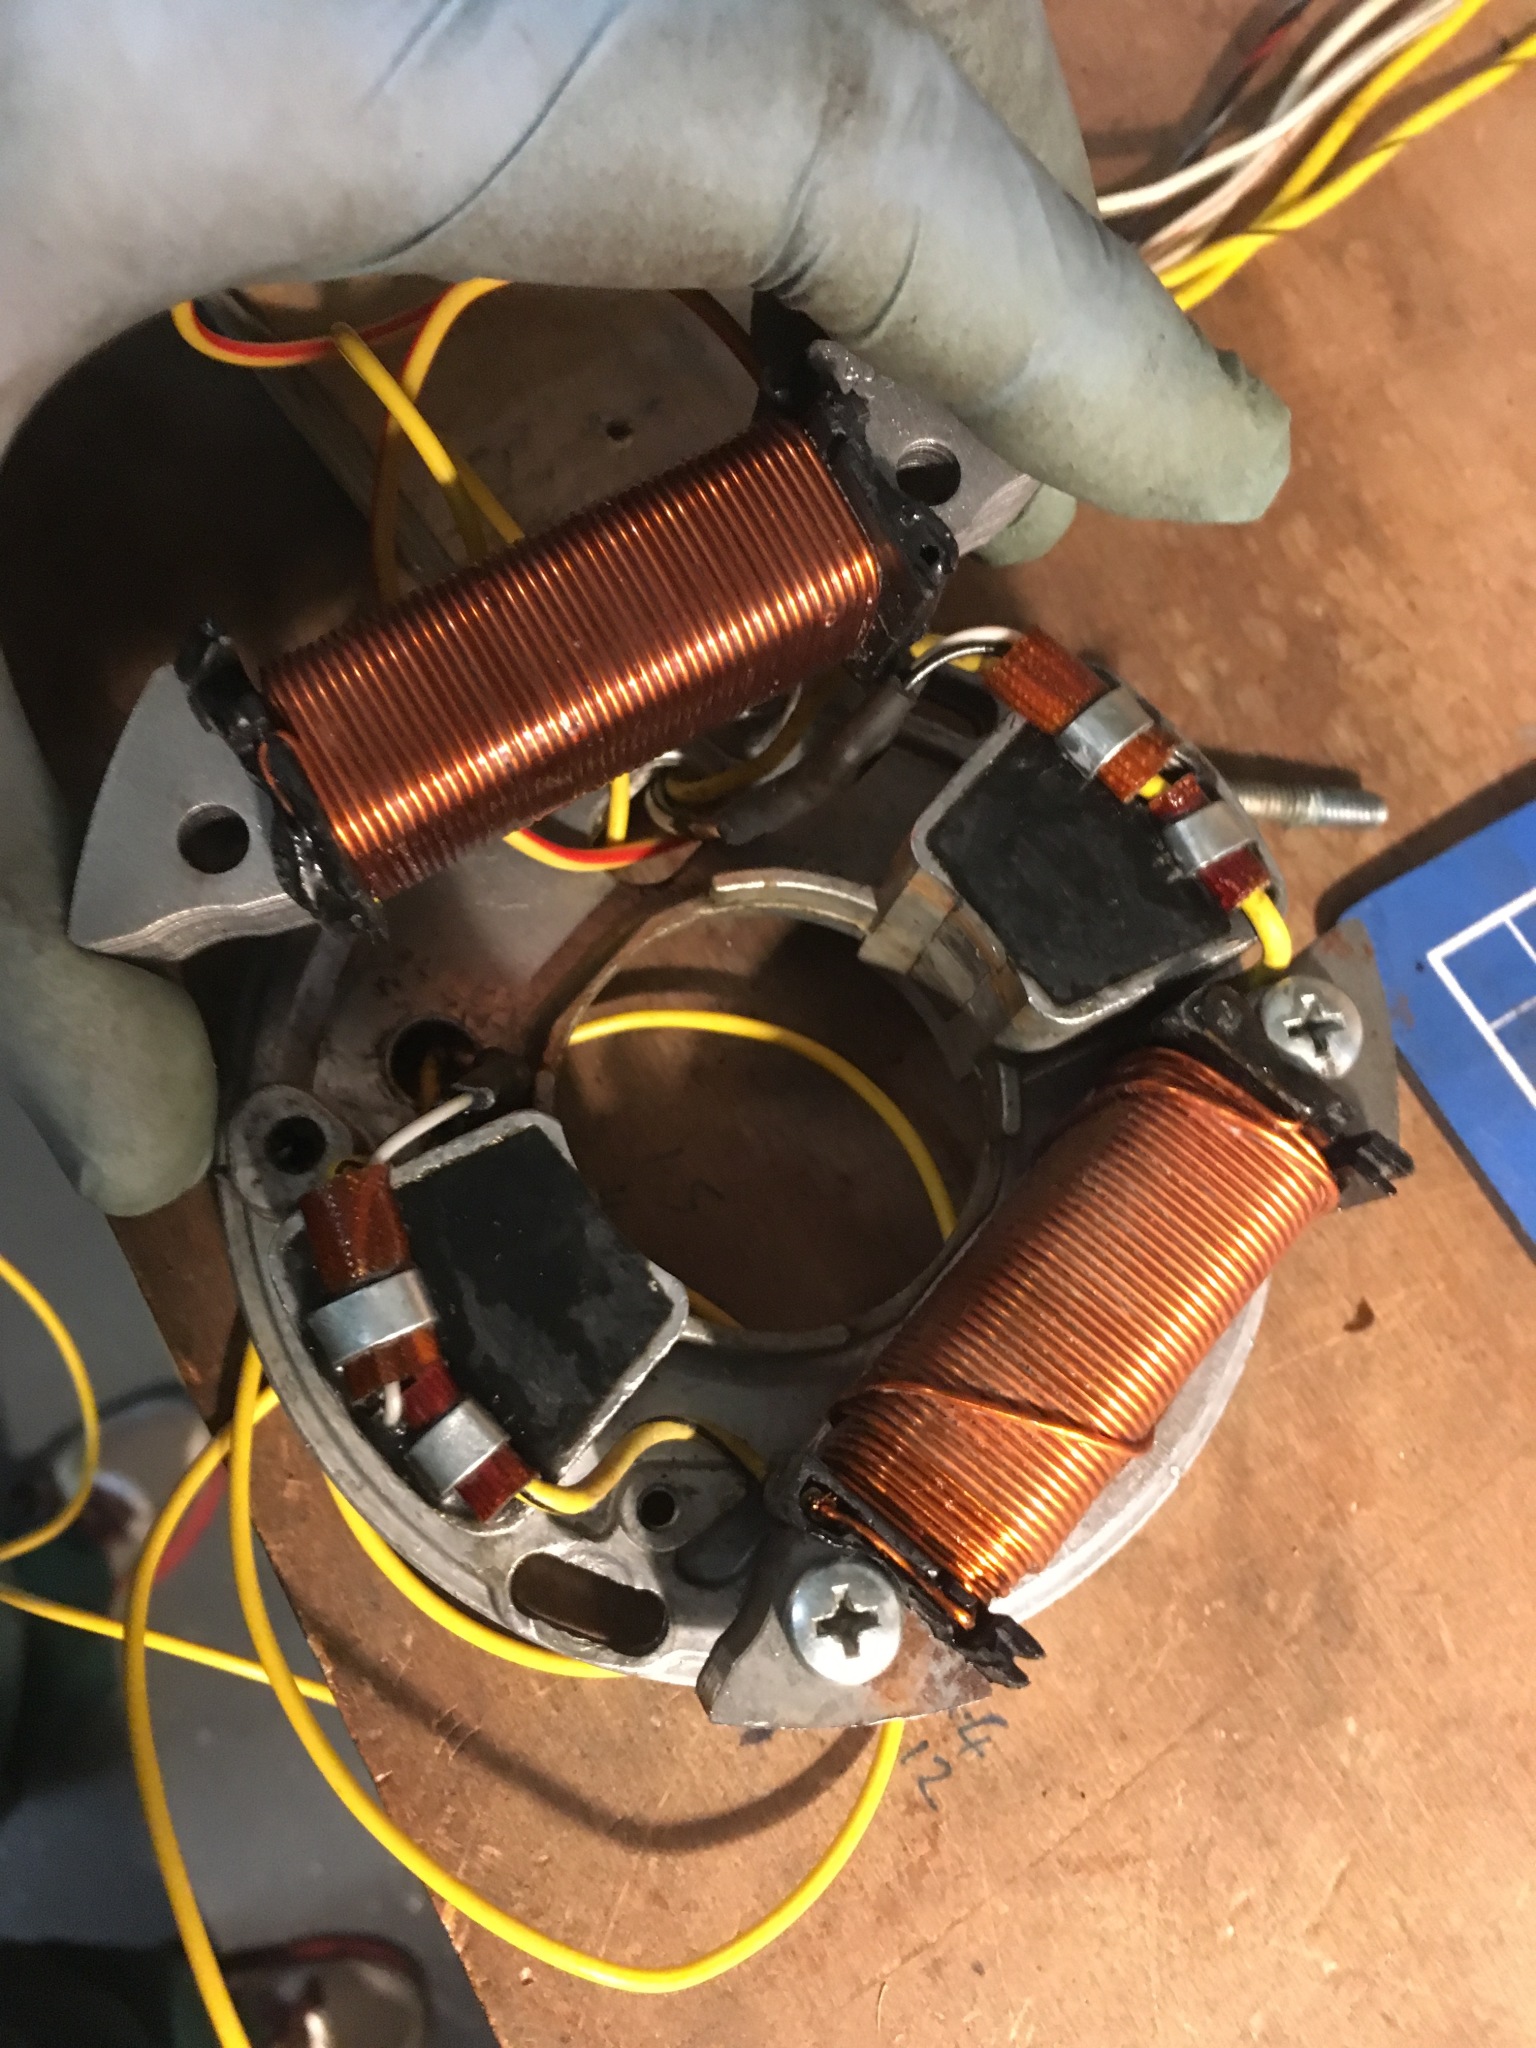
WITT supply an uprated charging coil to replace the existing lower one
